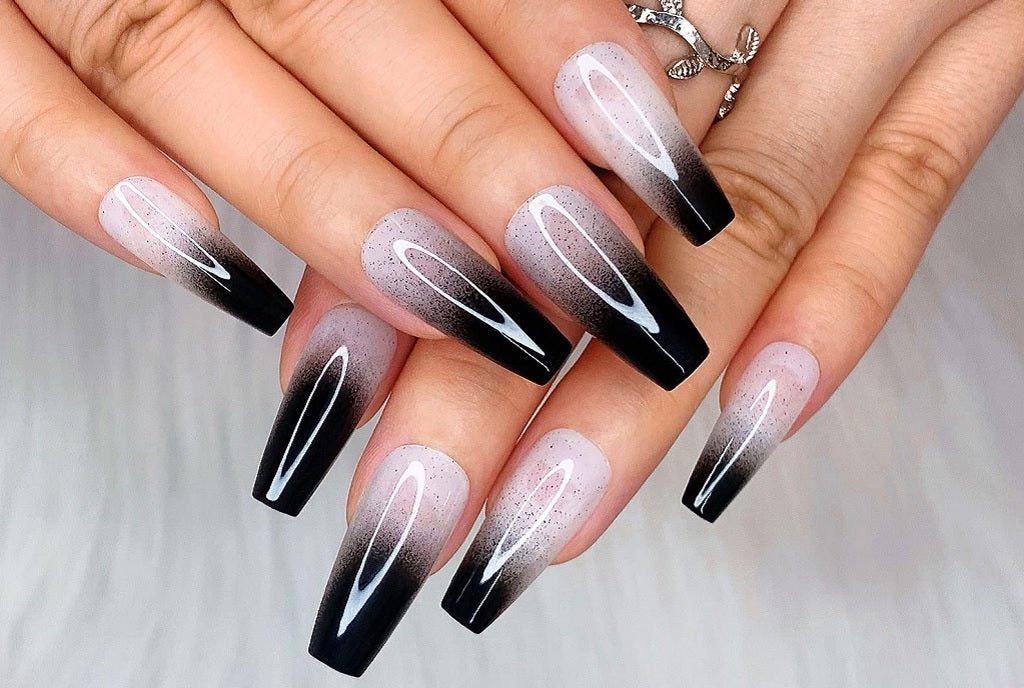
Black Ombre Nails - Try Something Different On Your Nails
Black ombre nails can be moody, sophisticated, or fun. This gradient nail trend is endlessly versatile. It can be done horizontally, vertically, or centered like a Skittle nail. You can mix and match black ombre with other colors to your heart’s content. Moreover, you can complement every design with charms, stickers, or rhinestones.
Our article today showcases a selection of black ombre nail designs to get your creative juices flowing. Whether you're a nail novice or a seasoned manicurist, looking at black ombre nail art is always fun!
Black Ombre Nails
Ombre Cat Eye Polish
Have you enjoyed working with cat eye nail polish? You can create so many captivating designs with the help of a magnet. You can arrange the glittery particles into various patterns, including a gradient look.
The magnet included with the polish offers two possibilities. One end (or side) attracts the particles, and the other repels them. Alternate between the ends to push and pull the sparkles toward the tip for the perfect ombre look.
If you want to know more, watch this brief tutorial about using magnetic cat eye polish for black ombre nails.
LAVIS Cat Eyes CE7 - VILLIAIN ERA Collection

Black Ombre Nails with Sheer Tips
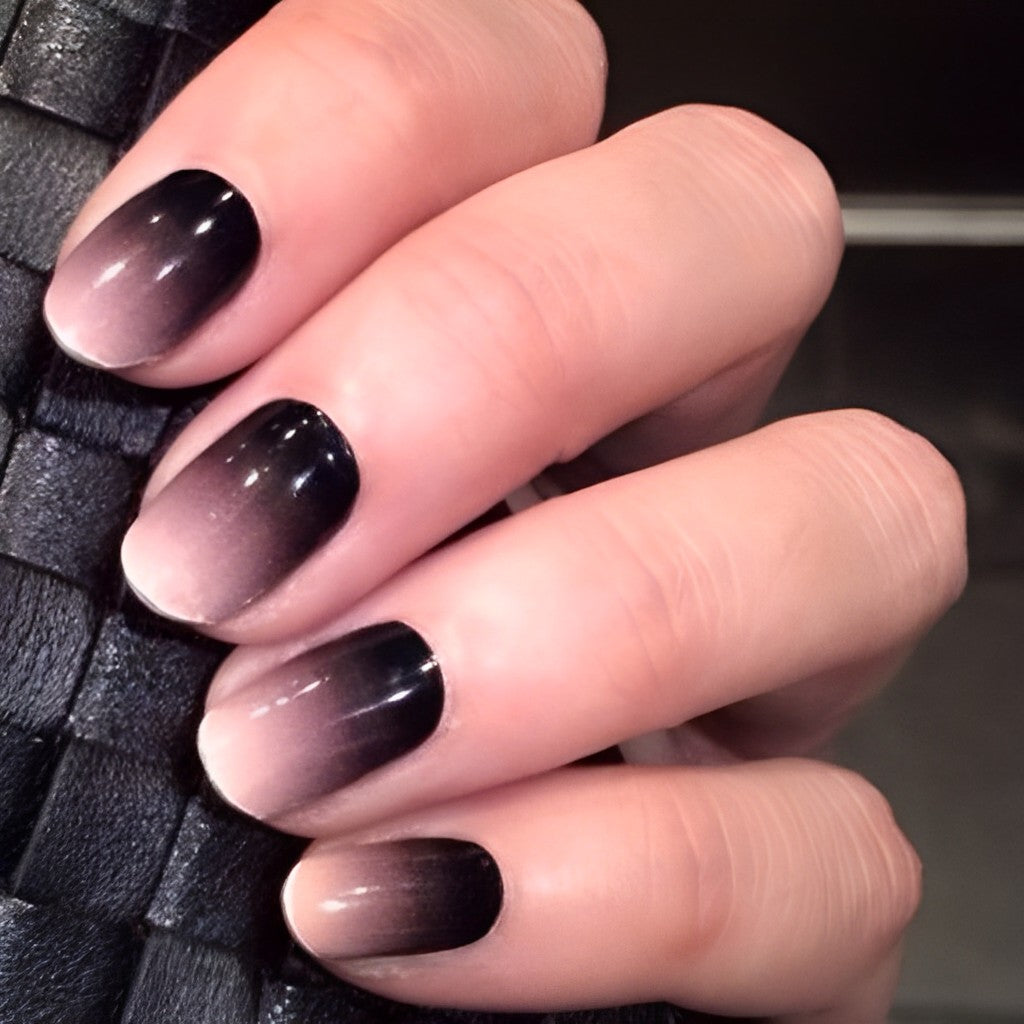
There are different ways to do ombre nails. One of the quickest is to use an ombre brush with flared bristles. But you can also blend shades with a thin liner brush, a makeup sponge, or even an airbrush.
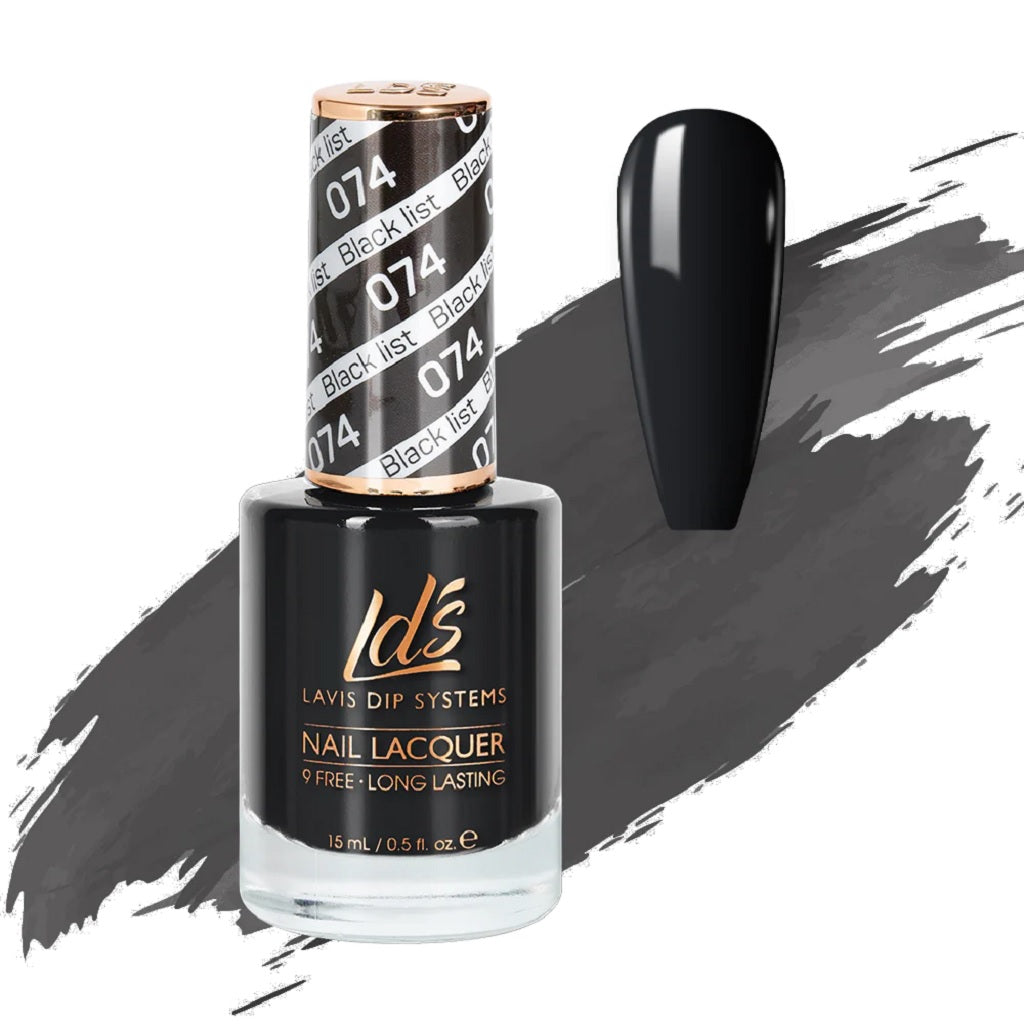
LDS 074 Black List - LDS Healthy Nail Lacquer
Vertical Illusion
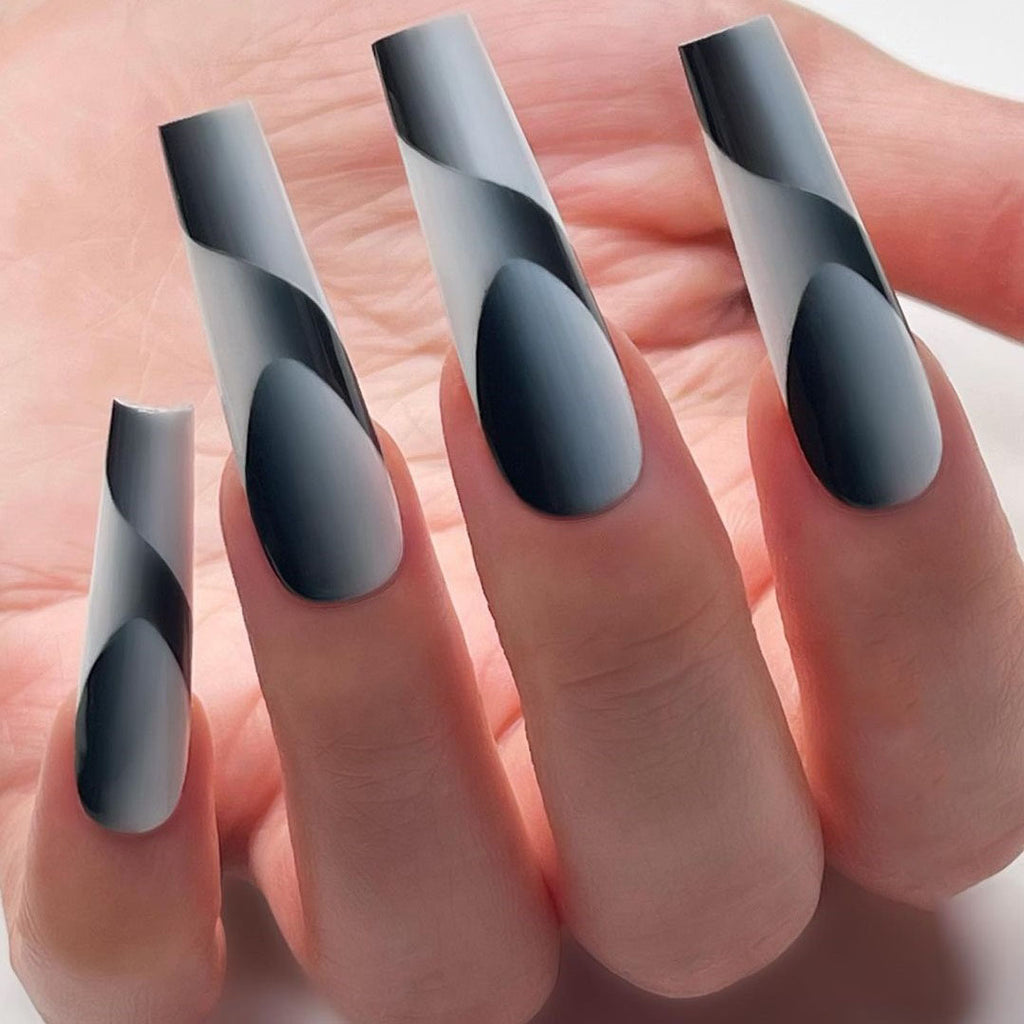
This trippy design fools the eyes. If it feels like it's a little beyond your current skill level, don't despair. Look at the almond nail shape that's divided between light and dark, and try that part first.
Barbie Pink and Black
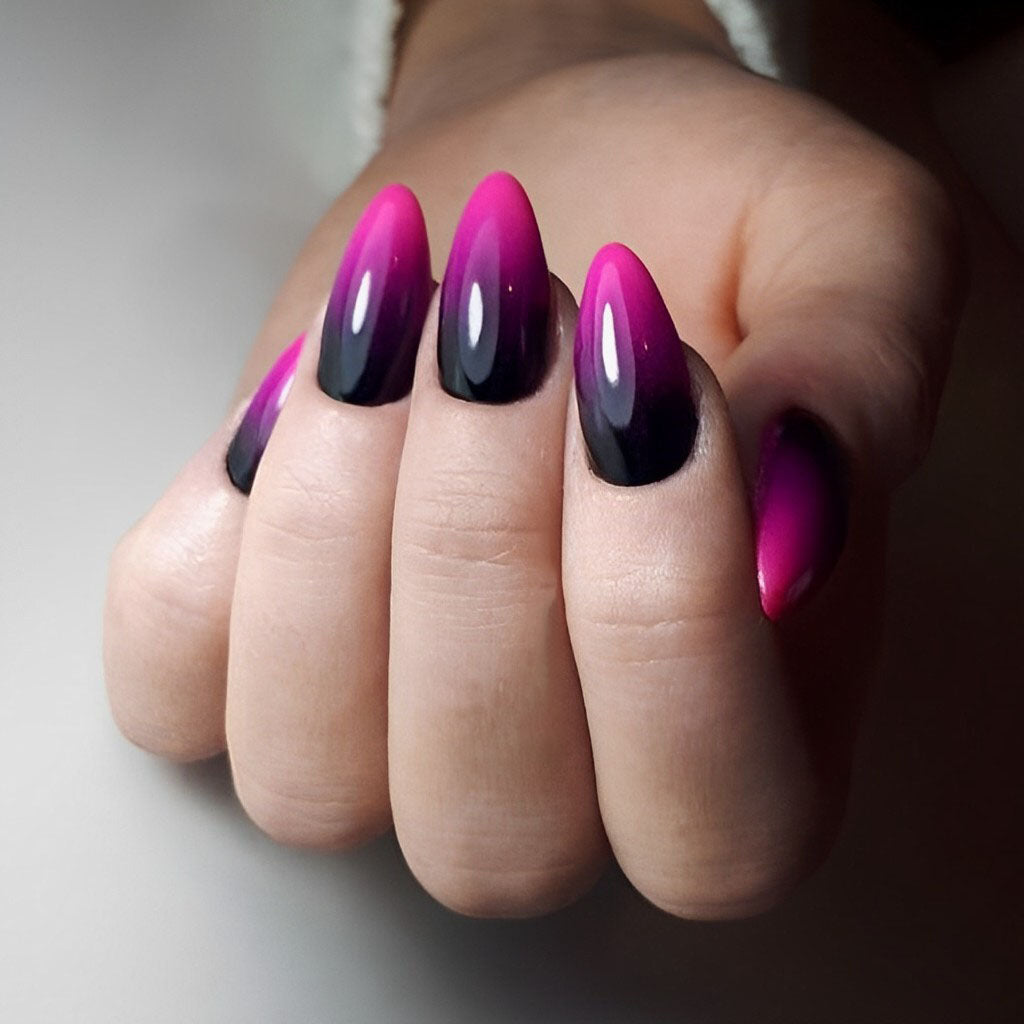
What does Barbie wear when she’s feeling sassy? It might be something like this black ombre manicure with hot pink tips. With this kind of high-gloss finish, it’s gotta be gels. Gel polish is much easier for doing gradient nails because it doesn’t dry until it’s cured. There’s no risk of smudging.
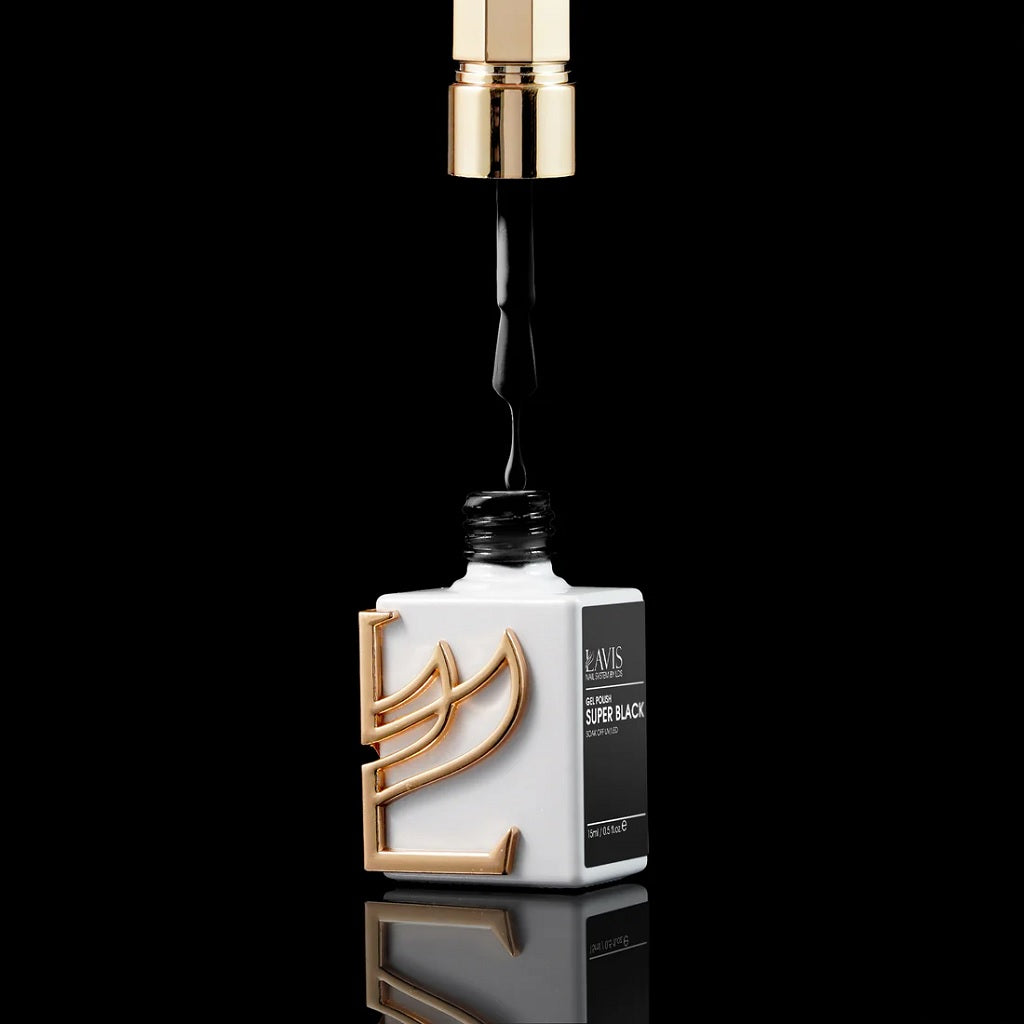
LAVIS Super Black
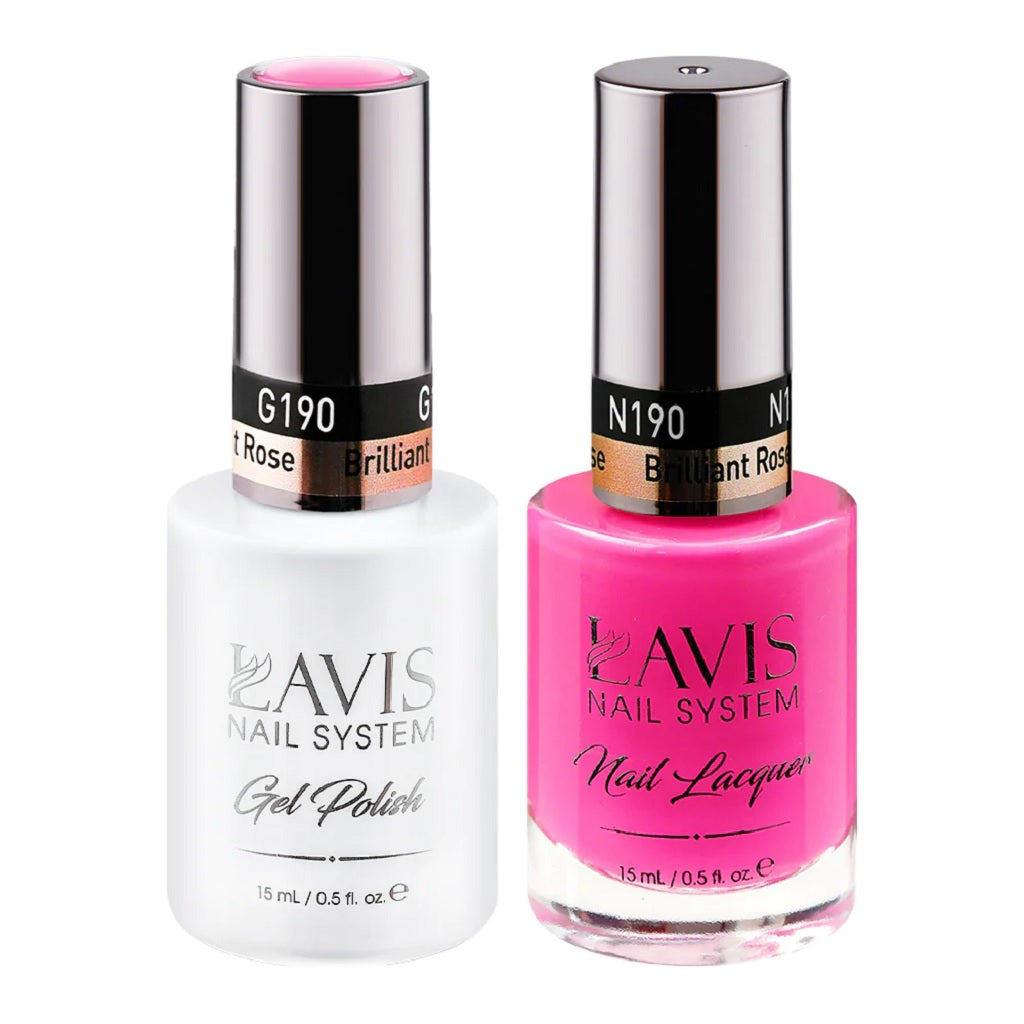
Lavis Gel Nail Polish Duo - 190 Pink Colors - Brilliant Rose
Blue Glitter
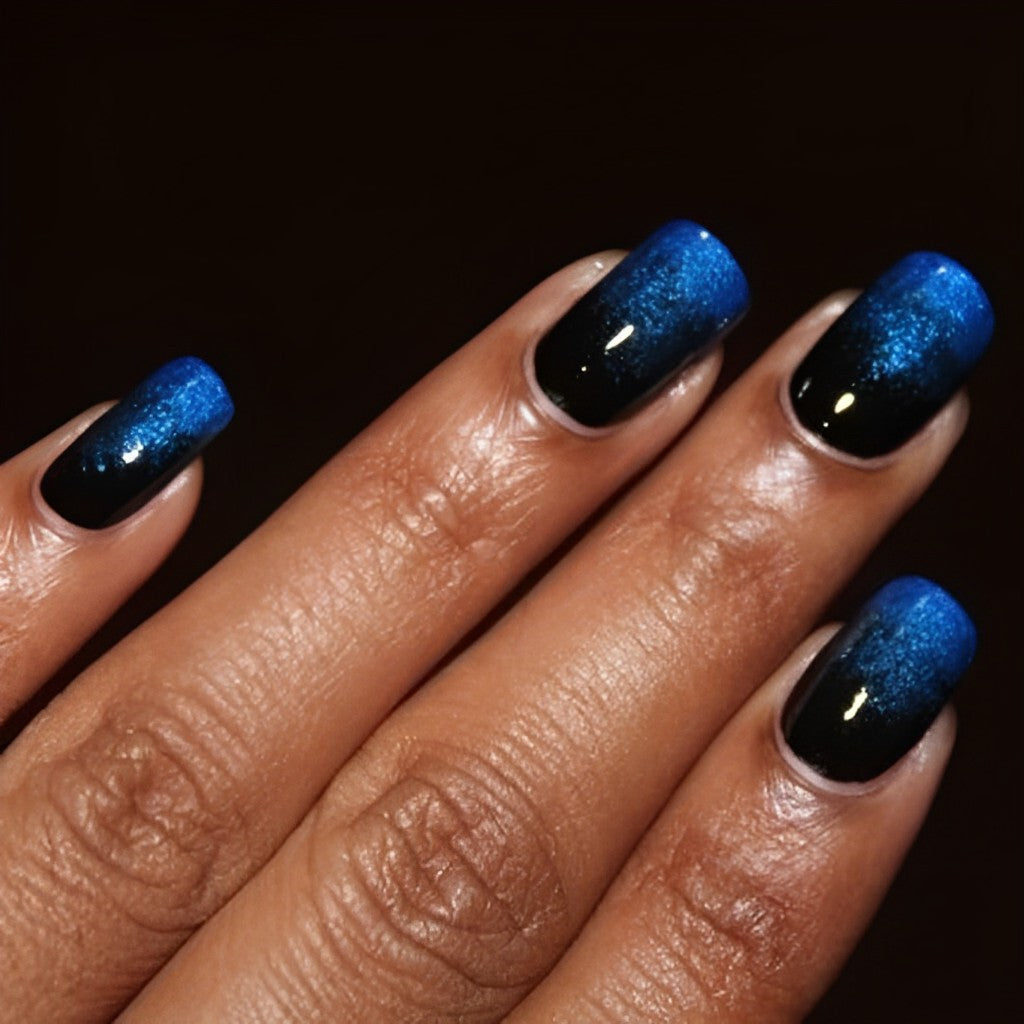
Blue has connotations like calmness, patience, trust, and loyalty. It looks lovely shimmering on the tips of these black nails.
Yellow Moons
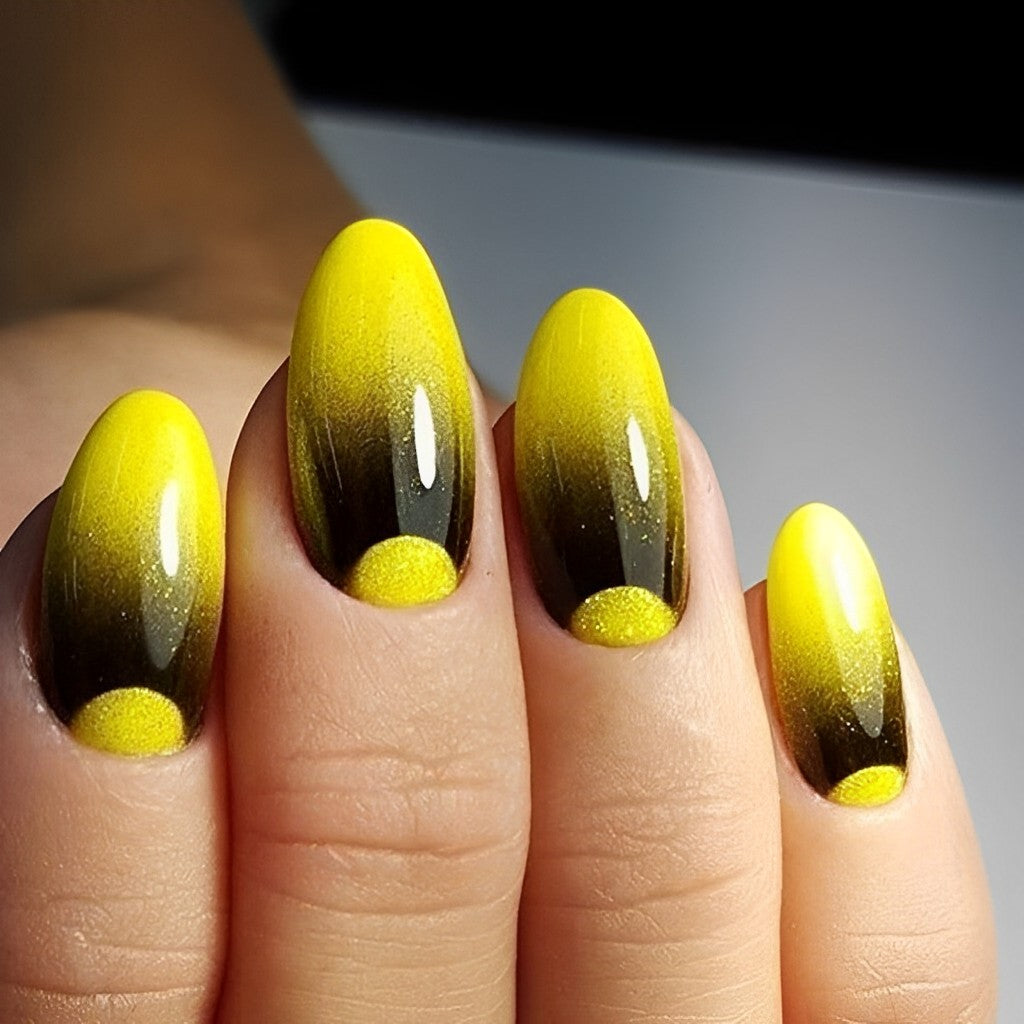
Black goes with anything, so you can have a lot of fun with black ombre nails and a rainbow of colors. The detail here is incredible, from the perfectly shaped moons to the artfully placed specks of glitter.
Glow in the Dark
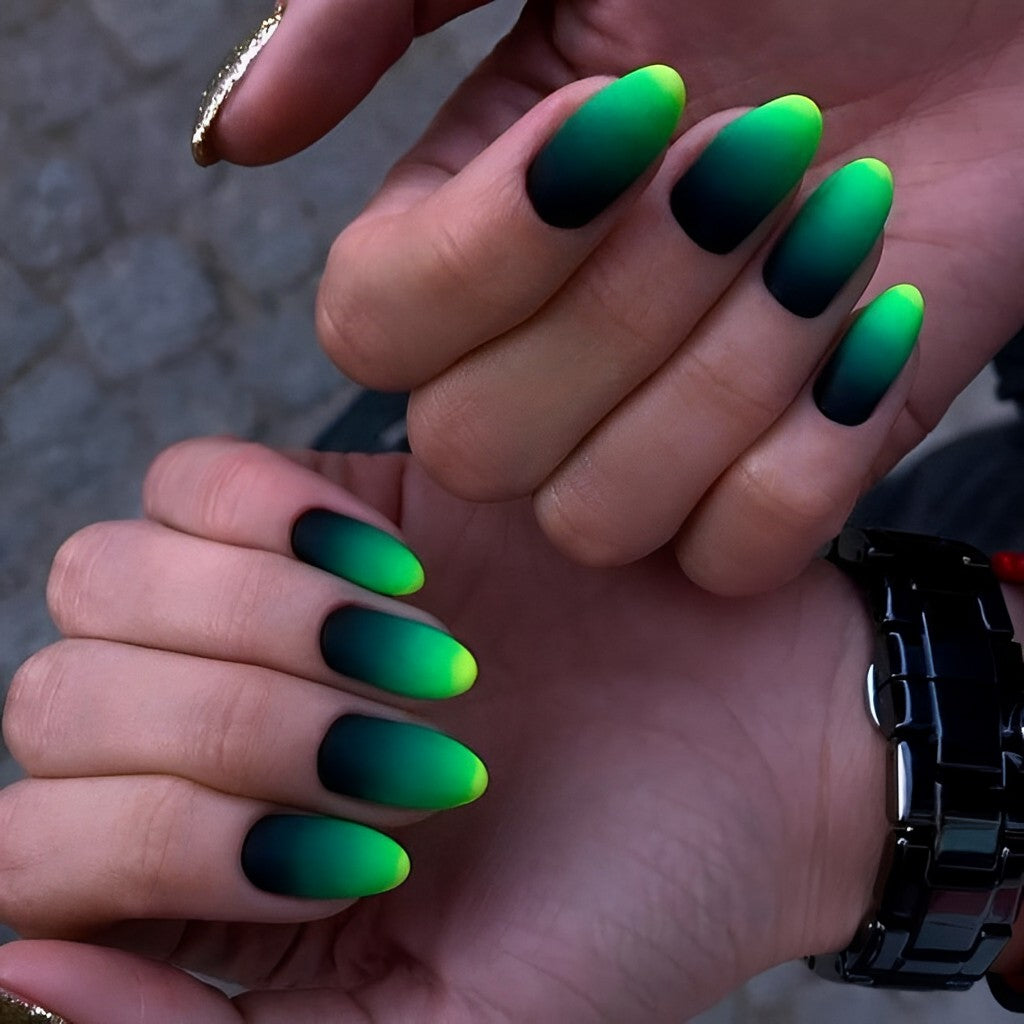
Neon colors are especially vibrant next to black. Consequently, glow-in-the-dark polish looks stunning on black ombre nails.
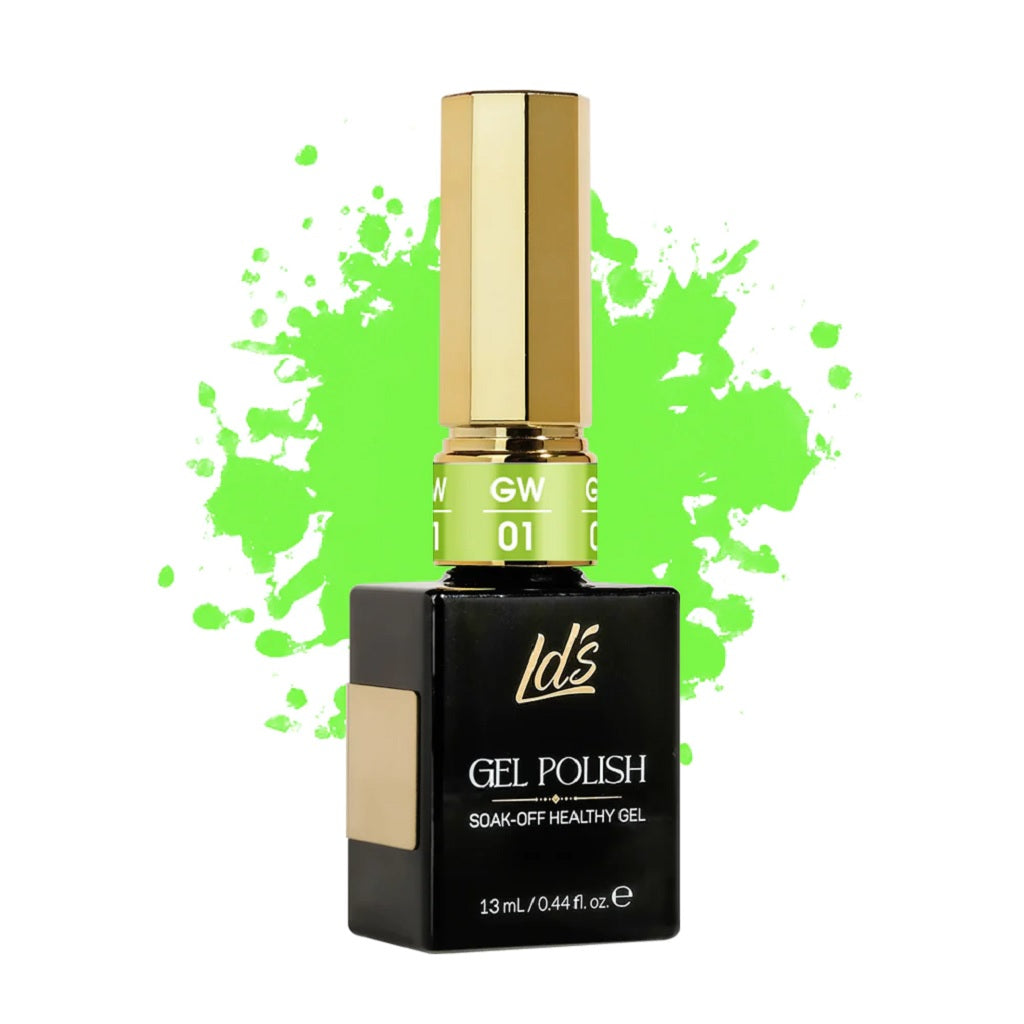
LDS Glow In The Dark - GW01
Crimson and Black
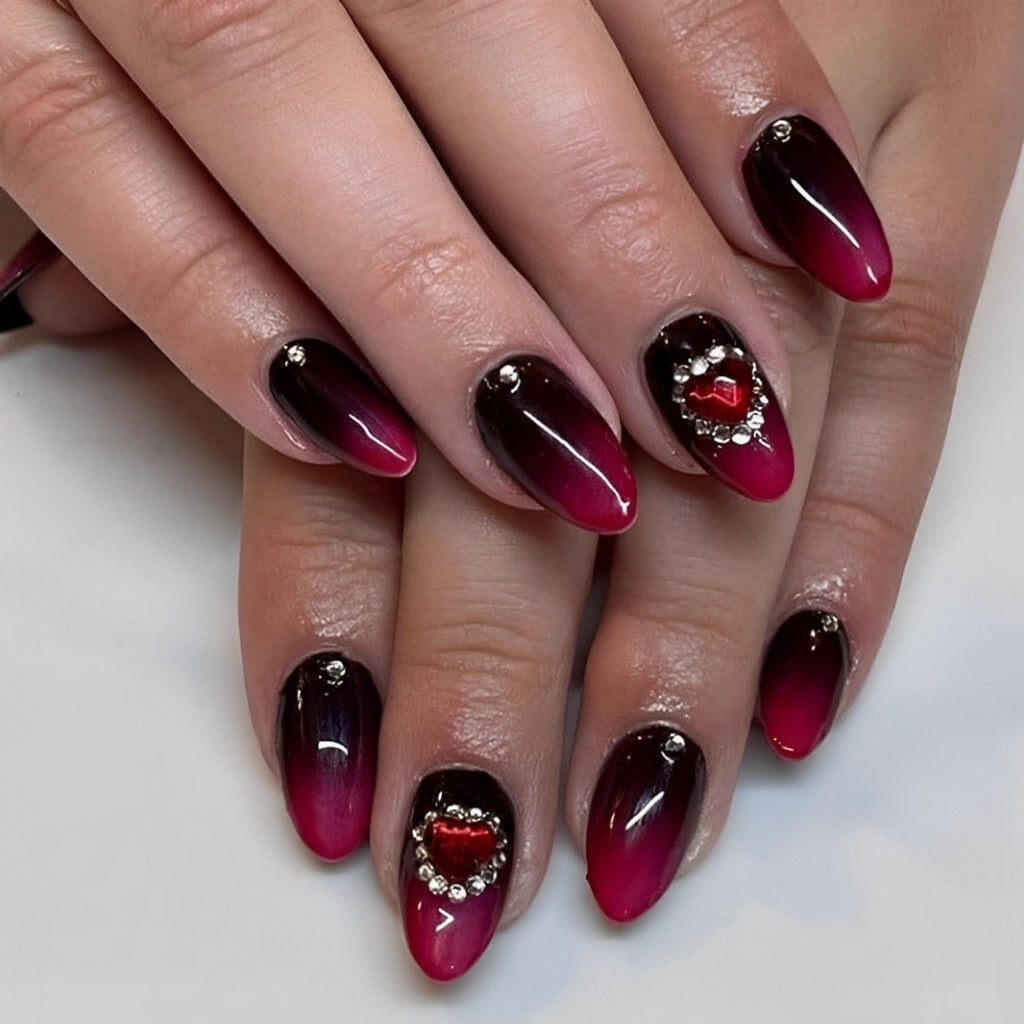
This luxurious manicure features glossy black nails with red tips and delicately placed rhinestones and gems.
If you haven’t done much with nail charms, you might not know that you shouldn’t put a top coat over them. It’s also likely to dull rhinestones. Instead, use a high-quality gem sealer to make everything stay put.
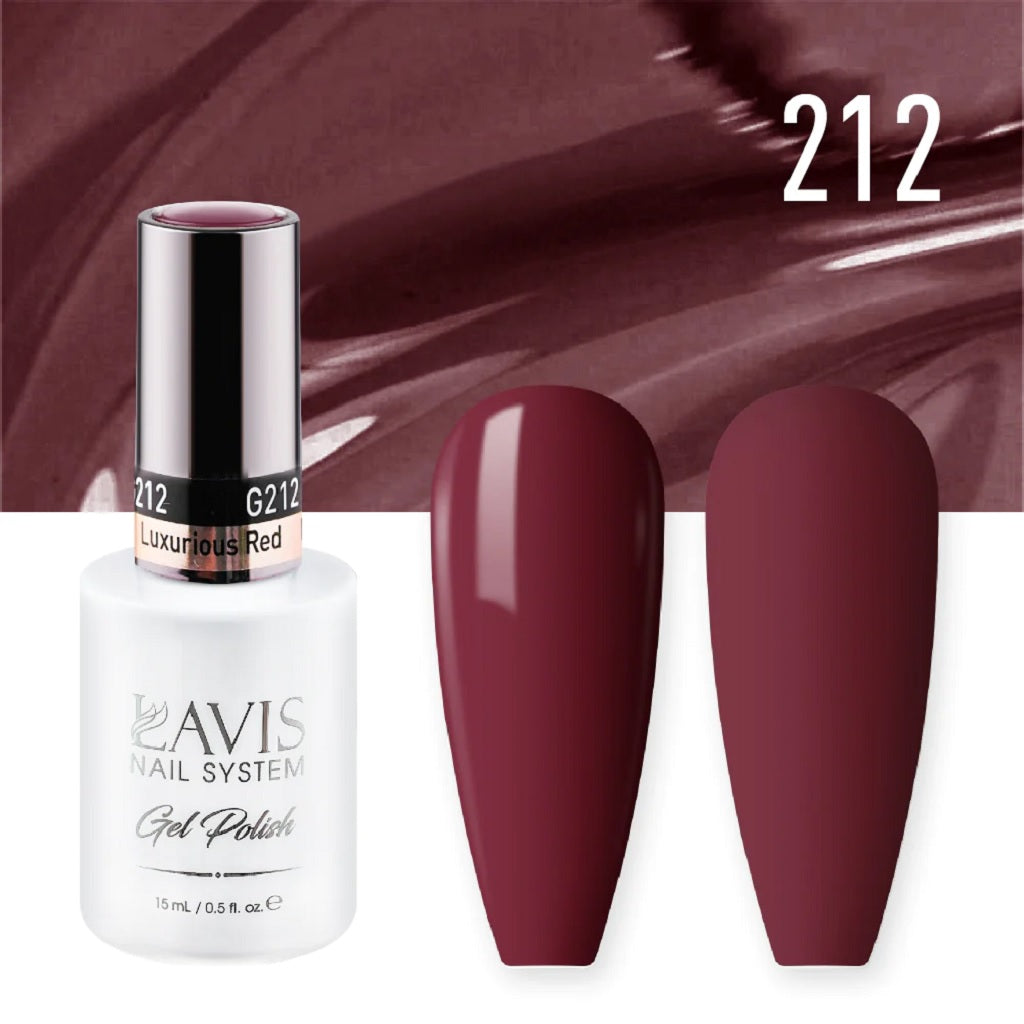
LAVIS Nail Lacquer - 212 Luxurious Red
Matte Stilettos
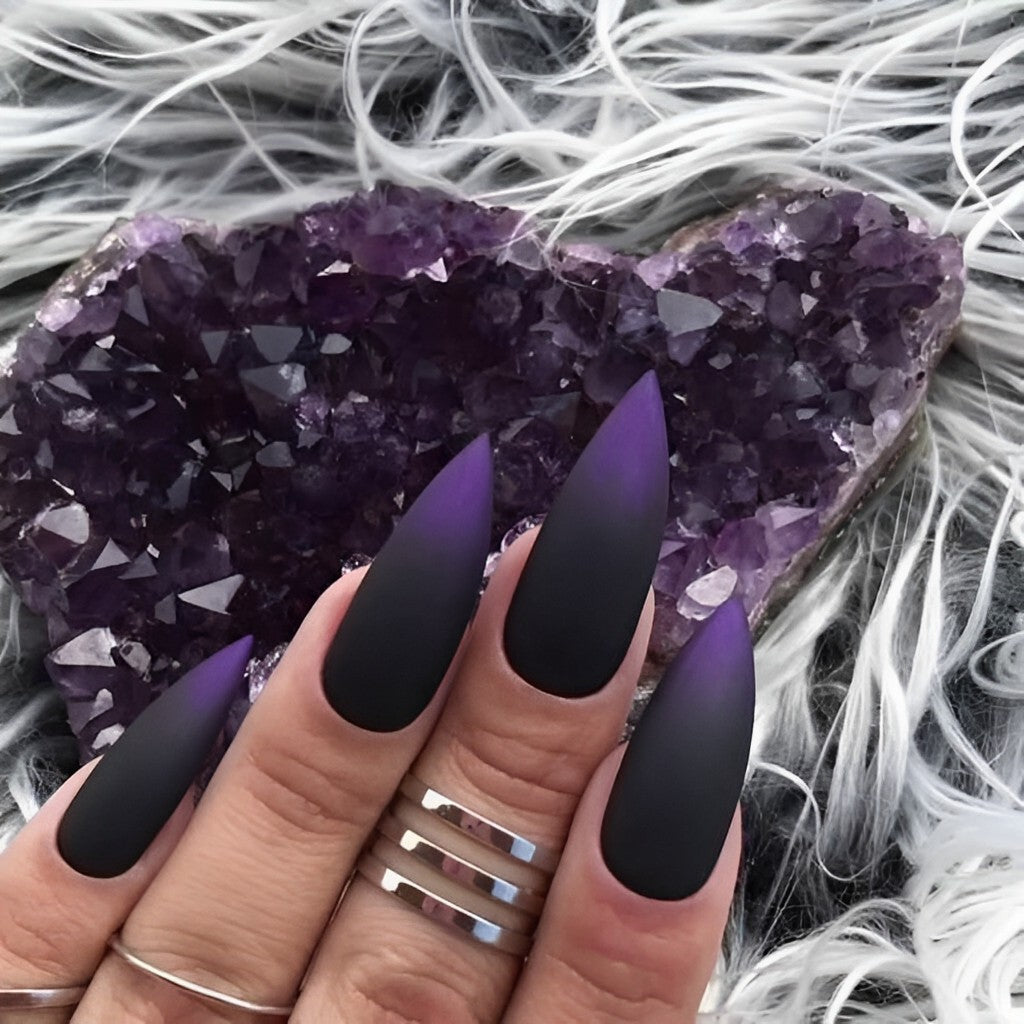
A matte finish makes any manicure more sophisticated. And you can't get more elegant than combining black with purple. Together, these two colors stand for power, mystery, ambition, and grandeur. Not to mention the stiletto shape to make the point.
For Halloween
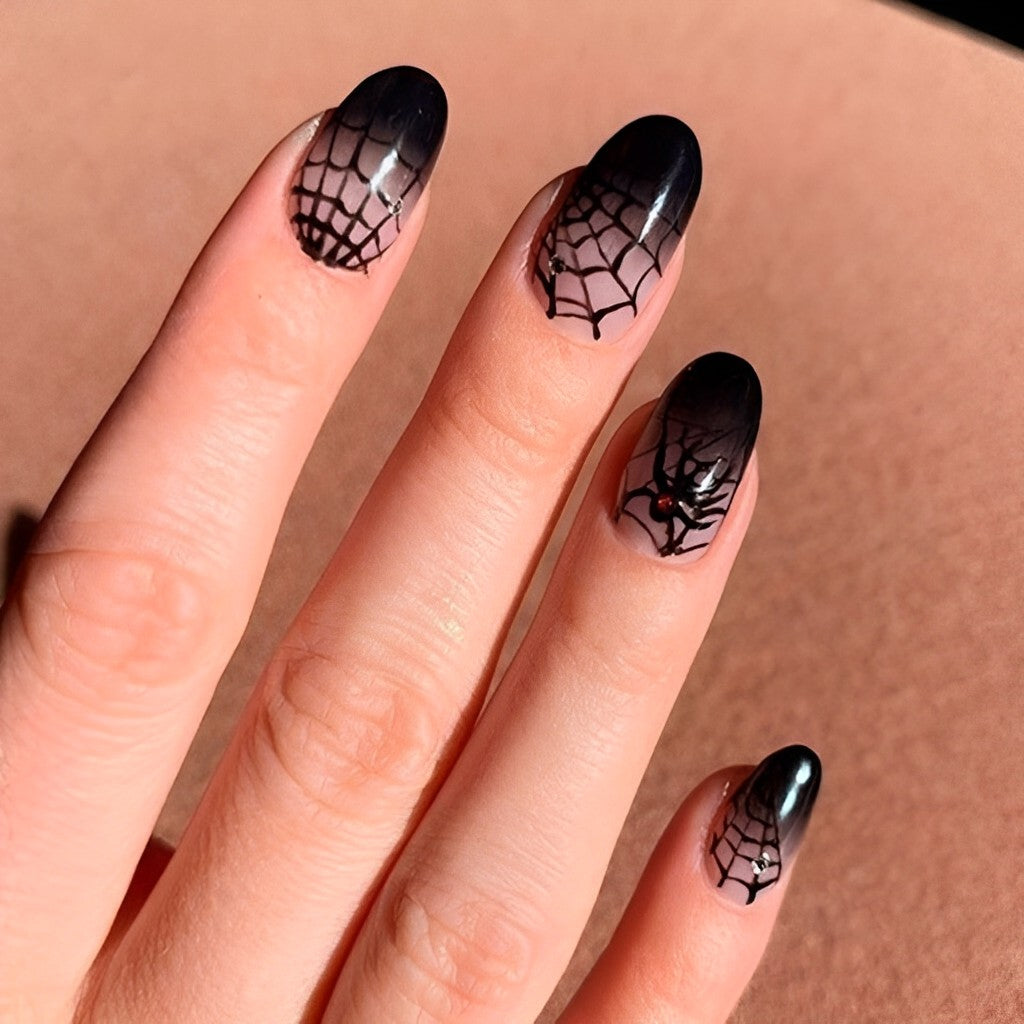
Spooky black ombre nails with a spider and webs? Yes, please!
Doing this look at home is straightforward if you have a thin nail art brush or use line art gel.
With Holographic Chrome
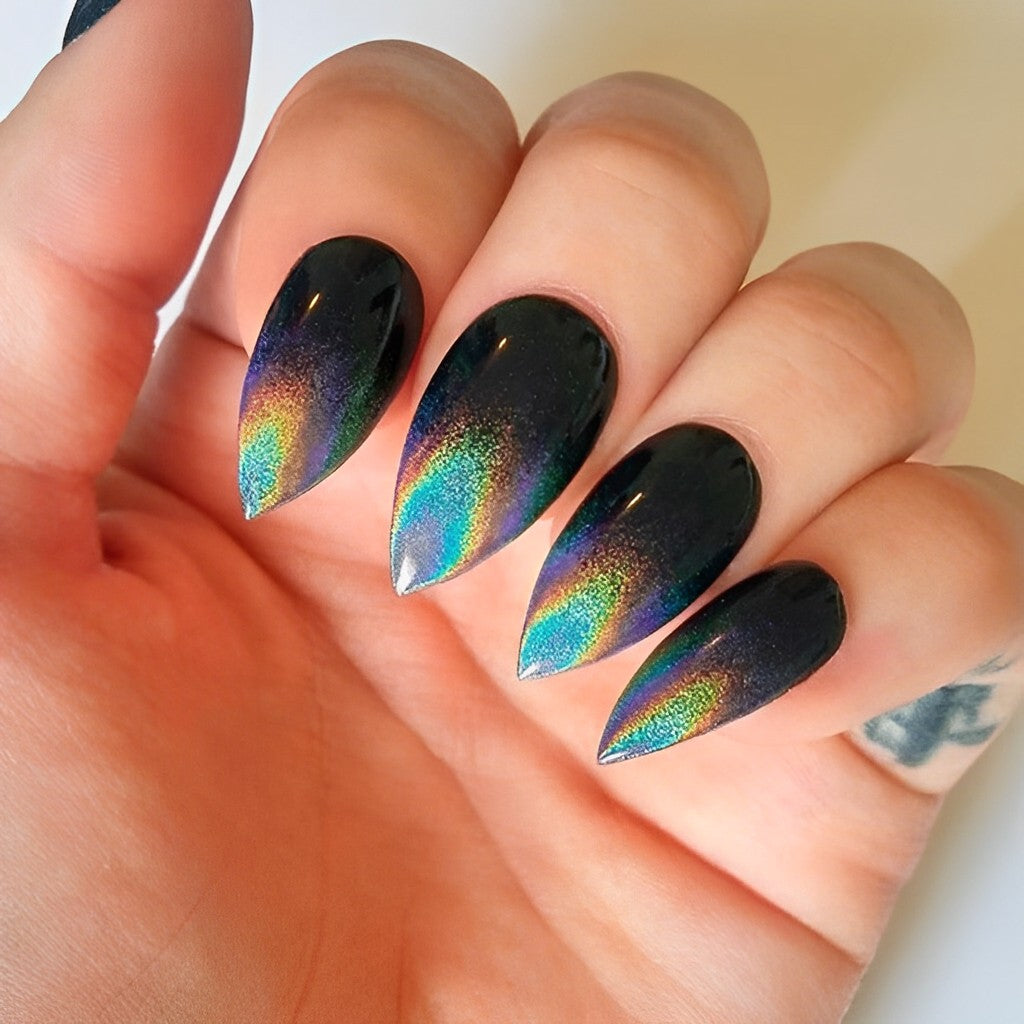
Everything’s better with chrome powder. Dip the tips or brush it on – it doesn’t matter. The iridescent finish leaves your fingertips with a glorious rainbow of color.
How to Do Black Ombre Nails
The first step to do black ombre nails is to choose a color to go with black. You’ll also need:
- A nail art brush or makeup sponge
- A base coat and a clear top coat
- All the necessary manicure tools like polish remover, nail file, cuticle pusher, and buffer block
Step-by-Step Guide
- Prep Your Nails: Start by cleaning and shaping your nails. Trim, file, and buff your nails to remove the shine. Push back your cuticles. Then, make sure your nails are clean and dry by wiping them with a lint-free nail wipe and alcohol or acetone.
- Base Coat: Apply the base on your nails. This will protect your natural nails against staining and provide good adhesion for the polish.
- Paint the Base Color: Apply the lighter of your chosen colors as the base shade. Allow it to dry or cure it completely before moving on to the next step. You may need two coats for full opacity.
- Sponge on the Black Polish: Dip the brush into the black polish and paint a thin line where you want the blackest part. This could be at the tip, near the cuticle, or along one side. Now, use the brush or sponge to spread the black polish toward the other side of the nail. You may need to add more black polish.
- If you've used too much black polish, let that nail dry. Then, apply a thin line of the bottom color along the opposite edge from where you started with the black and blend it back into the black.
- A dabbing or tapping motion is useful for achieving a seamless gradient transition between the colors.
- Clean up around the edges of the nail if you've gotten polish onto the skin.
- Finish with one or two layers of the top coat. Remember to brush the edge of the nail to protect against chipping.
Remember, practice makes perfect. Ombre nails can take patience to master, so don't be discouraged if your first attempt isn't perfect. In time, you'll create beautiful gradient nail designs.
Conclusion
We’re happy you dropped by to see black ombre nail designs today. It’s an adaptable style that will let you have a lot of fun expressing yourself!
Since you’re here, don’t miss our deals where you can get the most nail supplies for your money. Also, stock up because we offer free shipping on orders over $100.
