


Acrylic nails are nail enhancements that include press-on nails, nail tips, and sculpted nails. They are also known as nail extensions, false nails or nail wraps. These nail enhancements were first developed in the early 1970s. Earlier versions of these press-on nails hardly look like nails and they never did anything to enhance the nails as well. The acrylic used in making these nail enhancement products are made formed using a monomer liquid and a polymer powder. Early versions of acrylic nails have a strong smell. That’s why in the earlier days of salons, you would have noticed the strong, awful scent that lingers inside the salon. Thankfully, those days are over. Salon owners and customers now have the option to use either a regular acrylic or one made with the best odorless monomer for better looking nails.
With the growing concern over the smell of acrylic nails, developers of the product found a way to take away the unappealing scent and make the product a lot more beneficial for the nails at the same time. Though there are some constraints when it comes to the application of the product (it may run on the nail, become so sticky and may leave a tacky layer on the nail if not applied properly), but with the best odorless monomer, all that you will have are great-looking sculpted nails minus the awful smell. Moreover, with the odorless system, you may also find that the product has better adhesion, provides more time to sculpt the nails,, cuts filing time by as much as 80%, and also lessens the presence of airborne filings.
Difference Between Odorless and Regular Acrylics
Other than the absence of unpleasant smell, the odorless monomer may also be easily known with the consistency of the product. The odorless monomer has a slightly thicker consistency, hence penetrates the powder polymer slower, giving those who use it more working time. The odorless acrylic system also works with a UV light curing lamp. The curing time varies from two to four minutes to ensure a hard set.
Top 5 Best Odorless Monomer
If you are looking for a nail product brand that offers the best odorless monomer, here are some options that you may need to consider. These products have gained popularity over time as shown in the number of positive reviews that they have earned. Click on the product name and you will be directed to the Amazon page that provides more details about the product and the brand.
Mia Secret Liquid Monomer
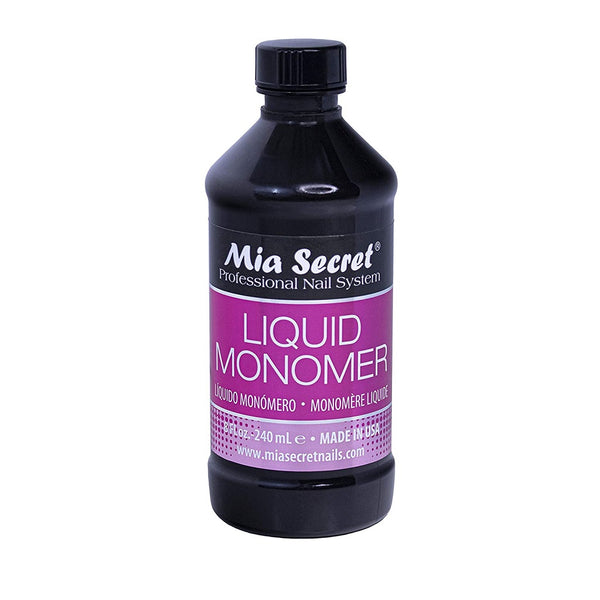
MIA SECRET acrylic liquid is highly versatile nail product for any nail tech experience level. This liquid monomer is used with the brand’s acrylic nail powder. The self-leveling feature of the system makes it easier to sculpt. This means there would be minimal strokes and filing needed to come up with awesome acrylic nails. Mia Secret’s acrylic liquid is non-yellowing, lift-resistant and contains no MMA (Methyl methacrylate). With this liquid monomer, you can now have a flawless consistency and superior adhesion that can last for more than two weeks.
Cheri Odorless Liquid Monomer
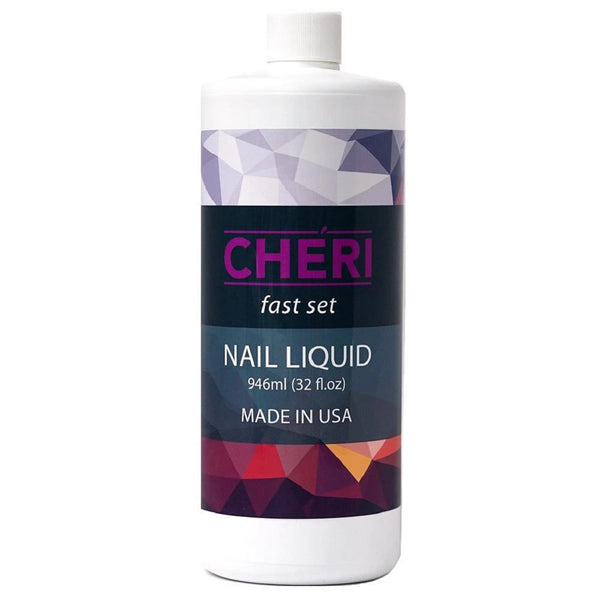
This is a slow set liquid that blends well with any acrylic powder. This liquid monomer makes the nail enhancement strong. It is as the product label indicates, odorless. You will need some time and practice to get the liquid to powder ratio down. Use only a small amount of liquid to work with. You will need about two minutes to let the product to set. Tap the nail to see if it is ready. You will know when it is if you hear a clicking noise. Wipe with alcohol to remove the sticky residue on top and you are done.
Sassi Acrylic Liquid Odorless
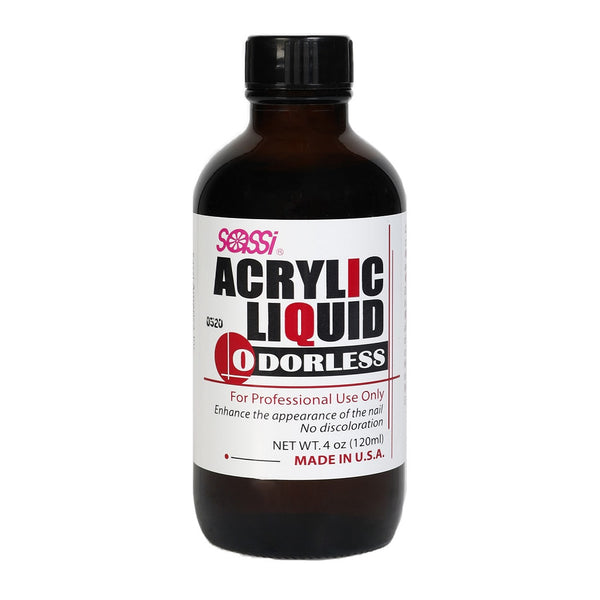
This odorless liquid monomer is a great match to a powder acrylic but will require some time to do, hence a little practice will help to have better application the next time around. The liquid to powder ratio is slightly different. A 1:1 ratio is needed when using this product. With this brand, you will need far less liquid than other monomers. It takes a little practice to get the ratio right. The key is to maintain an oil free brush. It takes about 2 to 3 minutes to set. You will need to file the one direction of the sticky film before filing the nail. Any sticky residue can be filed off ort taken off with alcohol.
Fheaven QUNQUN Professional Nail Art Nail Polish Q Monomer

This product acts as a color stabilizer and helps prevent ugly yellowing on pink, white and transparent powder and help maintain the integrity of the pigments. The liquid asset starts from the Q monomer. Through this innovative formula, the two major threats of successful nail enhancement will be eliminated -discoloration and fragmentation or damage. The seller claims that this monomer is easier to apply than any similar product on the market. This liquid monomer can be used with different powder acrylic and dries quickly.
Divinity Structure Odorless Monomer
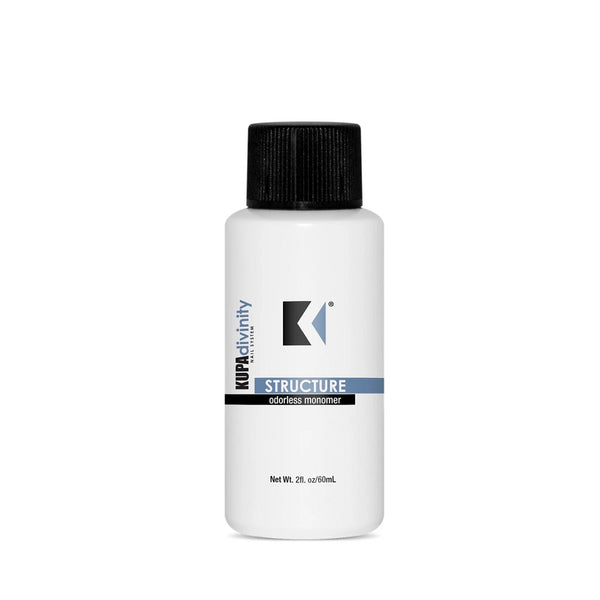
This product is a perfectly blended odorless liquid monomer that sets quickly with minimal tacky surface layer. The sticky residue can easily be removed with a lint free pad and gel cleaner. There is no need to file off, however. This liquid monomer is available in 2 oz, 8 oz, 32 oz and gallon size (4 x 32 oz bottles). This product is not sold on Amazon or eBay.
Using Liquid Monomers For Nail Sculpting
It requires a professional technician to do the job. If you plan to use any of these liquid monomers, be reminded that it will take time for you to perfect the application. It requires some practice before you can actually create stunning designs, but it is doable. So, if you are up for the challenge, here are the steps to have astonishing sculpted nails.
Cleanse the nail
Whether you just need to have a fresh mani or have nails wraps or extensions on your nails, you will need a clean surface to start with. Make sure that your natural nails are properly prepared. Use a nail bed cleanser to ensure that you give a thorough clean on the surface of the nail. Alcohol can be used as this dissolves oils and grease from the surface of your nails. This will also help remove bacteria from your nails and the surrounding area to help reduce the chance of infection. Be careful, however, as applying too much cleanser may dry out your skin and cuticle.
Prime the Nail
Once you have properly cleaned nails, you will need to apply a primer to the nail bed as this will help help the acrylid to stick to the nails properly. You will need a non-etching type of primer as this works like a double-sided tape.
Mix the Acrylic Resin
Acrylic liquid should be mixed with the acrylic powder to create the resin or the acrylic nail. Work quickly with the resin once the two components are mixed to make sure that you will have a properly shaped press on the nail, extension, or nail wrap.
Sculpting the Nail
Place a nail guide or mold over your fingertips to hold the resin in place. This ensures that you will be able to take the correct shape and size of the nail where the resin will be placed over. Place the resin on the fingertips then sculpt them to look like real nails before they harden. Once you are satisfied with the look of the resin on your nails, you may remove the nail mold.
Design Your New Nails
Make sure that the resin has completely dried before having your nails filed and painted with fresh polish. You may need to re-apply a nail coat as your natural nails grow.
Today there are nail falsies that are readily available in the market, so if you are a DIY fan, it will be less of a headache when you want to have a nail extension to cover your natural nails. It makes it easier to have the nails done with fake nails as there are brands that actually sell falsies that actually look like painted or designed nails. All you would have to do is to glue the fake nails or extension on your nails and apply a top base to seal the fake nail over your natural nail.
But if you would rather have a technician do the job for you, make sure that only a licensed technician touches your nail. Also, communicate well with the technician as to the design that you would like to have on your nails. It will also be necessary that you ask the technician what tools she would be using. Make sure that no nail drills will be used as it could probably damage your nails if not used properly.
Now that you have some idea how nail enhancements are done, what do you think about it? Do you prefer having falsies or would you rather go natural? How about nail tips that you may want to share? Again, for the best odorless monomer, check out the list above.


