


Nail Stamping Plate


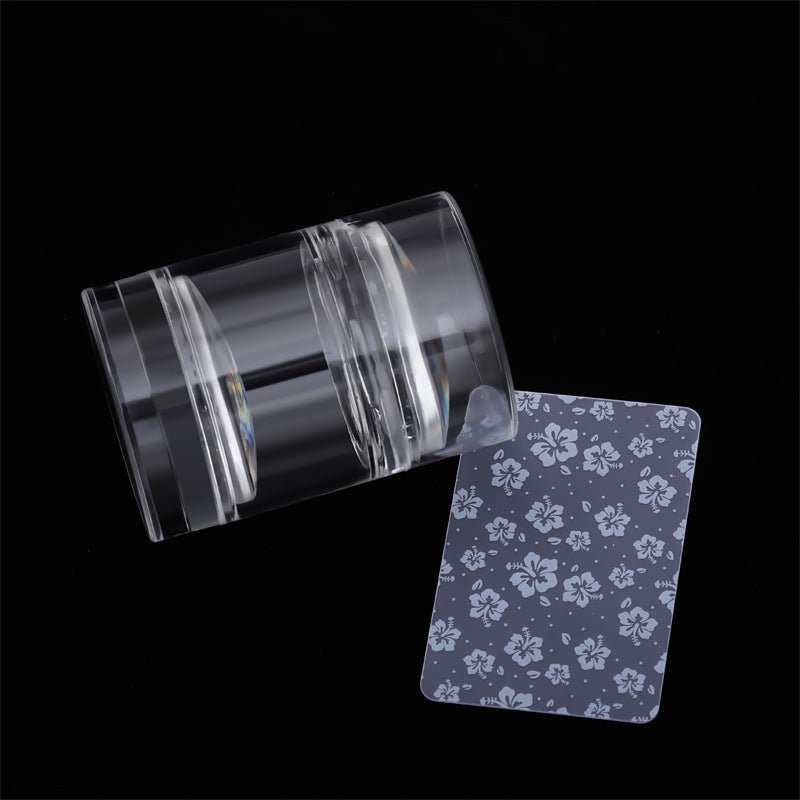
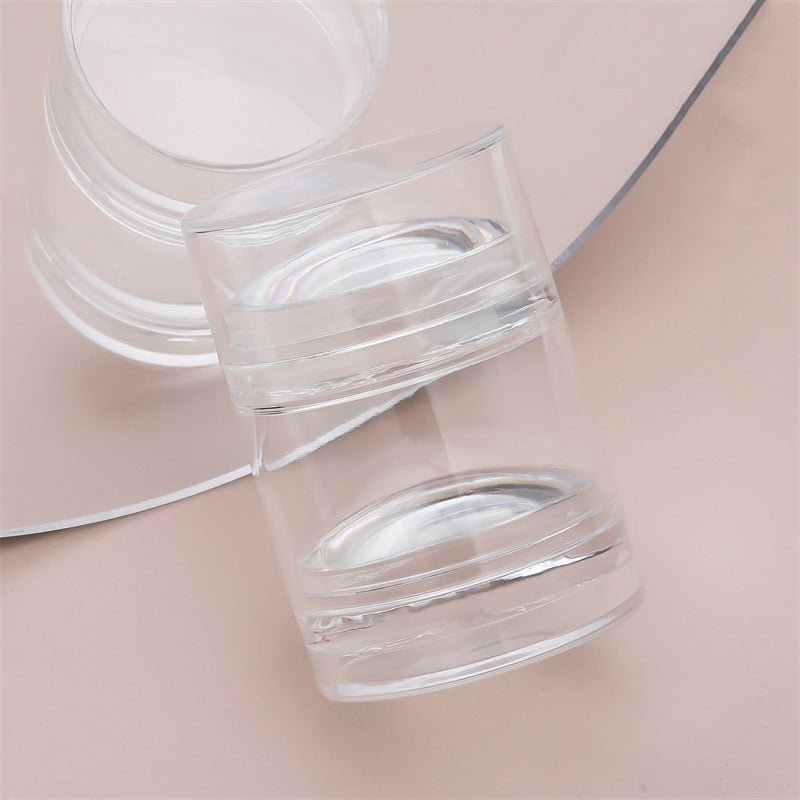
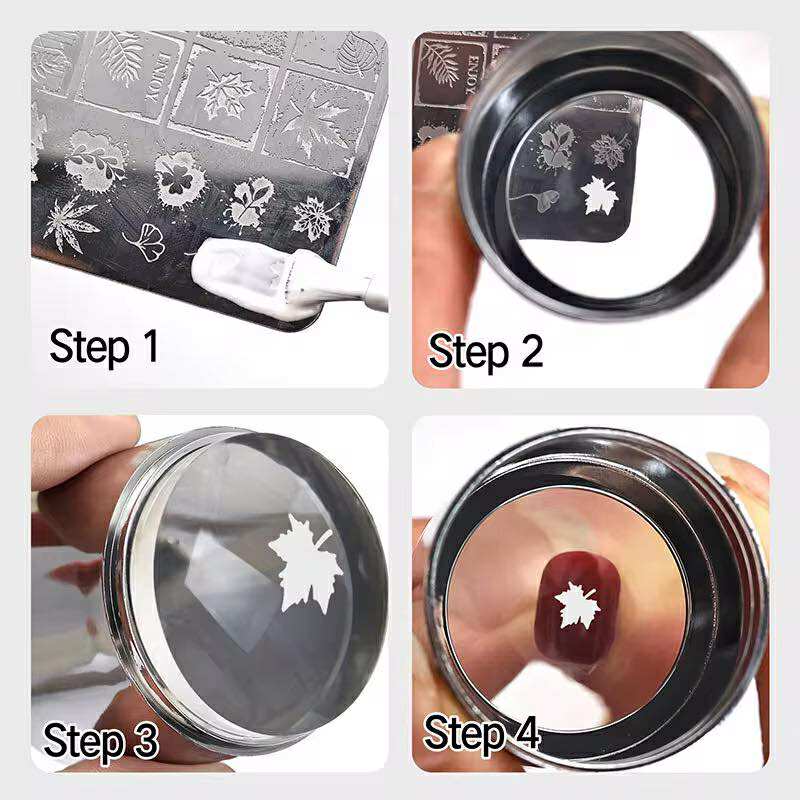
French Silicone Jelly Stamper - Clear
Regular price
Sale price
$4.50
Regular price
$6.99
Choose your option


French Silicone Jelly Stamper - Red
Regular price
Sale price
$4.50
Regular price
$6.99
Choose your option


French Silicone Jelly Stamper - Blue
Regular price
Sale price
$4.50
Regular price
$6.99
Choose your option

Nail Printing Steel Plate W1013 - Style pattern B version
Regular price
$6.99
Sale price
Regular price
Choose your option

Nail Printing Steel Plate W1015 - Hand drawn A flowers
Regular price
$6.99
Sale price
Regular price
Choose your option

Nail Printing Steel Plate W1008 - Flower Leaves
Regular price
$6.99
Sale price
Regular price
Choose your option

Nail Printing Steel Plate W1017 - Hand drawn C bow-knot
Regular price
$6.99
Sale price
Regular price
Choose your option

Nail Printing Steel Plate W1018 - Cute bow-knot
Regular price
$6.99
Sale price
Regular price
Choose your option

Nail Printing Steel Plate W1016 - Hand drawn B butterfly
Regular price
$6.99
Sale price
Regular price
Choose your option


Nail Printing Steel Plate W1007 - Pattern Style
Regular price
$6.99
Sale price
Regular price
Choose your option

Nail Printing Steel Plate W1021 - Sweet pattern
Regular price
$6.99
Sale price
Regular price
Choose your option

Nail Printing Steel Plate W1006 - Butterfly pattern
Regular price
$6.99
Sale price
Regular price
Choose your option

Nail Printing Steel Plate W1022 - Window grille pattern
Regular price
$6.99
Sale price
Regular price
Choose your option


Nail Printing Steel Plate XY-DF05
Regular price
$5.99
Sale price
Regular price
Choose your option


Nail Printing Steel Plate XY-DF03
Regular price
$5.99
Sale price
Regular price
Choose your option


Nail Printing Steel Plate XY-DF04
Regular price
$5.99
Sale price
Regular price
Choose your option


Nail Printing Steel Plate XY-DF07
Regular price
$5.99
Sale price
Regular price
Choose your option


Nail Printing Steel Plate XY-DF13
Regular price
$5.99
Sale price
Regular price
Choose your option


Nail Printing Steel Plate XY-DF20
Regular price
$5.99
Sale price
Regular price
Choose your option


Nail Printing Steel Plate XY-DF12
Regular price
$5.99
Sale price
Regular price
Choose your option


Nail Stamping Plates - Nail Printing Plates
Regular price
From $3.99
Sale price
Regular price
$3.99
Choose your option


Nail Stamping Plates - Nail Printing Plates
Regular price
From $3.99
Sale price
Regular price
$3.99
Choose your option


Nail Stamping Plates - Nail Printing Plates
Regular price
From $3.99
Sale price
Regular price
$3.99
Choose your option


French Silicone Seal Set - Tools & Accessories
Regular price
$5.99
Sale price
Regular price
$5.99
Choose your option


French Silicone Seal - Tools & Accessories
Regular price
Sale price
$4.50
Regular price
$6.99
Choose your option
Large Silicone Head - Tools & Accessories
Regular price
$5.99
Sale price
Regular price
$5.99
Choose your option
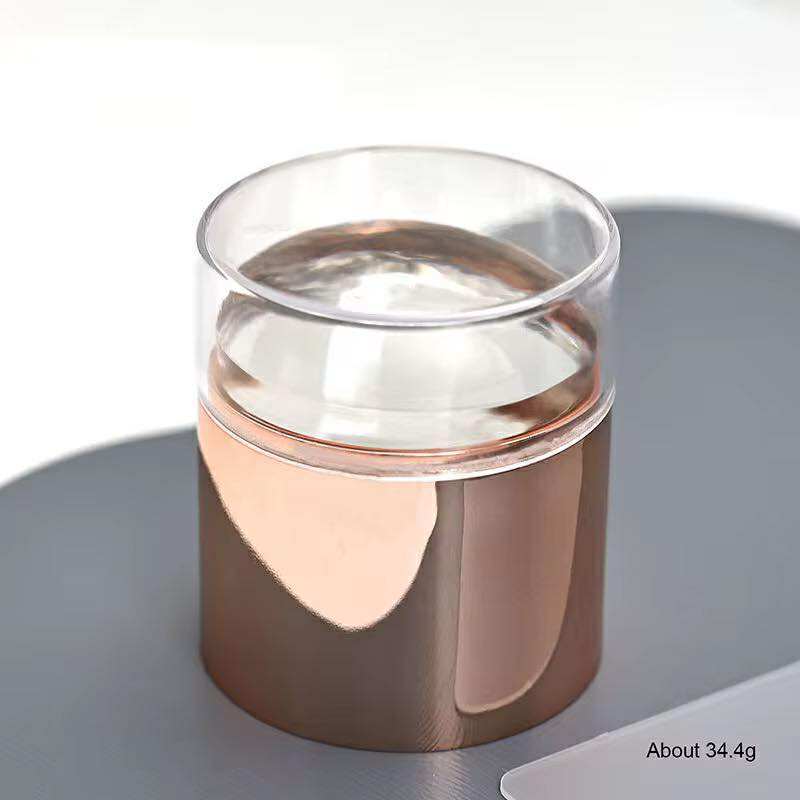

French Silicone Seal - Rose Gold
Regular price
$5.99
Sale price
Regular price
$5.99
Choose your option
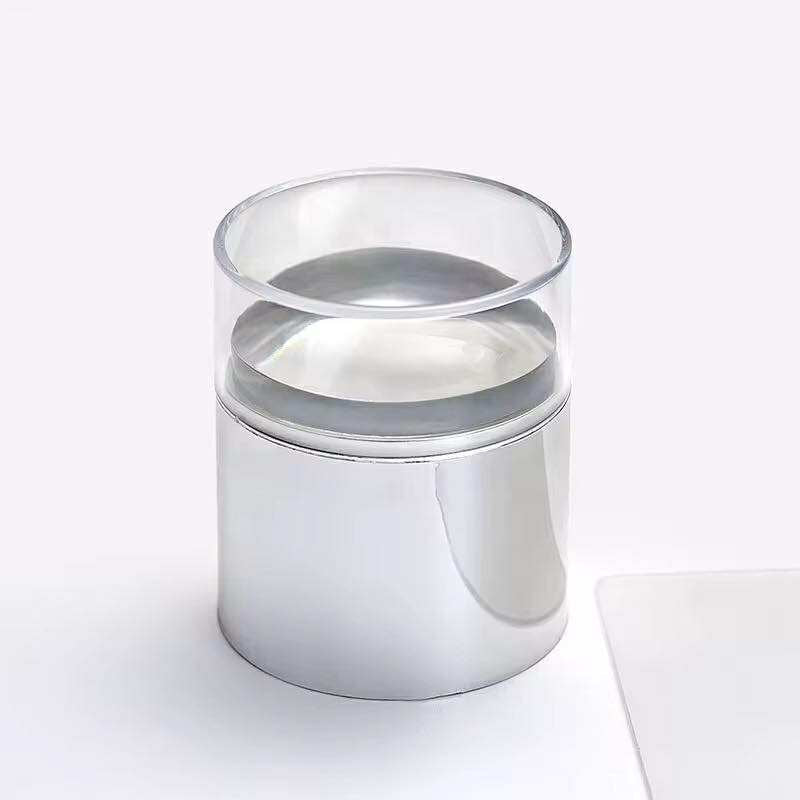
French Silicone Seal - Silver - Tools & Accessories
Regular price
$5.99
Sale price
Regular price
$5.99
Choose your option


Lavis Super Black & White Combo 0.5oz — French Tip + Color Art Pair
Regular price
Sale price
$7.00
Regular price
$11.00
Choose your option


Lavis Gel Polish Super White 0.5oz — Maximum-Opacity True White
Regular price
Sale price
$7.00
Regular price
$11.00
Choose your option


Nail Printing Steel Plate XY-DF11
Regular price
$5.99
Sale price
Regular price
Choose your option


Nail Printing Steel Plate XY10 - Hearts
Regular price
$5.99
Sale price
Regular price
$5.99
Choose your option
Best Sellers


DND Gel + Lacquer Duo #448 Snow Flake
Regular price
Sale price
$6.00
Regular price
$12.00
Choose your option


DND Gel + Lacquer Duo #537 Panther Pink
Regular price
Sale price
$6.00
Regular price
$12.00
Choose your option


DND Gel Polish - 441 Clear Pink
Regular price
Sale price
From $3.99
Regular price
$8.00
Choose your option


Kiara Sky Pink Your Poison — HEMA-Free Gel Polish | DTK
Regular price
Sale price
$13.00
Regular price
$13.99
Choose your option


OPI Intelli-Gel - E82 My Vampire is Buff - Soft Mauve Nude HEMA-Free Gel Polish 0.5 oz
Regular price
Sale price
$14.95
Regular price
$24.99
Choose your option


OPI Intelli-Gel - H22 Funny Bunny - Soft Sheer White HEMA-Free Gel Polish 0.5 oz
Regular price
Sale price
$14.95
Regular price
$24.99
Choose your option


OPI Intelli-Gel - H82 Let's Be Friends! - Bright Happy Pink HEMA-Free Gel Polish 0.5 oz
Regular price
Sale price
$14.95
Regular price
$24.99
Choose your option


OPI Intelli-Gel - L00 Alpine Snow - Pure Opaque White HEMA-Free Gel Polish 0.5 oz
Regular price
Sale price
$14.95
Regular price
$24.99