


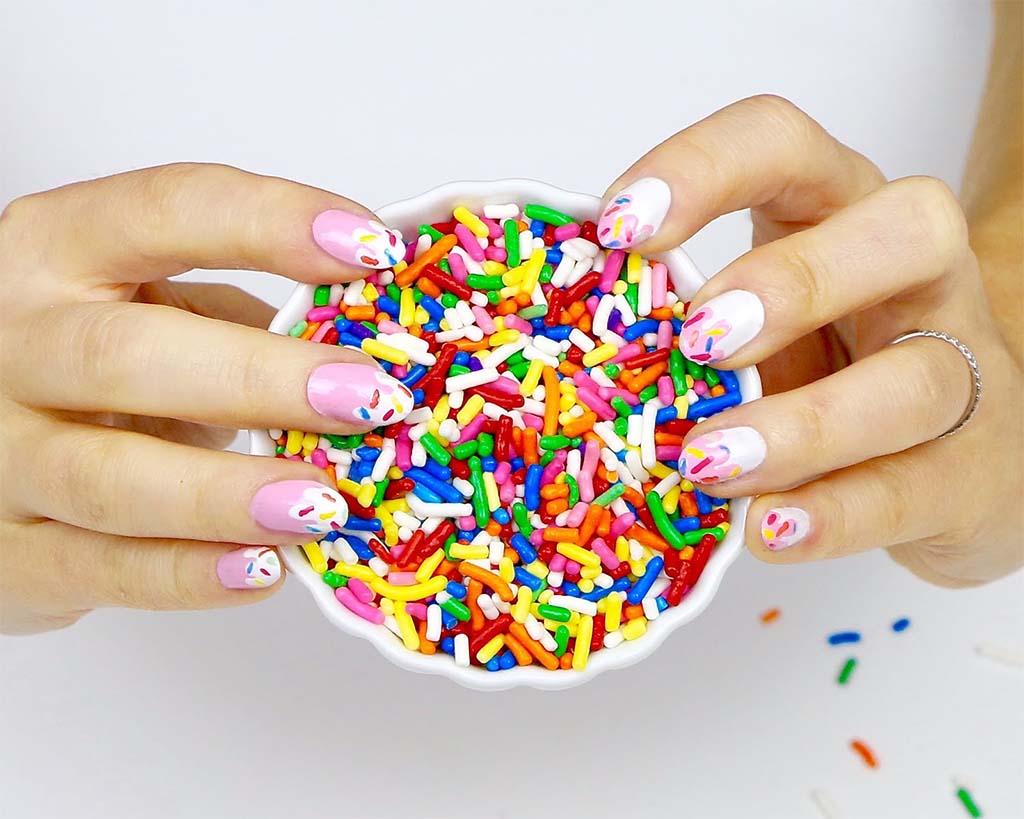
Are you looking for a sweet new manicure? Sprinkle nails are the whimsical epitome of fun nail art. Not only do they look good enough to eat, but they are also a definite conversation starter. If you’d like to know how to create sprinkle nails any cupcake would envy, there are three easy ways to do it right in the comfort of your home.
How to Do Sprinkle Nails with Nail Lacquer or Gel Polish
If you want your nails to resemble a decorated cupcake, there are different ways to go about it. This method uses nail polish instead of actual candy sprinkles so that your manicure lasts longer than a few hours. If you prefer to do sprinkle nails for a birthday party or other short-term situation, skip to the next section below.
First, gather these supplies:
- Base coat (for gels; not essential for lacquer).
- Color coat (for the color of the cupcake – pink, yellow, vanilla, chocolate).
- Polish colors for the sprinkles (at least three).
- Top coat.
- Dotting pen, thin nail brush, or toothpick for painting the sprinkles.
As always, before painting your nails, prepare them by trimming, shaping, and buffing. Remove debris and oil with a lint-free wipe or rubbing alcohol. Remember to push back the cuticles.
Next, brush on the base coat and let it dry or cure it (gels). Apply one or two coats of the cupcake color. We love this one:
LDS 144 Birthday Cake - LDS Healthy Nail Lacquer
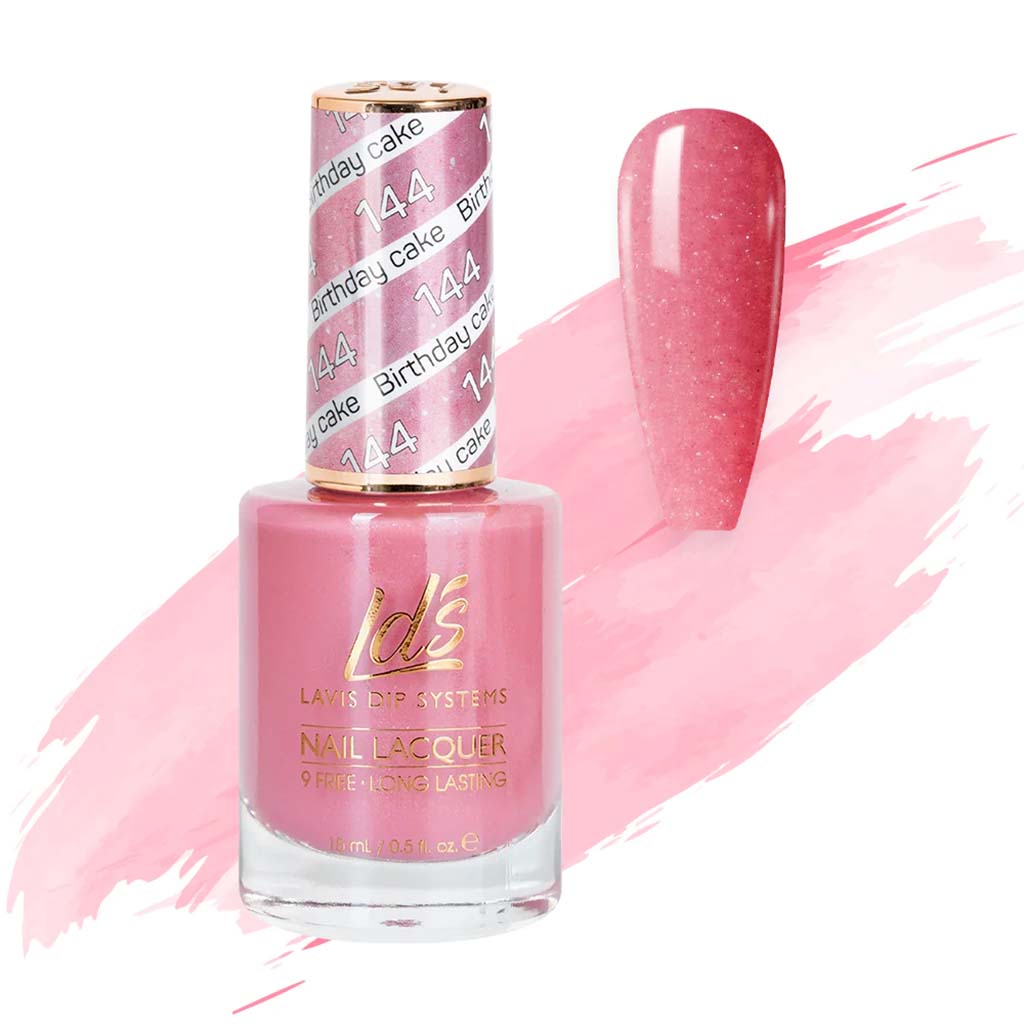
This happy pink shade comes in a non-toxic nail lacquer that’s 9-free. That’s right, it contains no formaldehyde, phthalates, petrochemical solvents, and so on. It’s also cruelty-free and vegan. That’s ideal for the “cake” base of your sprinkle nails!
PRO TIP: Here’s where you can get extra creative. Use nail tape or freehand a line to divide the nail into two parts. One is the cake, and the second is a different color of frosting at the tip. Then you can paint the sprinkles only on the frosting part. Otherwise, there’s no problem with using only one color underneath the sprinkles.
LDS 151 White Ice - LDS Healthy Nail Lacquer
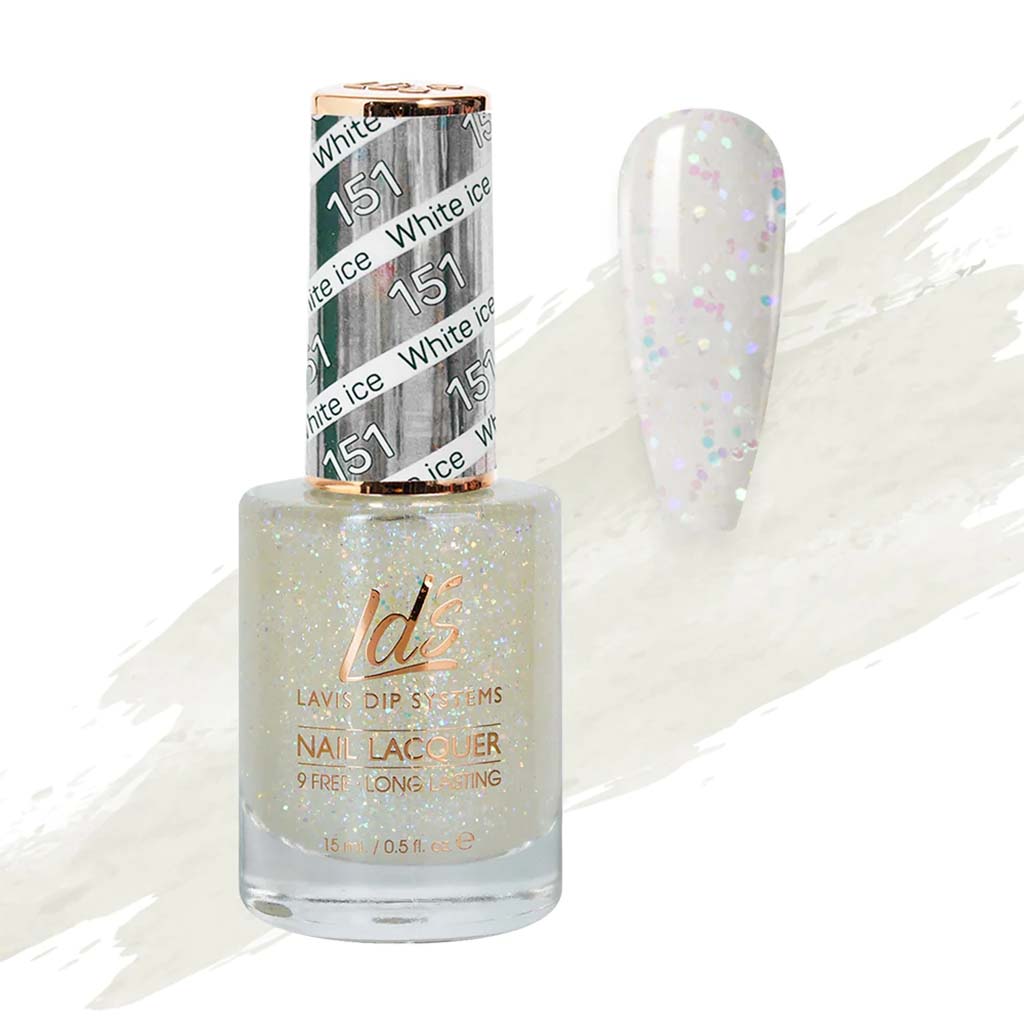
Make your sprinkle nails shine even brighter with this sparkly white lacquer as the frosting underneath the sprinkles!
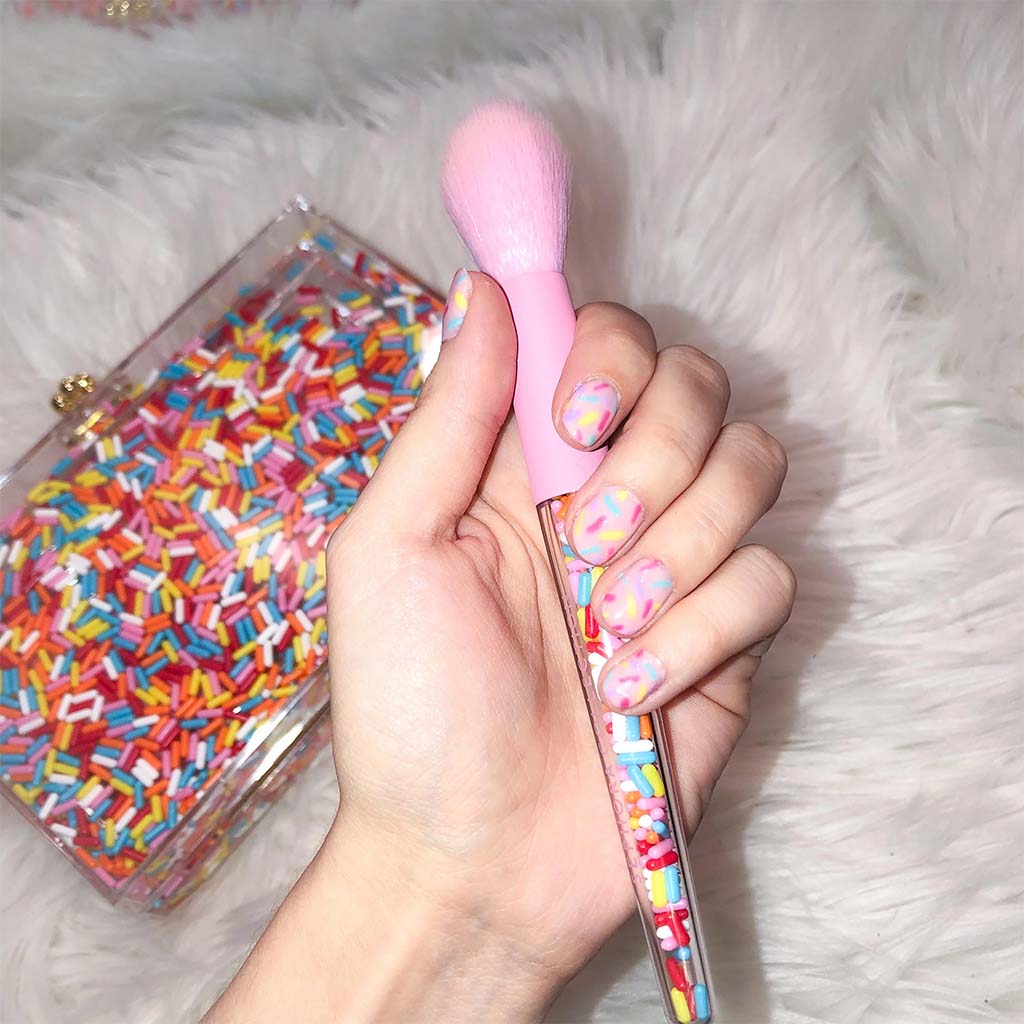
Once the base color is dry, use the dotting pen or a similar tool to draw colorful sprinkles. If you’re doing a gel manicure, this part is super easy with line art gels.
Lastly, apply the top coat. We recommend a fast-dry top coat like Seche Vite for lacquer or the quick-curing Diamond top gel for a long-lasting, glossy finish.
Now, go show off those nails!
How to Do Sprinkle Nails with Real Sprinkles
If you prefer to use actual candy decorations for your sprinkle nails, it's definitely doable. However, it only makes for a long-lasting manicure if you use gels or acrylics.
The supplies you’ll need:
- Nail polish, any color.
- Transparent top coat (can be used on the bottom instead of colored polish).
- A small, shallow bowl big enough for dipping fingers.
- Candy sprinkles or jimmies.
- Cuticle stick or similar tool.
You'll need time to complete this manicure successfully, especially if you're using nail lacquer instead of gel polish. That's because the lacquer has to dry completely, or the sprinkles will fall off or smudge.
Pour the sprinkles into the bowl. You need enough of them on the bottom to dip your nails without touching the bowl.
Now, brush the base coat on one finger. Apply on a nice, thick layer and wait at least 15 to 30 seconds for it to become tacky as it dries.
Curl the finger and dip it into the sprinkles. Press down to pack on the candy but don’t touch the bottom of the bowl. Use the cuticle stick or a finger to nudge the sprinkles into place if they try to spread onto the cuticle or fingertip.
Be patient for 5-7 minutes while the polish dries. Then apply the top coat by dabbing it on. Be generous so that it penetrates into the cracks between the sprinkles. Don’t drag the brush across the candy or it will remove the color. Wait another 5 minutes while the lacquer dries (or use a fast-dry top coat).
What’s fun is that even when the sprinkles fall off, they leave behind a colorful pattern on the nails.
How to Do Sprinkle Nails That Last (Gel or Acrylics with Real Sprinkles)
If you want your sprinkle nails to last as long as possible, use gel polish or encapsulate the sprinkles in acrylic.
Gem gel or nail glue will keep the candy stuck to the nails for days instead of hours. And gel polish won’t dry until it’s cured – but once it’s dry, it’s very durable. A salon-quality nail lamp will cure the gel to a professional finish.
For a gel manicure, follow the same steps as you would with nail polish. After you prep the nails and apply a base coat. Use a colored polish if you wish, but this isn’t necessary if you plan to cram all the sprinkles possible onto the nails.
Before you cure the base or colored coat, press the fingernail onto the sprinkles in a shallow bowl. Use a cuticle stick to arrange them into place and make sure the polish isn’t on the skin. Then cure the gel. You could stop there, but if you apply a top coat, the sprinkles will stay put for days or even a week or two. Be careful applying the top coat – dab it on instead of brushing it across the sprinkles. Then cure the nails and enjoy!
Alternatively, you can make even more long-lasting and stunning sprinkle nails with acrylics. If you’re curious about how to enclose sprinkles in acrylic, this video gives a quick overview. It’s fun to see how the transparent acrylic encapsulates colorful decorations on nail extensions.
Conclusion
Sprinkle nails are the delightful nail art that you've been searching for. These eye-catching designs will make your nails look delectable! The best part is that you can create this fun look at home with just a few supplies. Take advantage of our deals and stock up on all the nail care tools you need today. We provide free shipping on orders over $100!


