


Are you tired of feeling self-conscious about your nails? Are you longing for that sleek, graceful look that seems to elude you? There are simple solutions! This article will explain how to fix wide nails to help stubby fingers look elegant.
This comprehensive guide will explore everything you need to know to make wide nails look slimmer. It includes practical tips and innovative products to achieve the perfect nail shape for your hands.
How to Fix Wide Nails
Tip 1: Let Your Natural Nails Grow
You only need a millimeter or two more length than width to tip the scales. Moreover, keeping your cuticles well-groomed and pushed back helps maintain the illusion of longer nails.
Not everyone can grow out their nails. Maybe they're brittle or weak. But fear not because there are ways to lengthen nails artificially. We’ll cover that option in a moment.
Tip 2: File and Shape Them into a Flattering Shape
A little technique goes a long way in transforming those wide nails into sleek beauties. If your nails resemble inverted triangles, file the edges to round them. Aim for an almond, oval, or squoval form. Take your time and file from the outer edges toward the center. To keep your nails from splitting, use a fine 240-grit file.
Tip 3: Paint the Illusion of Slimmer Nails
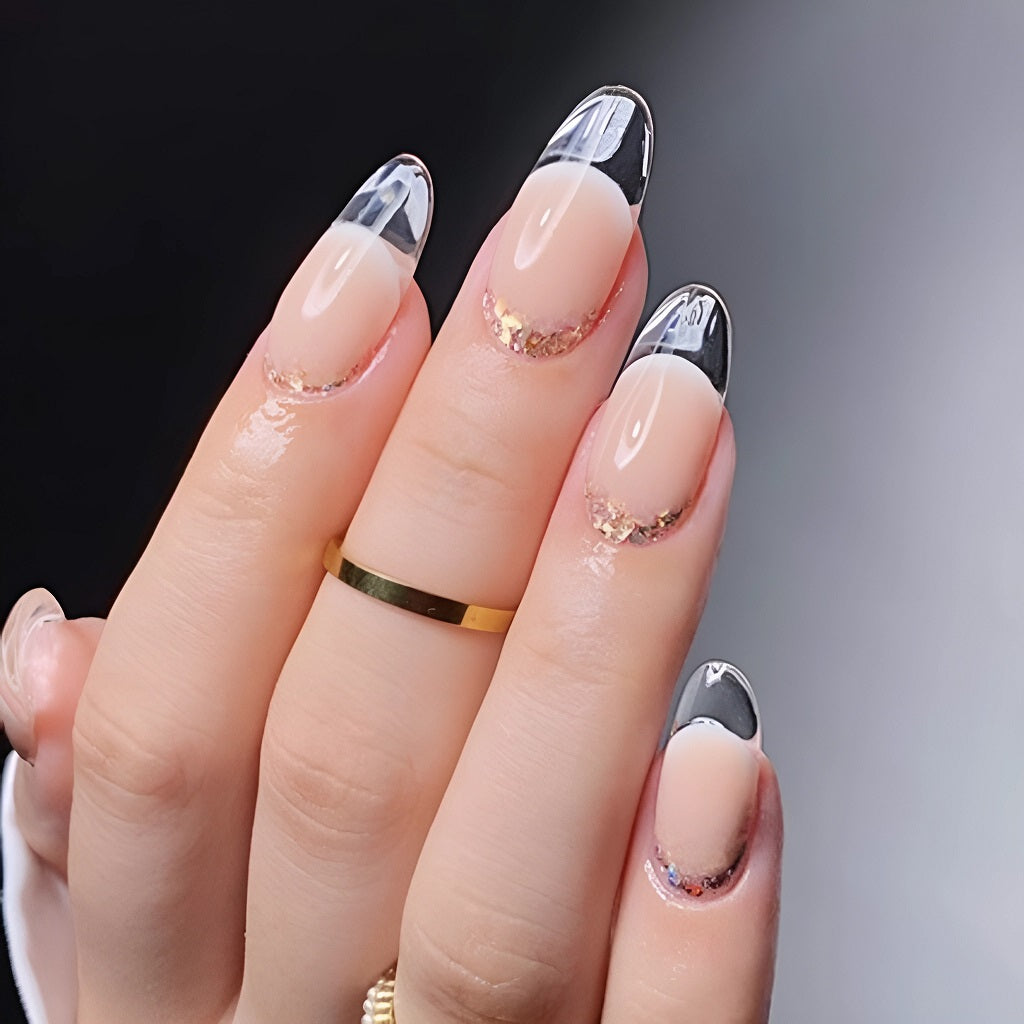
Some shades work wonders in creating the illusion of slimmer, longer fingernails. Nude and pastel colors (except white) are your secret weapons. These soft hues blend with your natural finger line to give the appearance of more slender fingertips. Choose a shade that's just a touch lighter than your skin tone for optimal results.
You may also feel satisfied with classic red nails. This sophisticated shade tends to be lovely on any nail shape or length. When in doubt, try a matte finish for an understated look.
When applying polish, leave a tiny gap on each side of the nail free of polish. It's a subtle trick that creates the visual of a thinner nail in relation to the width of your finger. This technique can also help correct a nail’s shape, like making it look less triangular or square.
Tip 4: Adjust Your Nails Artificially
Now, let’s go in-depth about how to make your nails thinner artificially. Here are the top nail shapes for the illusion of slimmer nails.
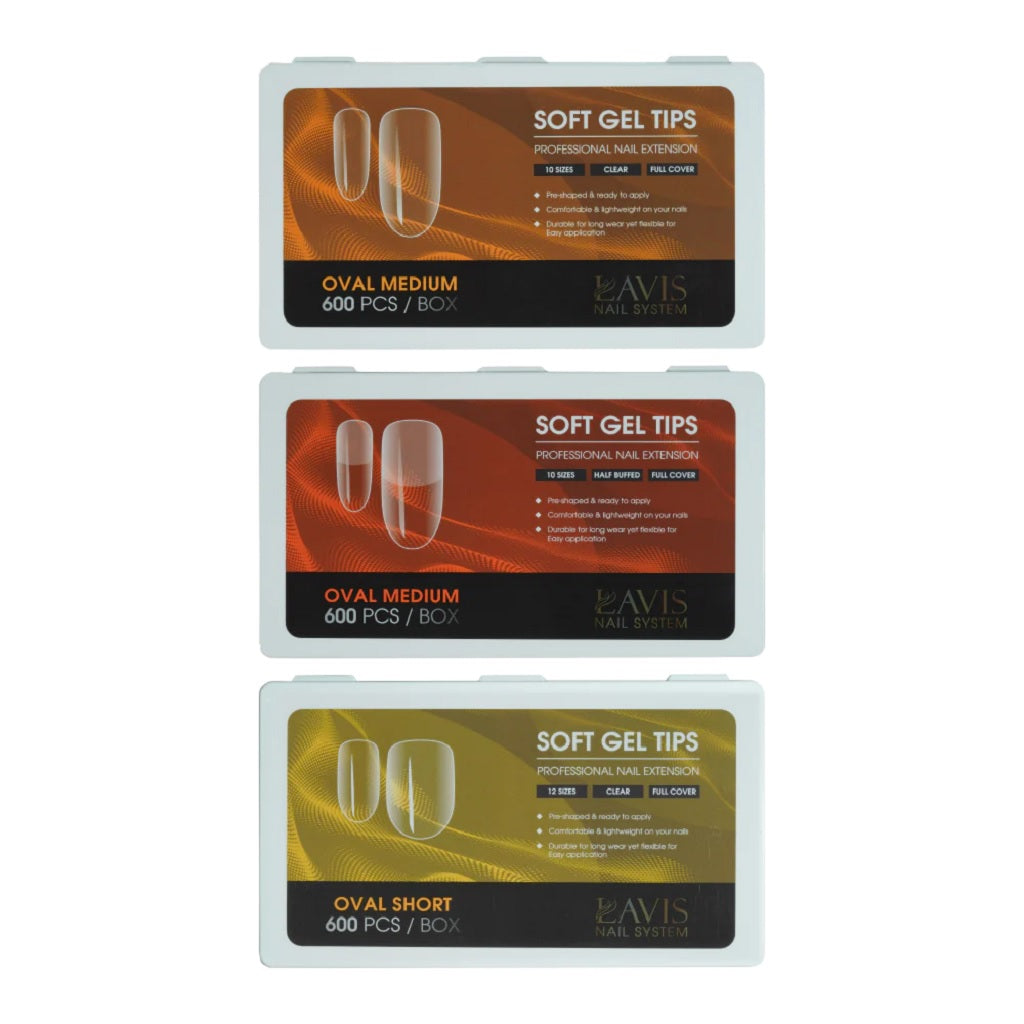
Oval
First, we have the oval shape with smooth curves, soft edges, and a tip filed to mimic an egg. This elongating shape is ideal for those with small hands and short fingers.
How do you achieve oval nails? We’ll explain three methods in a moment. In the meantime, here’s a peek:
LAVIS Oval - Soft Gel Tips
Round
The round shape is an effortless look that can flatter your fingertips if you have wide nails and short fingers. Keep the edges straight and the top curved. Avoid the square shape because it makes nails look broader. Instead, try squoval nails.
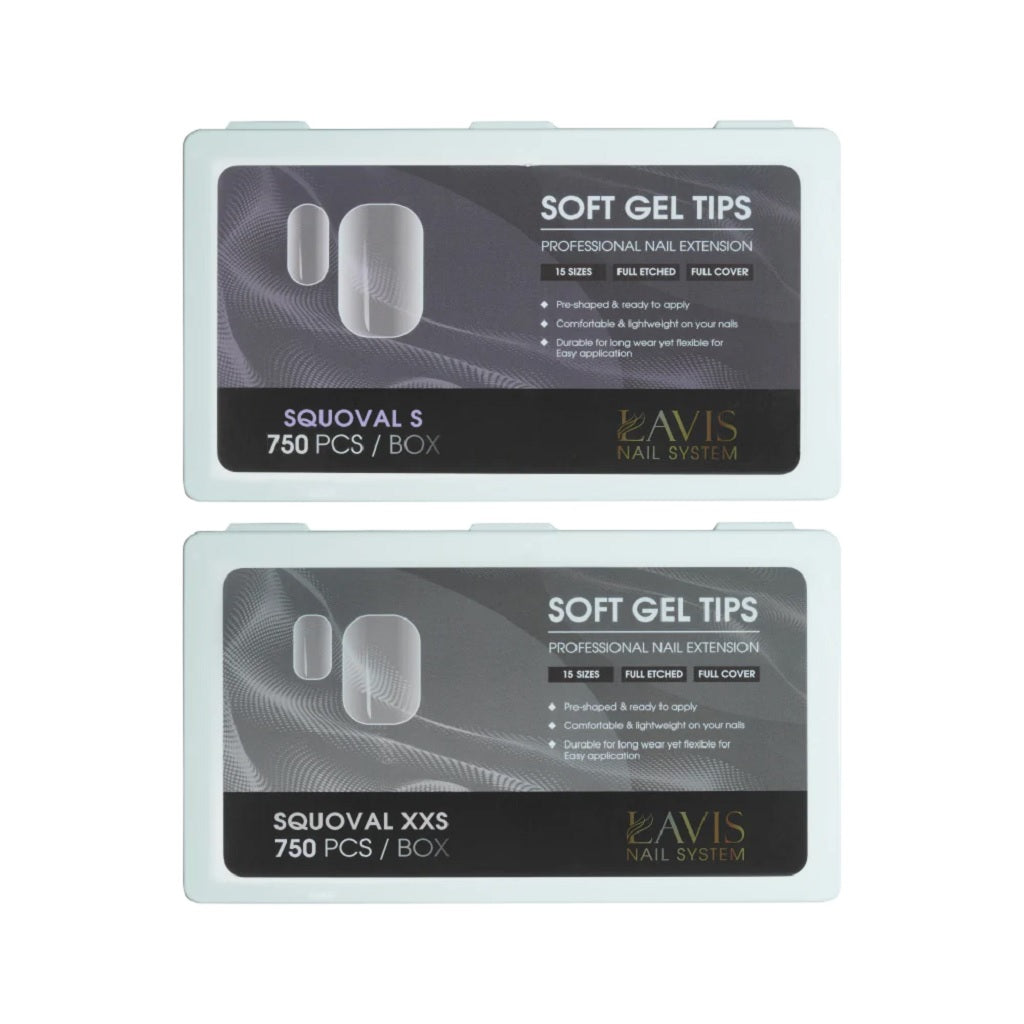
Squoval
How about a nail shape with the perfect balance between square and oval? The squoval shape is the easiest to maintain and the most natural for most people. It has a flattering look that complements everyone’s hands.
LAVIS Squoval - Soft Gel Tips
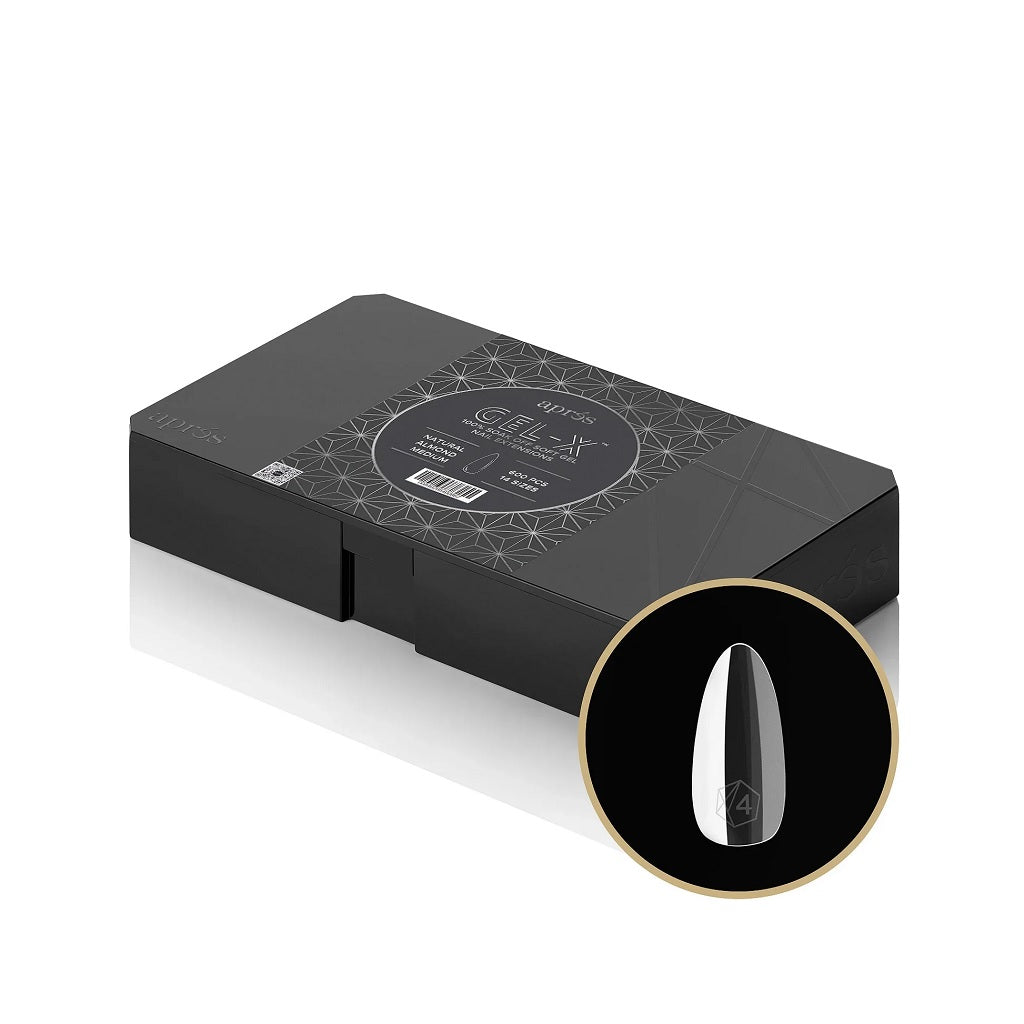
Almond
Almond nails are slim and graceful, broad at the base but coming to a rounded peak. It’s suitable for those with short, wide fingers who want to add glamour to any look.
APRES - Gel-X - Natural Almond Medium
Stiletto
For the bold, stiletto nails are the ultimate statement-maker. Dramatic, daring, and fierce, this confident nail shape is filed to a sharp, pointed tip. However, the toughest to maintain since they are susceptible to breakage, builder gel or acrylics can provide reinforcement.
3 Ways to Get Slimmer Nails in Minutes
Ready to transform your nails with some nail product magic? You can achieve slimmer nails using soft gel tips and press-ons or build extensions with acrylics, poly gel, or hard gel.
Soft Gel Extensions
You can apply soft gel tips if you’re set up to do gel manicures.
- Step 1: Prepare the natural nails with extra attention to pushing back the cuticles and buffing the plate. Wipe them down with rubbing alcohol to remove debris and oil.
- Step 2: Choose the correct sizes and lay them out in order. Match each nail cover to the corresponding finger, ensuring a perfect fit without any overlap over the skin.
- Step 3: Brush on bonder or primer according to the brand’s instructions.
- Step 4: Apply glue to the underside of the artificial nails at the base and press them into place. Cure each fingertip briefly before moving on to the next. Cure the entire hand once all the nails are on.
- Step 5: Apply colored polish and top coat if desired.
And there you have it—slimmer, more elongated nails in minutes, thanks to soft gel extensions. With a little bit of prep and a touch of creativity, you can achieve the nail shape of your dreams and unleash your inner nail artist.
Build Your Own Extensions
Products like LAVIS Builder Gel in a Bottle, poly gel, and acrylics allow you to sculpt custom extensions. The easiest for beginners is builder gel (BIAB), followed by poly extension gel.
Although builder gel doesn’t create extensions as long as acrylics can, sometimes you only need a little length to make wide nails look more elegant. Moreover, builder gel is a thick polish that’s straightforward to apply. Just remember to use a gentle side-to-side movement instead of vertical strokes.
Press-On Nails
The absolute easiest way to fix wide nails is to disguise them with press-on nails. It’s a quick and inexpensive trick. Choose an almond, oval, or squoval shape with a flattering pastel and voilà! Also, look for a design that makes the nails look longer, like vertical stripes.
Conclusion
What method will you try first when you fix wide nails? You have options for every budget and skill level. We hope these tips help you succeed in achieving the look you desire.
Next, decorate those gorgeous fingertips with a shade from our new arrivals. Remember, we offer free shipping for orders over $75!


