How to Get a Splinter out from under the Nail?
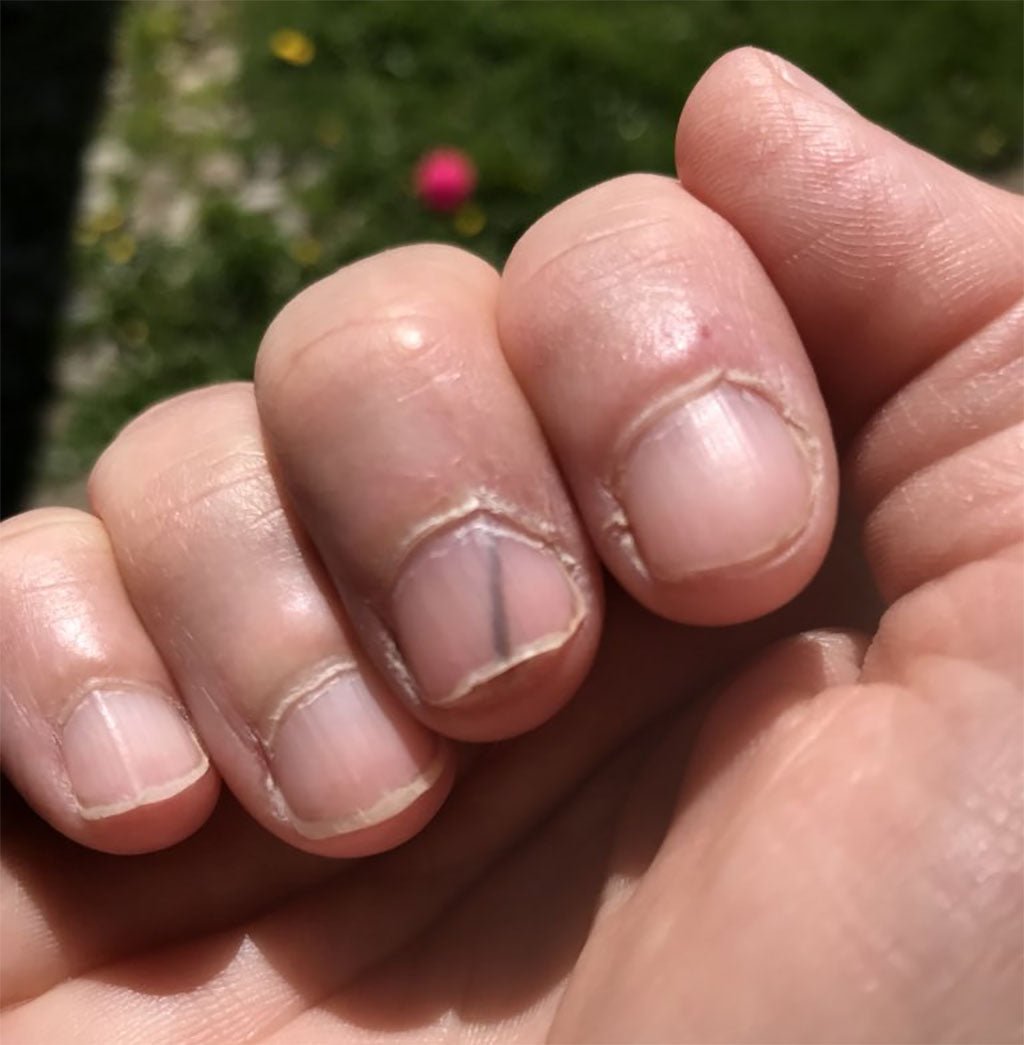
Splinter injuries can be painful, especially if they embed themselves deep inside your skin. Splinters can be tiny wood pieces or metal, glass, and plastic. Generally, you can remove the splinter if it is visible and some parts are exposed. But splinters under your nails or toes can be painful and challenging to remove. You might need a doctor’s help to remove splinters from under the nail.
You can use various techniques to remove splinters from under the nails.
Ways to Get a Splinter out from under the Nail
Using tweezers

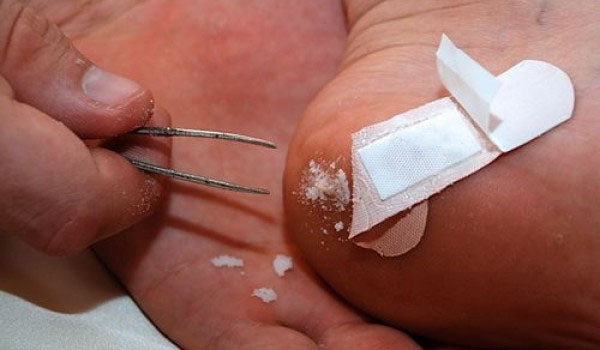
Tweezers are best for removing splinters that are partly embedded inside the nails. Using your fingers would not be possible because the splinter's exposed part would be negligible. A needle can prove helpful in removing the splinter.
- First, sterilize all equipment you plan to use. It includes tweezers and needles. Then, you can dip the equipment in boiling water or rub alcohol on them to disinfect them.
- Please ensure that your hands are clean and sanitized.
- Wash the splintered affected nail with water. Rubbing soap can be painful. Instead, you can try to rub some alcohol over it using a cotton swab.
- If you have long nails, you might have to cut some parts to allow you to view the splinter better.
- If the splinter protrudes out of the nail, it becomes easy to hold the ends with a pair of tweezers. Once you get a good grip, you can gradually pull it out without exerting too much pressure. Otherwise, the edge could break and leave the splinter inside the nail.
- If the splinter is not visible correctly, it is better to contact a doctor. It can happen in the case of glass splinters.
- If the splinter is embedded deep inside the nail, you can use the needle to move it and expose some portion to grip with tweezers.
- However, if the area around the splinter is infected or remains unreachable, you must contact your doctor. The doctor might give you an anesthetic or remove some parts of the nail to remove the splinter.
- We advise washing the area thoroughly after removing the splinter. You can use soap and water. It is better to use an antibiotic solution or ointment to prevent infections. If the area bleeds, you need to bandage it properly.
We have discussed the most common method of splinter removal from under the nail. Let us now see alternate methods.
Splinter removal using baking soda

Usually, you use the baking soda removal method if the splinter is embedded deep inside the nail. This method is also handy when the fragment is too tiny to use tweezers. Baking soda helps to coax the splinter out from under the nail.
- Mix some baking soda in warm water. Soak the infected finger in the solution twice a day to provide relief.
- The process can take some days for the splinter to peek out of the nail. This method is handy if the embedded fragment is not painful. Once the splinter comes close to the edge, you can use the tweezers to remove it. Continuing the baking soda treatment allows the splinter to fall independently.
Using adhesive tape to remove the splinter

This method is simple. But it is better if the tape is transparent because it allows you to see the splinter through it. Besides, the fragment should protrude from the nail for the tape to stick to it.
- Use a clear strip of adhesive tape to stick to the splinter. Remove the tape quickly. The fragment comes out easily.
- You might sometimes have to cut your nails to access the splinter better.
Hair removal wax is a good option

Hair removal wax is excellent for removing fine splinters challenging for the tweezers to grip. The resin is viscous, making it easy to apply around the exposed fragment.
- Cut your nails carefully to make it easy to access the splinter.
- Heat some hair removal wax, apply it over the exposed fragment, and cover it completely.
- Apply a fabric strip on the wax before it dries out.
- Grip the fabric ends and pull them off quickly to remove the splinter.
An ointment can prove handy

An antiseptic ointment is handy because it softens the area around the splinter, making it convenient to remove it.
- This method is the best because it does not cause much pain. In addition, the ointment reduces your discomfort levels.
- This process might require cutting your nails to expose the splinter.
- Once the fragment is exposed, you can apply the ointment around it and leave it for 24 hours. It is better to bandage the area to prevent dirt from sticking to the cream.
- Wait for a day and remove the bandage to check the splinter. The ointment should have softened the area considerably, allowing you to use.
Baking soda paste is a good alternative

Baking soda paste is an ideal alternative if the antiseptic ointment is unavailable. However, you must use this method as a last resort because baking soda paste can cause swelling, making it harder to remove the fragment. The process of using baking soda paste is similar to the antiseptic ointment.
- Cut your nails to expose as much of the splinter as possible.
- Mix a quarter spoon of baking soda with warm water to form a thick paste.
- Apply the baking soda paste to the area around the splinter and wrap it with a bandage.
- Leave the bandage for 24 hours.
- Check the splinter by removing the bandage after a day.
- You can catch hold of the exposed splinter and pull it out carefully with a pair of tweezers.
Final Thoughts
We have discussed various ways of removing splinters from under your nail. While wooden splinters are comparatively easy to remove, the glass fragments are challenging because they are not easily visible. However, we advise you to see a doctor if you experience pain or bleeding around the area. Otherwise, you can use any of the methods described here to remove the splinter.
