


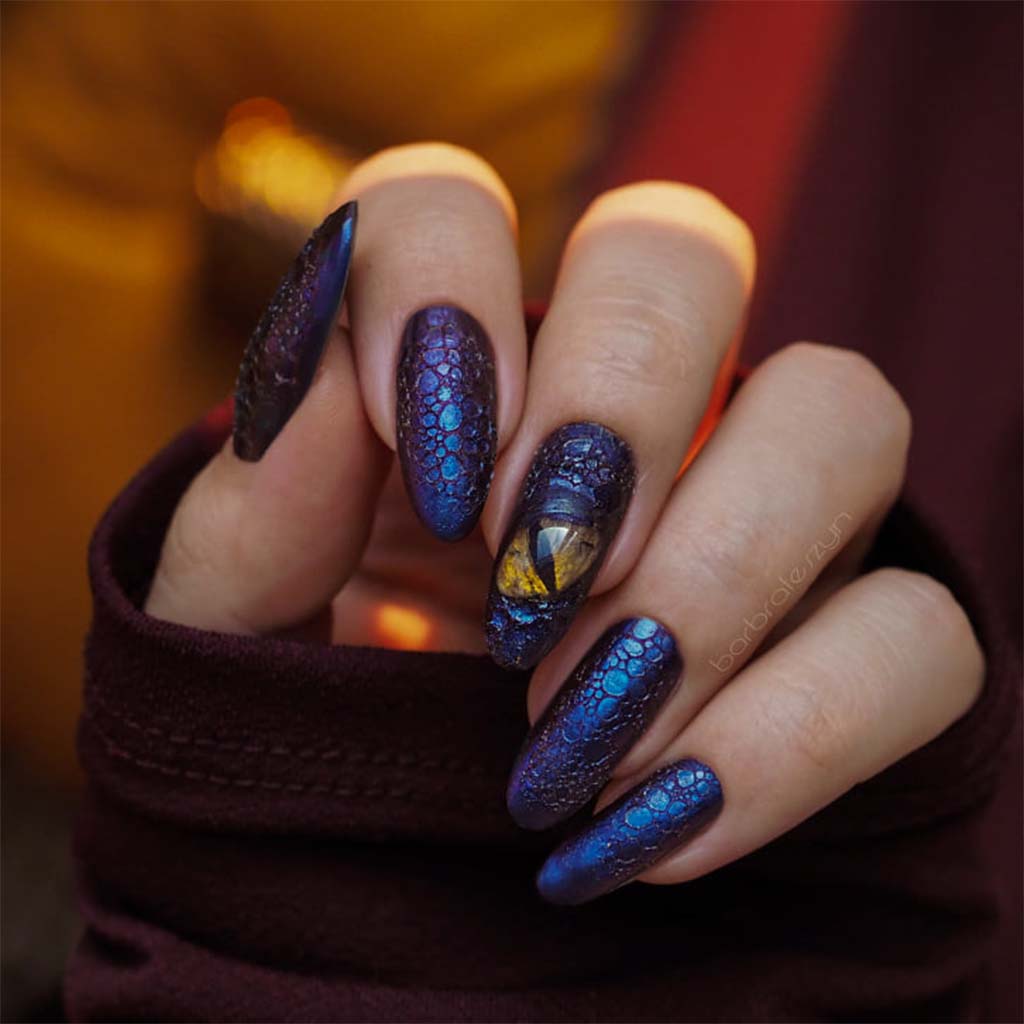
Bubble nails are trending in the nail art world. That’s why we have a step-by-step guide for how to do bubble nails at home. They can be customized in so many ways!
For example, we can lose hours staring at holographic bubble nails. We're also enchanted by oil slick nails with a bubble texture or ombré bubble nails. We’ve even seen French manicures with bubble tips!
Even with all the interesting variations, it turns out that this is a fun and super easy look to create! What’s more, you can make it happen with either gel polish or nail lacquer. Let’s talk about what you need.
Supplies Needed for Bubble Nails
Soap and water are key ingredients! They create a unique texture on the surface of the nail. Dish detergent makes some of the best bubbles. Make it easy on yourself by putting the soap and water inside a container that you can close up and shake. Then it’s straightforward to make the foamy bubbles in a flash.
You’ll also need these things:
Manicure tools
For a gel manicure
- Base coat, no-wipe top coat, and colored polish
- Nail lamp
For nail lacquer
- Colored polish
- Top coat if desired
Additional supplies for special effects
- Chrome powder
- Rhinestones, nail jewelry, or other accents
- Nail brush, paintbrush, or another applicator for the bubbles
Once you have all the supplies ready, it’s time to have fun with bubble nails!
Steps to Do Bubble Nails at Home
The first thing to do is to prepare your nails. Trim and shape them and push back the cuticles.
You want your fingertips to look their best because this is a manicure that everyone will want to see up close. Save the cuticle oil for when you wrap up to give it that professional glow.
When you’re done with nail prep, follow the steps for bubble nails below.
Gel Bubble Nails
You’re not going to believe how simple this is! Here are the steps for doing bubble nails with gel polish.
- Apply a thin layer of gel base coat to your nails and cure it under your nail lamp.
- Next, brush on the desired color of gel polish. For a more noticeable bubble effect, dark gel polish works best, but you can experiment with any color of your choice. Even glitter gels work great.
- Apply a no-wipe topcoat and cure it under the nail lamp.
- Prepare the soap and water mixture. Shake or stir it vigorously to make a lot of foam.
- After this, brush on a second layer of topcoat, but don't cure it. Instead, scoop up some bubbles and dab them gently onto the polish. Once you have covered the entire nail, cure it under the nail lamp.
- Finally, wipe off the bubbles with a lint-free wipe, leaving behind only the bubble impressions.
Also, consider spicing up your bubble gel manicure by shining up your nails with chrome powder before adding the top coat and the bubbles. There’s something about the texture on top of the mirror finish that’s mesmerizing.
As for dark colors, that’s only a suggestion. We also like the aquatic effect of the bubble texture on top of the teal shade below. It looks fabulous with pearl accents!
Lavis LX2 - 21 Luxury Gel Polish
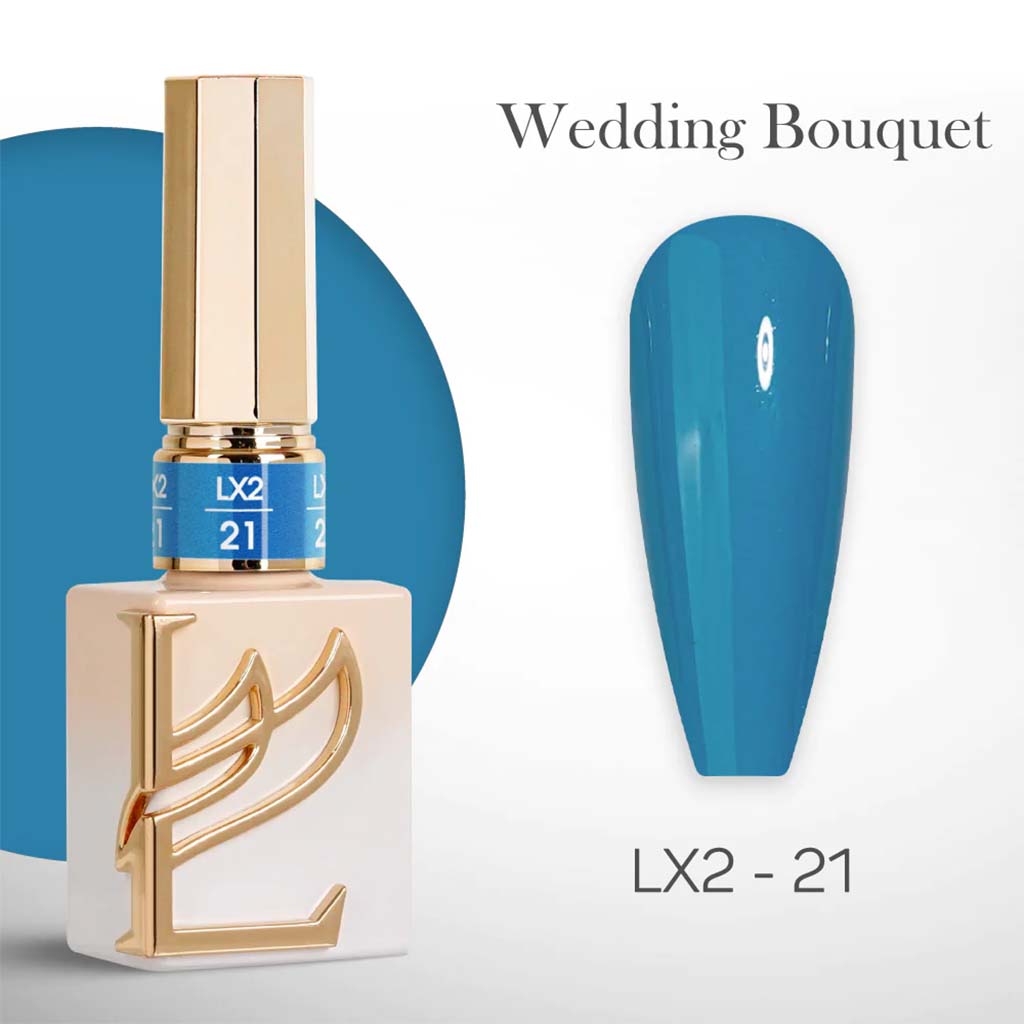
The Lavis Spring Bouquet collection features 36 gorgeous shades including this beauty. Not only does it last up to 3 weeks without chipping, but it also soaks off in 10 minutes or less. Compared to the competition, that’s an excellent lifetime for gels. Moreover, it removes very quickly!
Plus, the formula is odorless, non-toxic, and cruelty-free. It cures in only 60 seconds with a professional nail lamp like the one below.
Lavis UV/LED Nail Lamp
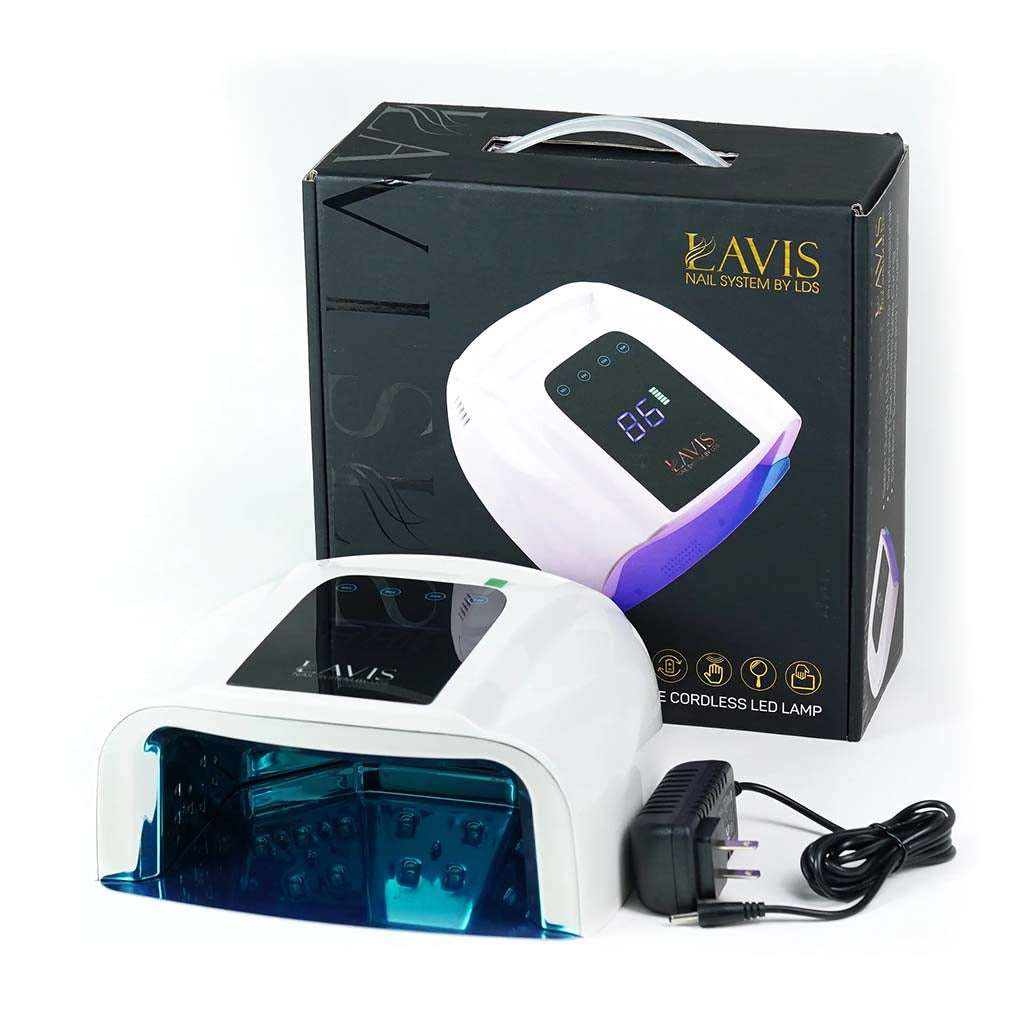
This powerful nail lamp is suitable for both salon and home use. If you’ve been limping along with an old nail lamp, you’ll be startled by the upgrade!
Since it's rechargeable, you don't have to sit near a power outlet to do your nails. Just choose a timer setting and let the motion sensor turn on the light when you need it. The mirror finish interior and strategically placed LEDs provide a perfect cure every time.
Lacquer Bubble Nails
Let’s be honest, a gel manicure is a significant commitment. You can’t remove it as easily as you can nail lacquer. And not everyone can wear gels. So if you’re not sure how the bubble nails will turn out, why not do a practice run with lacquer first?
- Apply a thin layer of colored nail polish to your nails and let it dry for at least two minutes.
- While you’re waiting, shake or stir your concoction of soap and water into a foamy froth.
- Apply the second coat of polish.
- Before the second coat dries, pat the foamy bubbles across the top of the nail. Be careful not to press too hard and smudge the polish.
- Wait 5 to 7 minutes for the lacquer to dry before wiping off the bubbles. Test-wipe one nail first before you clean all the rest. The soap and water shouldn’t stop the lacquer from drying but it will slow down the process.
- Apply a top coat if desired.
Now that you know how to do bubble nails, what colors are you going to try first? Dark shades help the texture stand out, but glitter and metallic colors are also quite pretty.
Extra points for doing bubble nails on a rainy day with the kids. Heck, we’re all big kids when it comes to trendy manicures!
Conclusion
You’re only a few steps away from enjoying bubble nails! If everyone knew how simple it is to do this trendsetting look at home, they would all would be trying it. We wish we could see the results of your experiments!
In the meantime, check out our new arrivals page to see what new delights we have in store for you. Remember to claim your free gift and get free shipping on orders over $100!


