


Get ready to flaunt your festive spirit with this fabulous tutorial on how to draw a shamrock on nails! The iconic symbol of Irish pride is a classic nail design for St. Patrick's Day. In this post, we will reveal the secrets of how to draw a shamrock on nails. It's easier than you think! Get ready to dazzle your friends with your artistic flair.
What You Need to Draw a Shamrock on Nails
The first thing you need is some inspiration. Find a picture of a shamrock and practice drawing it. Draw it large then practice drawing it small enough for your nails.
Obviously, designing a shamrock with a pencil or pen is a lot different than using a nail polish brush. The brush in the bottle is much thicker and more flexible and harder to control. That’s why you need line art gel polish. It comes with a thin brush ready to paint precise lines. Here’s an example of the perfect shade for drawing shamrocks:
LDS - 11 (Ver 2) Pine Green - Line Art Gel
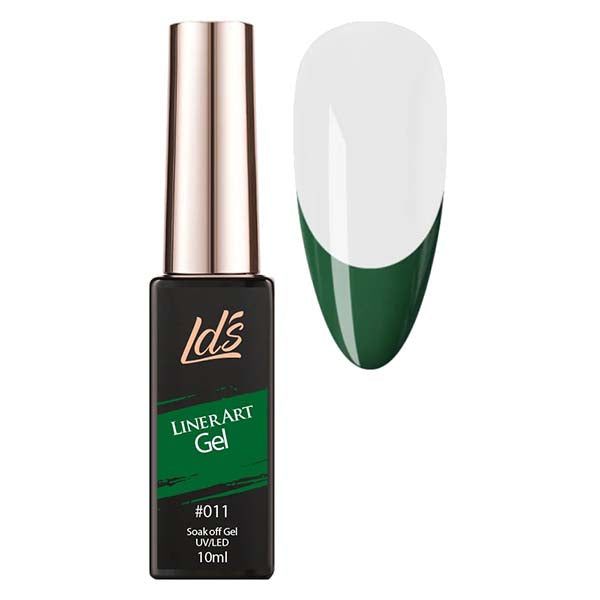
This rich shade of green is ready to help you re-create shamrocks on your nails. The polish is compatible with gels, acrylics, press-ons, and more. It’s highly pigmented and resists shrinking so that one coat looks perfect for up to 21 days. All you need to use it as a steady hand and a nail lamp to cure it.
Also, check out color variations like light green and teal for your next St. Patrick's Day manicure.
It’s also handy to have a nail brush for designing shamrocks. Kolinsky sable brushes are the professional standard for working with acrylics but they aren’t resistant to acetone, so they aren’t the best choice for working with gels or lacquers.
However, it’s possible to use a toothpick to draw a shamrock on your nails. If you’re using gel polish, it’s easy to wipe it off and start again if you aren’t happy with the way it turns out.
Lastly, don’t forget to round up the other things you need to complete a manicure. These include nail tools like clippers, a cuticle pusher, and a nail file. Don’t forget the base and top coat and a nail lamp if you’re doing gels.
Step-by-step Guide on How to Draw a Shamrock on Nails
Are you ready for the big reveal? Drawing a shamrock on nails is as simple as designing three hearts joined by a stem. Arrange the hearts in a triangle with the curved sides outward and put a stem in the middle. Ta-da!
The problem comes if you have trouble drawing hearts evenly. Maybe one side is bigger than the other. Don’t worry – that’s typical. Soon, we’ll discuss how to perfect your shamrocks.
In the meantime, here are the steps for creating nail art shamrocks:
- Trim and shape the nails and push back the cuticles. Cleanse the nails to remove excess oil. (You can simply wipe them with rubbing alcohol or use a lint-free nail wipe. Nail prep is crucial as it not only lays the foundation for a more beautiful manicure, but also keeps the polish from lifting.
- Apply a base coat. Even if you're using nail lacquer, it's good practice to lay down a base coat. It keeps the natural nails from becoming stained and helps the manicure last longer.
- Now, dip a thin brush or a toothpick into the colored polish and draw the first heart-shaped leaf. Move on to the second and the third so that their arrangement is triangular. One leaf is at the top and two others are on either side. The pointed ends need to be close together but not touching so that you can draw a stem to join them. If you are using gel polish, cure the design in the nail lamp. Otherwise, let the lacquer completely dry before adding other details.
- Make the shamrock more realistic-looking by adding white highlights or using a darker green as the veins of the plant for depth.
- Continue embellishing the nails if desired and seal the art with a top coat. Remember to apply cuticle oil for that salon shine!
Lavis Gel Base & Top
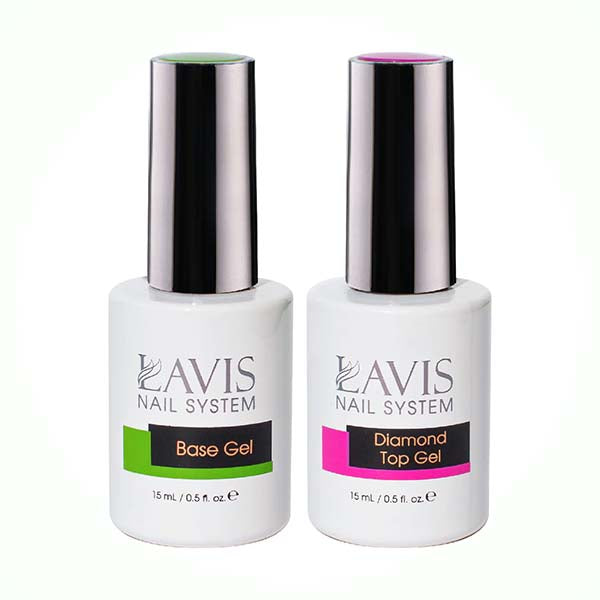
If you want to do a professional-looking manicure at home, then use salon-quality tools that the pros rely on. We recommend the Lavis base and top coats for a perfect finish that lasts for 3 weeks or more.
The base improves the adhesion of the colored polish and guards against peeling. Then, the top coat not only provides a durable, glossy finish, but also makes nail designs look more vibrant. There's no need to wipe it after it's cured.
Tips for Perfecting Your Shamrock Nail Art
If you’re feeling frustrated by lopsided shamrocks, pause for a moment. Grab a piece of paper and practice with the polish there. You may find it easier to place dots on your nails as a guide to keeping the same size.
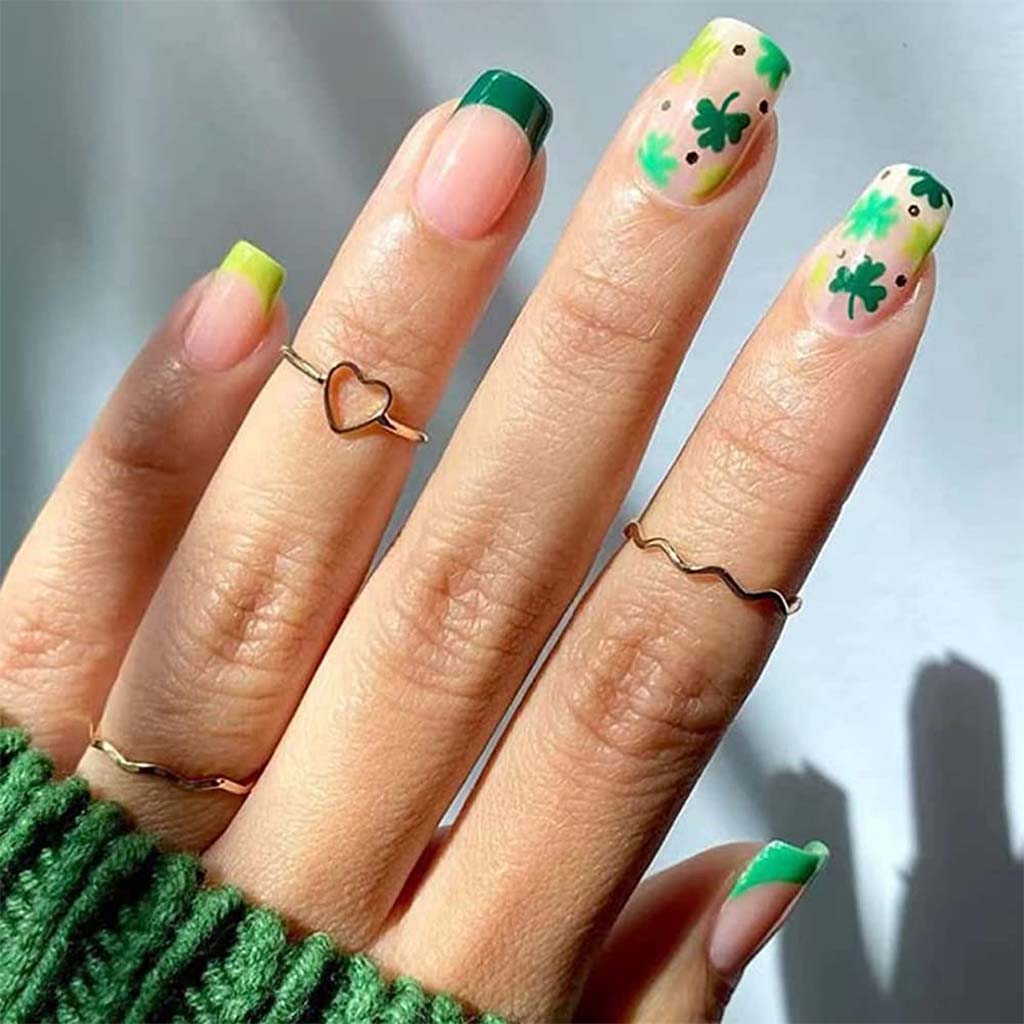
Remember, you don’t have to draw shamrocks on all of the nails. It’s hard to repeat the design with your non-dominant hand unless you’re ambidextrous. Instead, use the shamrocks as accents instead of the focal point of the manicure. Otherwise, check out our alternate methods for shamrocking your nails.
Alternative Ways to Create Shamrock Nail Art
No, it’s not cheating to use nail stickers, nail charms, or nail stamps and stencils to make shamrocks on your nails! The nail gods will still smile upon you!
One of our favorite things to do is to use embossing gel with a nail stamp to create intricate designs that we couldn’t possibly freehand.
You are the artist with complete creative freedom. Go have fun!
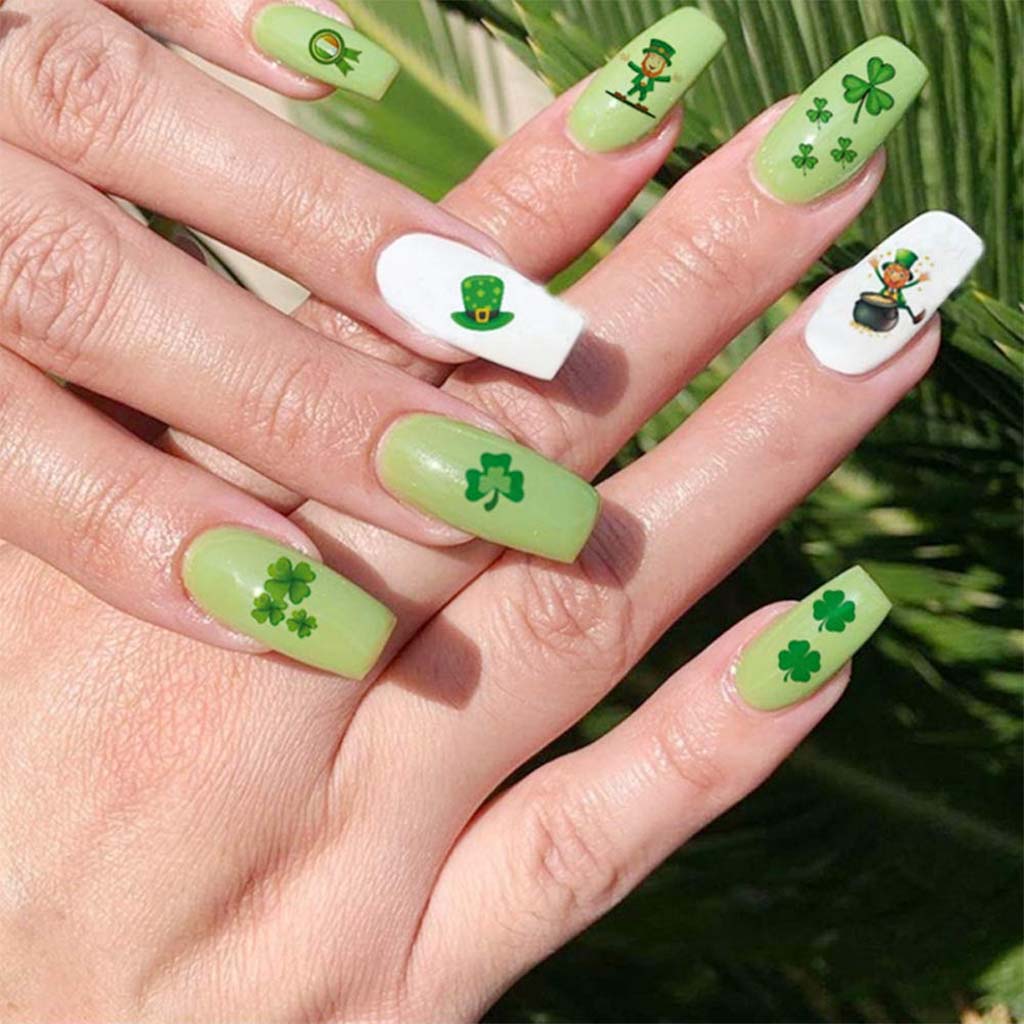
Popular Shamrock Nail Art Designs
We have a weakness for shamrock nail art with glitter. Not only does it sparkle, but it just seems lucky on such a festive holiday.
We’ve seen shamrocks in many creative nail designs. For example, we were impressed by a checkerboard pattern with tiny shamrocks instead of squares.
Then, there were 3D acrylic shamrocks – that’s a whole other level of nail artistry!
It’s also fun to see a smiling leprechaun holding a shamrock on one nail.
Conclusion
You’ve just learned how to draw a shamrock on nails. Use your new skill to surprise your friends and make your next manicure extra lucky!
Now, be sure to stop by our deals page to get the best prices on all of your nail care needs.


