Tie-Dye Is the Cheery Nail Art Trend 2026
A splash of colors is a beautiful way to adorn your nails. Have you ever heard of Tie-Dye nails? When Tie-Dye is mentioned, do you think of just clothes? Let's introduce you to Tie-Dye nail art. This nail art trend has secured a spot on the list of Top nail art trends for 2026. Keep your nails beautifully manicured, with a touch of class and personality. This Tie-Dye nail art has come to stay in 2026. Cool right?
Many creative designs are springing up each day that fits into your nail collection and suit your schedule. You can wear one of these to work, a party or even a casual occasion. The options are limitless; you're not confined to a particular design or style. Do you know, Tie-Dye has become a regular DIY manicure for all seasons; summer, spring, autumn, and winter. The search list for tie-dye nails at home is topping search engines. How best to get this fantastic trend then convert it to nail art?
The process of designing tie-dye nails requires more class and stylishness than the regular vat dye and bands. Nail manicurists are creating beautiful nail art designs by painting the nail in careful streaks of spiral swirls. They create a spiral effect using a striping brush from the nails' center before drying off the polish. Overtime, Tie-dye has become a slightly unpolished finish, but you don't need to worry. Don't sweat it if you can't seem to get the hang of it. It's always fashionable.
There is a lot of nail inspiration to adorn your fingers. Try out something new. Nail art just got more exciting and colorful. Rock a '60s print on your nails. Ideas and designs for trendy nail art never run out. You can get something subtle, shiny, and artsy. Do you know another interesting fact? You can create one of these from your home. Choosing one style can be a bit tricky, but heads up because, with tie-dye, you have lots of gorgeous ways to get your nails all fancied.
Tie-dye nail designs are a great way to maintain clean and fancy manicure and also look fresh. Have you thought of trying tie-dye nails yourself? We've got you. Here are a few DIY tips to getting beautiful tie-dye nails from the comfort of your home.
DIY Ways to Make Tie-Dye Nails at Home
Tie-dye is a top trend you can use on any accessories or clothes. Trust me; you'll love the trendy feel. The beauty of the tie-dye design is a unique combination of various colors, as it can go with any color, and you can easily do it at home. All you have to do is apply a white base coat to do the design while the polish is still wet. Dot your desired colors on the white base to create a beautiful design. Next, put a sandwich bag on your nail and pat down the bag to mix the colors. Also, you can add extra details using a toothpick. Run the toothpick through the polish. Bear in mind that you need to act fast when doing tie-dye nails before the polish dries off and becomes shabby.
When it gets dry, make your tie-dye nails last by applying a clear topcoat. In the alternative, use press-on nails. This abstract design is a sure beauty trend that will last for you. If you're wondering what colors to use, try a neutral shade or a fresh white polish for your base. You can also use pastel colors or shades of a similar color to make the design pop. Here's a simple guide to designing tie-dye nail art from your home's comfort, even as a beginner.
Step 1: Get your Materials ready
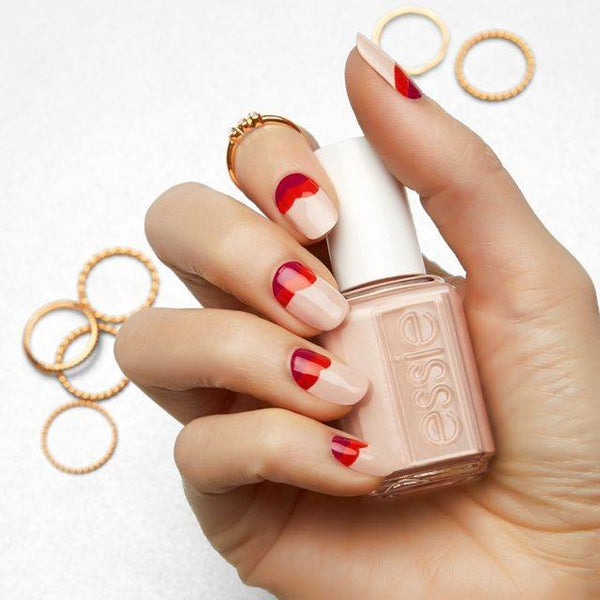
The materials you need include:
A container of water (a shallow one is preferable)
Paper towel: This prevents nail art from getting messy.
Needle
Scotch tape: You can use rubber or any of your preference like rubber cement
Pieces of toothpick
Nail polish - one color as a base coat and two more for designs
Clear polish coat
Step 2: Paint a Base Coat on your nails

As you would do when getting a manicure, paint a base coat on your nails. Preferable, you can use one layer of base coat.
Step 3: Tape Your Finger
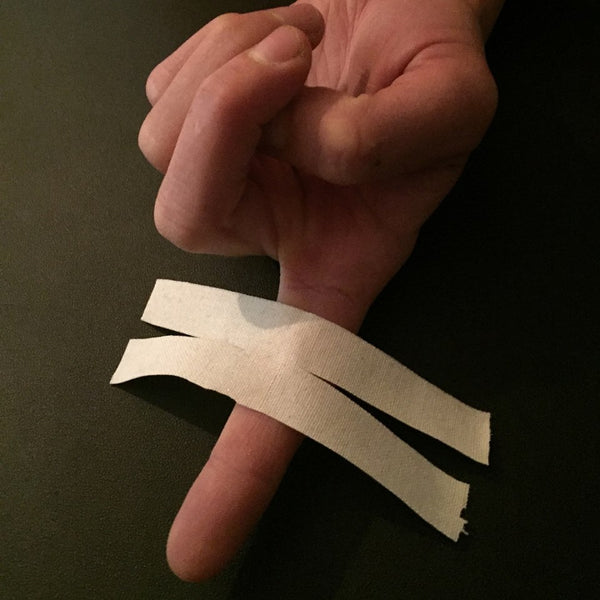
Tape your finger using scotch tape. This taping is done to exclude your fingernail. Put the scotch tape on your skin surrounding the nail. The paint will not affect the rest of your finger when the design is applied to your nail.
Step 4: Put Drops of color in the water
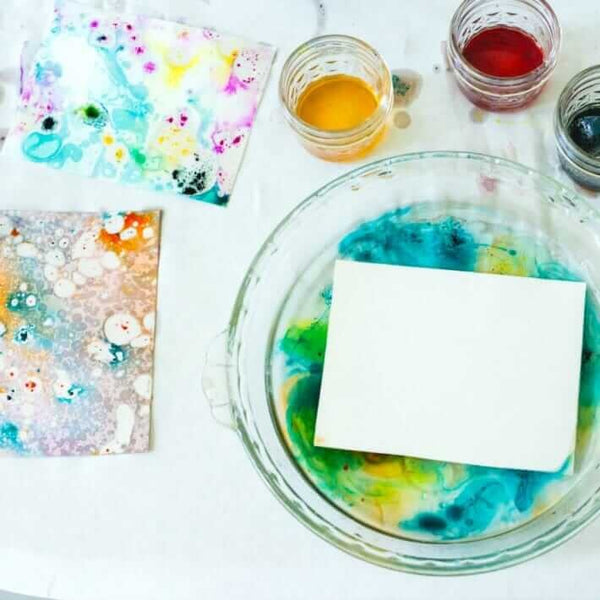
When your finger is prepped and ready, you can make your tie-dye design. Pick another color and allow the paint to drip off your brush into your bowl of water. Next, take the second color and allow it to drip like the former. Do this at the center of the first color.
Continue doing this and alternating color a couple of times. The more variety of colors used, the more you can change and spice it up. You can do this as often as you want.
Step 5: Swirl!
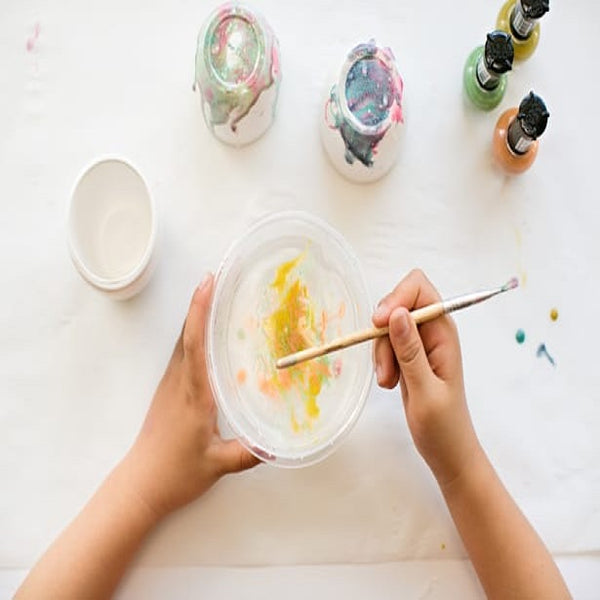
Use the needle to draw lines on the colors. The effect of this is a swirl and twist, and this will be wonderful.
Step 6: Dip your nails in the bowl!

Choose your favorite spot on the nail art and dip your already taped finger gently into the water. Submerge your finger entirely in the water. The polish will stick to your nails.
Next, dip the toothpick in the water beside your nails and turn it. By this, you pick up the remnant polish in the water. Lift your finger slightly out of the water and remove the tape. You'll be marveled at what you have created.
For each nail, new drops are required. Pick up polish excesses in the water using a toothpick before you start another one.
Step 7: Finishing
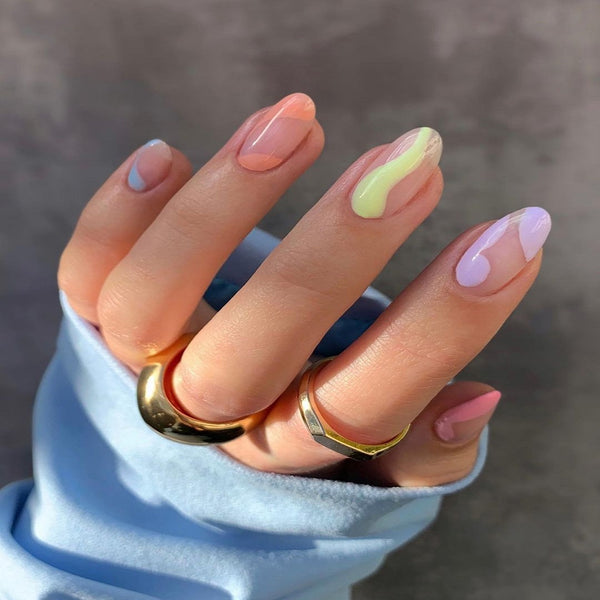
When you have done all your nails using the same method, paint them all over with a clear coat. You'll have beautiful and unique tie-dye nails.
Conclusion
Indeed, tie-dye nail art is the cheery nail trend for 2026. It provides an opportunity to try out amazing and unique color shades on your nails without the fear of creating a mess. When planning for your next manicure, put this nail art trend in your list. They fit all seasons and occasions, so you don't have to worry about feeling awkward. Try a tie-dye nail art today and rock your trendy look.
