


If you have the heart of an artist but need more skills, there’s a shortcut that will make your manicure a masterpiece. Sponge nail art doesn’t require a steady hand or expensive tools. It's perfect for ombre nails, gradient patterns, and other unique looks. This article explores various sponge nail designs to spark your creativity. It will also teach you how to do sponge nail art at home.
Sponge Nail Art Ideas
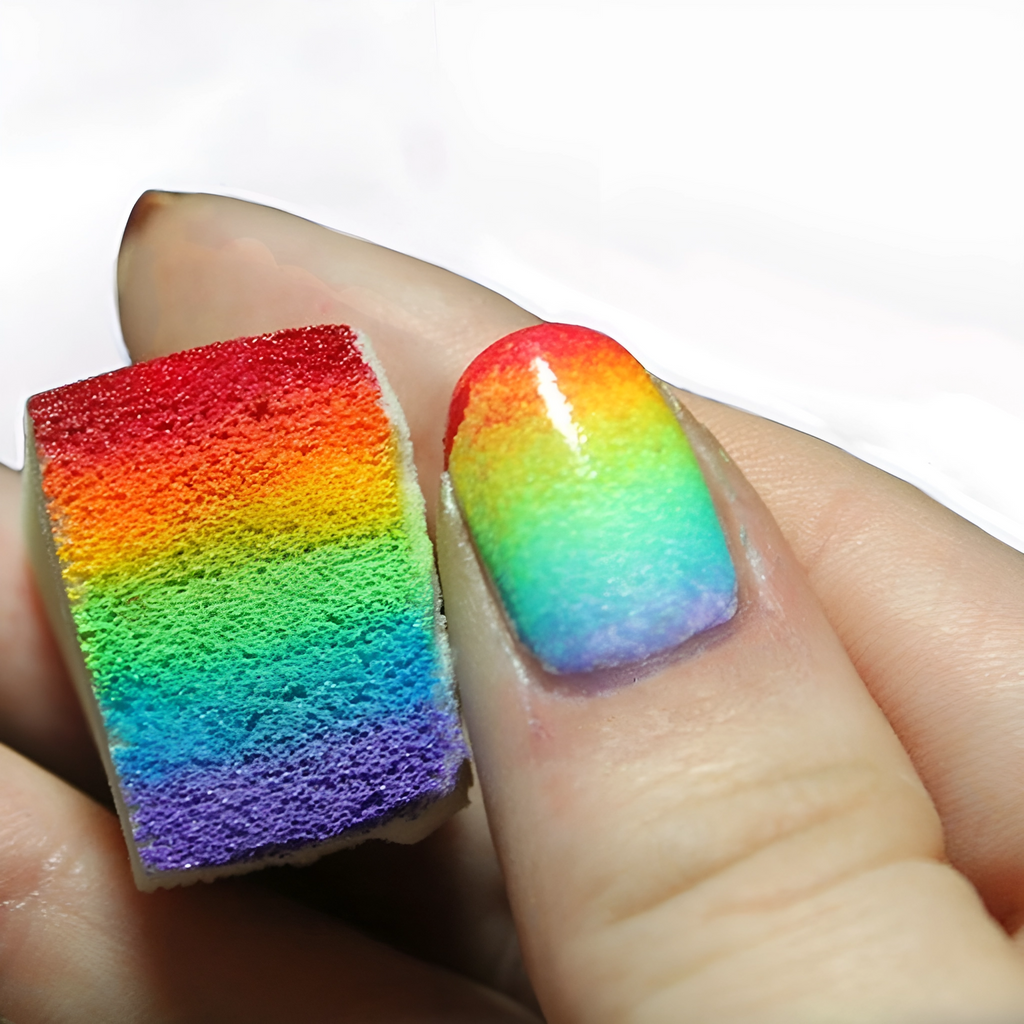
Beautiful Transitions Between Colors
 LDS Gel Polish Nail Art Liner - 25
When you look at a sunset, there are no stripes. Instead, the colors blend gently. Although the hues of a rainbow seem more distinct, if you look closely, it's the same story. There's a soft transition between shades.
You can achieve a similar progression using an ombre brush on your nails. Do you have one handy? If not, we bet you have some sort of sponge available instead. You can use a makeup sponge, a cleaning sponge, or even a bath sponge to do nail art. Some have a smooth texture for a finer finish. Some are more absorbent and may soak up more polish. It's fun to experiment with different types of sponges for varying results.
Paint Any Pattern You Wish
 Caramia Gel Nail Polish Duo - 262 Coral Colors
Sponge nail art lets you create simple or intricate patterns. It simplifies repeating the same design on all the nails or mixing it up. And although sponging polish onto your nails can get a little messy, there are ways to keep things tidy.
Combine Sponge Nail Art with Other Embellishments
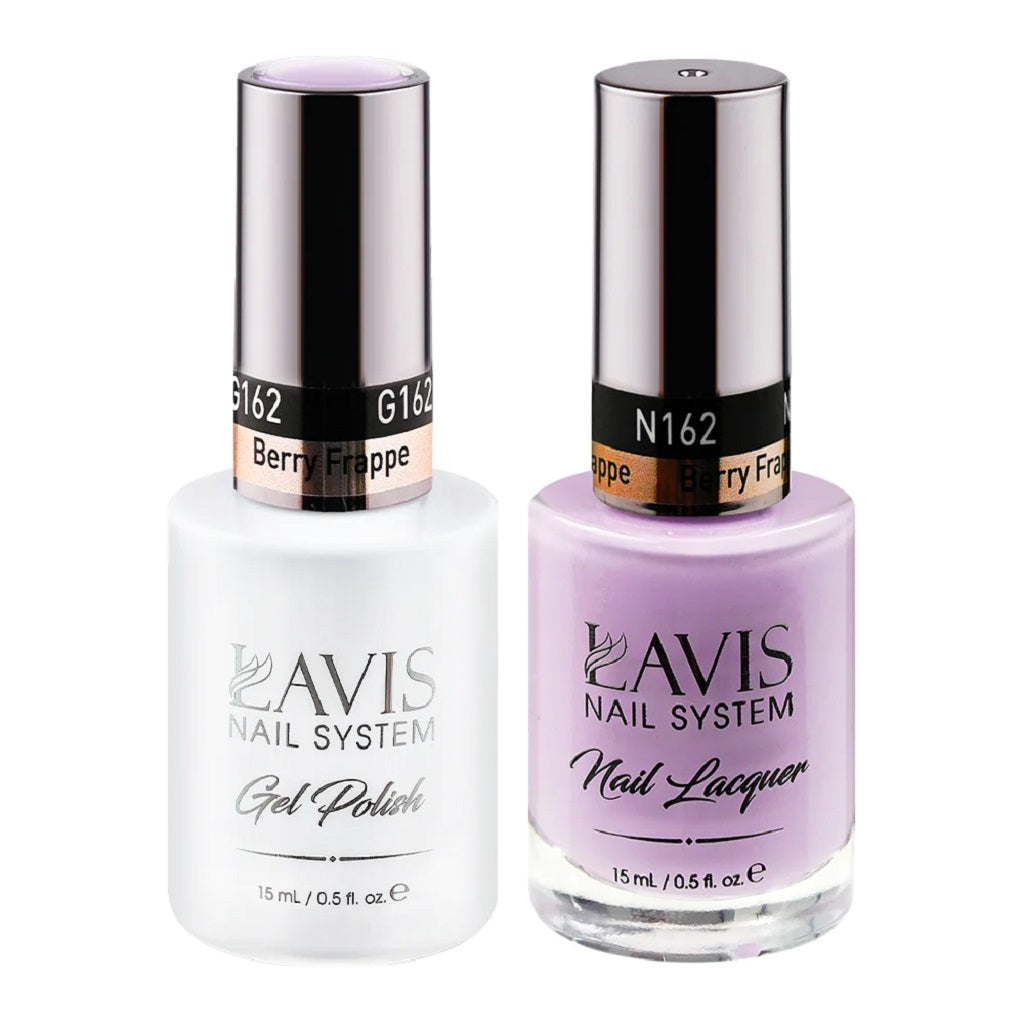
 Lavis Gel Nail Polish Duo - 162 Purple Colors - Berry Frappe
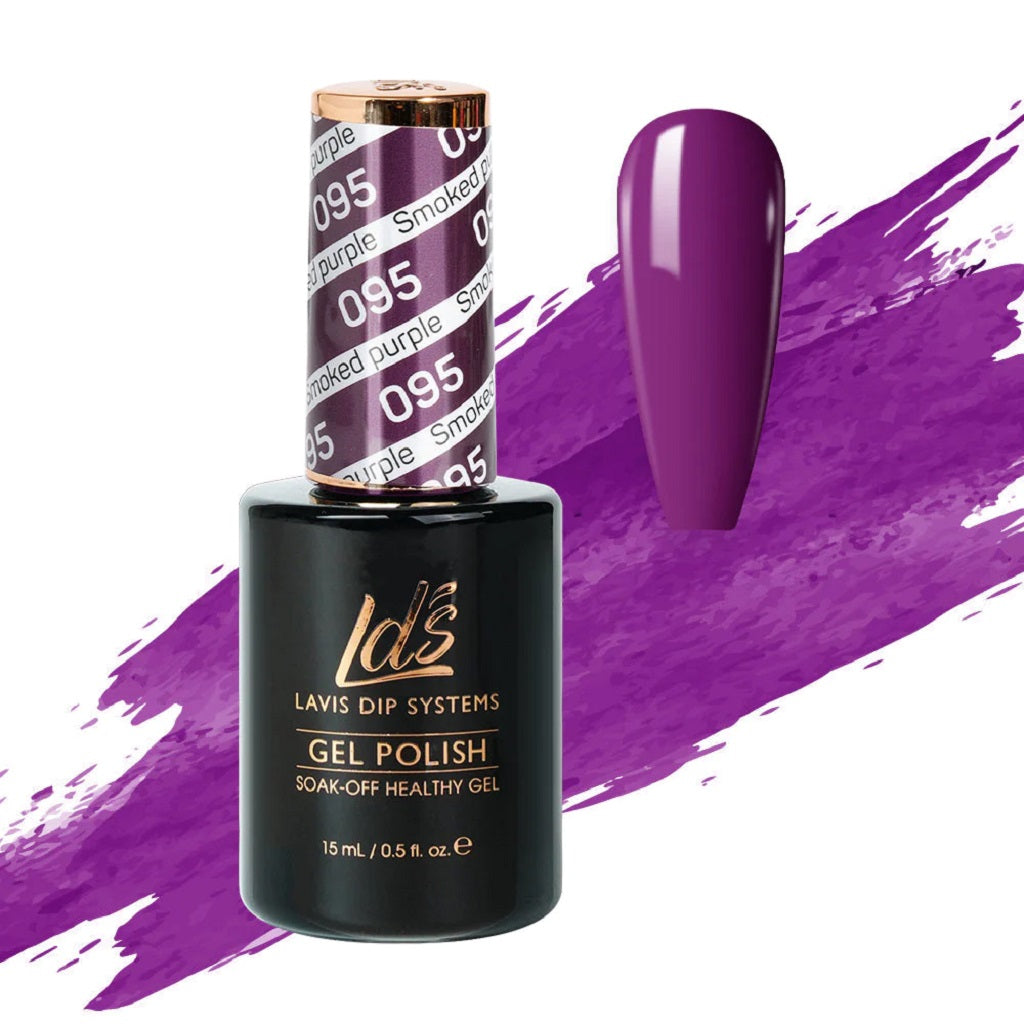
LDS Gel Polish 095 - Purple Colors - Smoked Purple
Create a beautiful gradient base for enhancements like stripes, stickers, charms, or anything else you can imagine. If the polish you've applied with the sponge seems textured, a couple layers of top coat will smooth things over for a professional finish.
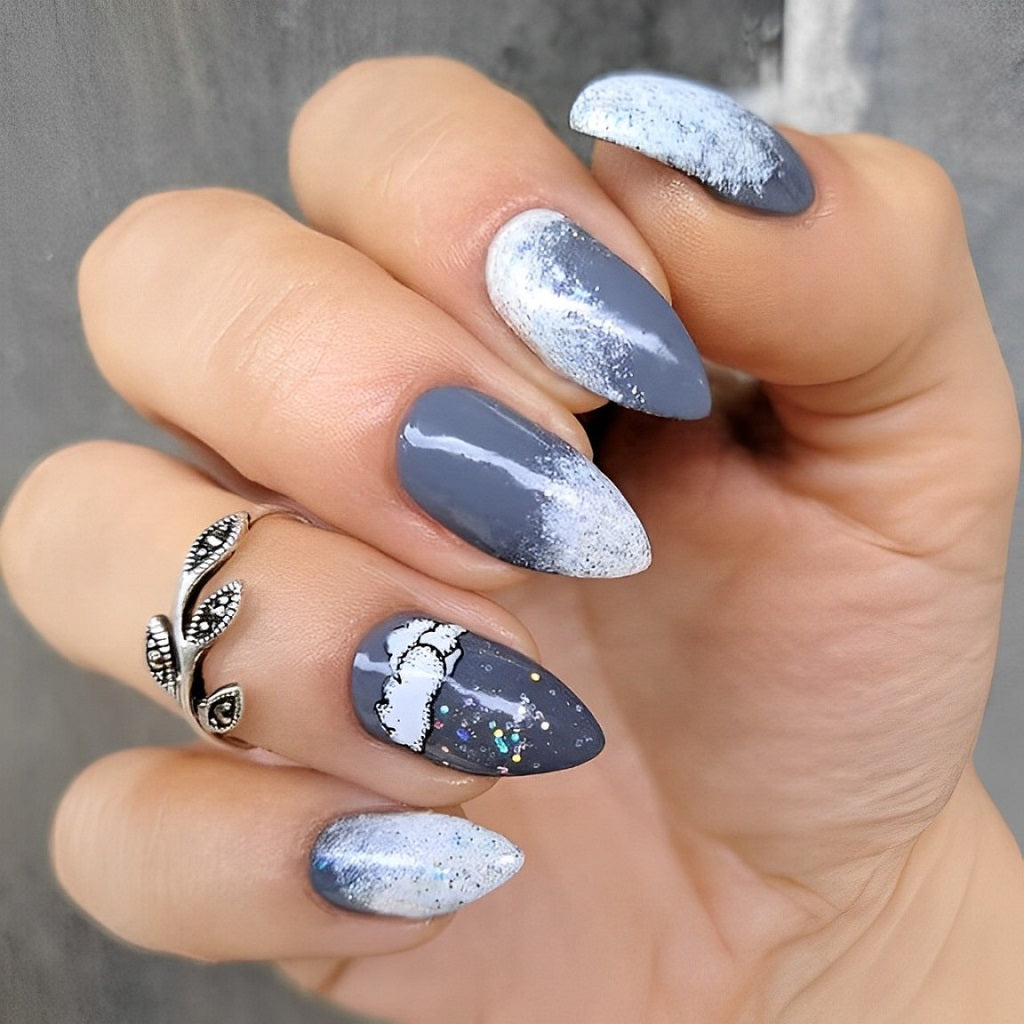
Use a Sponge for Special Textures
 LAVIS Gel Polish Super White - 0.5 oz

Not everybody has an airbrush gun for doing their nails; sometimes, a nail brush doesn't provide the correct texture. For example, a sponge is convenient if you want your nails to tell the story of a fresh snowfall.
Galaxy Nails with a Sponge and a Toothpick
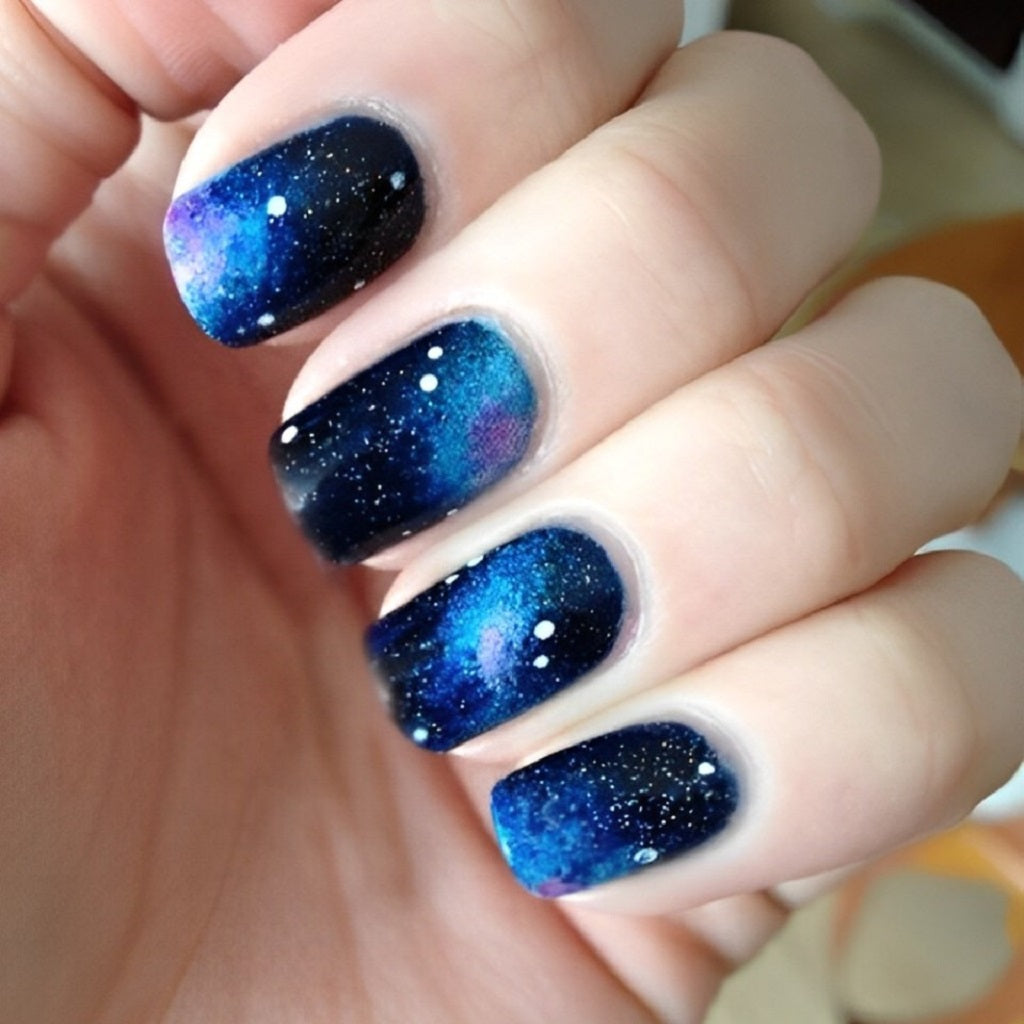
Give yourself an out-of-this-world mani with simple tools. Celestial nails are a perennial favorite and sure to get compliments. Once you’ve tried sponge nail art on projects like this, you’ll always keep a sponge in your manicure kit!
Supplies Needed for Sponge Nail Art
At a minimum, you'll need two colors of nail polish and a sponge of any type. However, a few other supplies will make sponge nail art easier and more pleasant.
For example, depending on your technique, it may be helpful to have a place to mix colors, like a piece of tin foil, plastic, or baking paper.
It’s handy to have liquid latex or school glue to mask off the skin around the nails. Having a polish remover and a thin brush for cleanup is also nice.
As for sponges, any kind will work, whether for cleaning or applying makeup. If you feel thrifty, cut them into smaller sizes.
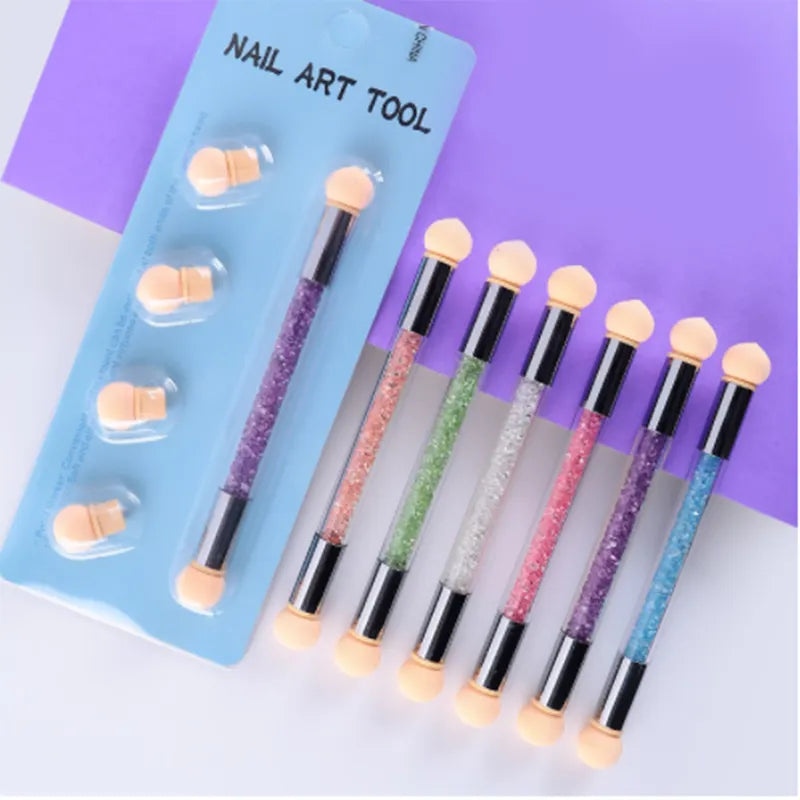
You might enjoy this two-headed sponge pen set with replaceable heads.
Two-headed Sponge Pen Set with Extra 4 Replaceable Head
Once you have your tools, let's begin with two ways to create sponge nail art. Here are the steps for the first method.
How to Blend Ombre Nails with a Sponge
There are at least three ways to complete an ombre nails look with a sponge. The first way is as simple as it sounds: You paint two colors side by side on a sponge and then press the sponge to your nail. Or you can use a palette to premix the shades. But let's rewind a little and go over nail prep to keep things less messy.
- After trimming and shaping your nails, cleanse the natural oil and debris with rubbing alcohol or polish remover. This essential step keeps your manicure looking beautiful for longer.
- Next, use liquid latex or school glue to mask off the skin around the nail. Covering the skin makes cleanup a snap. Allow it to dry completely before moving on to the next step.
- If needed, apply a base coat. This is a crucial step for gel polish.
- If desired, paint the lighter color across the nails and let it dry. Always cure or let each layer dry thoroughly so there aren't any smudges. Quick-drying drops can help the impatient!
- Now, brush a generous amount of the polish colors onto the sponge in sections right next to each other. Dab the sponge onto the nail. Pressing down repeatedly will add more color and help blur the transition between the sections.
- Alternatively, paint the polish onto a piece of foil and mix the edges together with a toothpick. Then, pick that up with the sponge and transfer it to your nails.
- Again, wait for each layer to dry before adding another to perfect the design. Then, finish with a layer or two of top coat to smooth the surface and protect your nail art.
- Cleanup is straightforward—peel off the latex and use a tiny brush with acetone to remove any excess polish from the skin. Don’t forget the cuticle oil!
How to Do Gradient Nails, Alternate Method
This approach may feel more familiar if you've done nail stamping. Once again, Prepare your nails by trimming, shaping, and pushing back the cuticles. Cleanse the oil and debris with alcohol or acetone. Then, add the base coat. Now you're ready to do gradient nails.
- Cover half the nail with a light shade of polish. Make sure it's cured or dried before painting the other half of the nail with a dark color. It's a stark transition for now, but the magic is about to happen.
- Fold the sponge in half, making it a cylinder. Apply each color side by side, like what you have on your nails.
- Press and roll the sponge across the nail to transfer the polish. Pat as needed to softly blend the colors. You may need a second round, but wait until the first layer has dried.
- Finish with a top coat and clean up the skin around the nails. Apply cuticle oil and enjoy!


