



A'DOR Poke Gel Collection
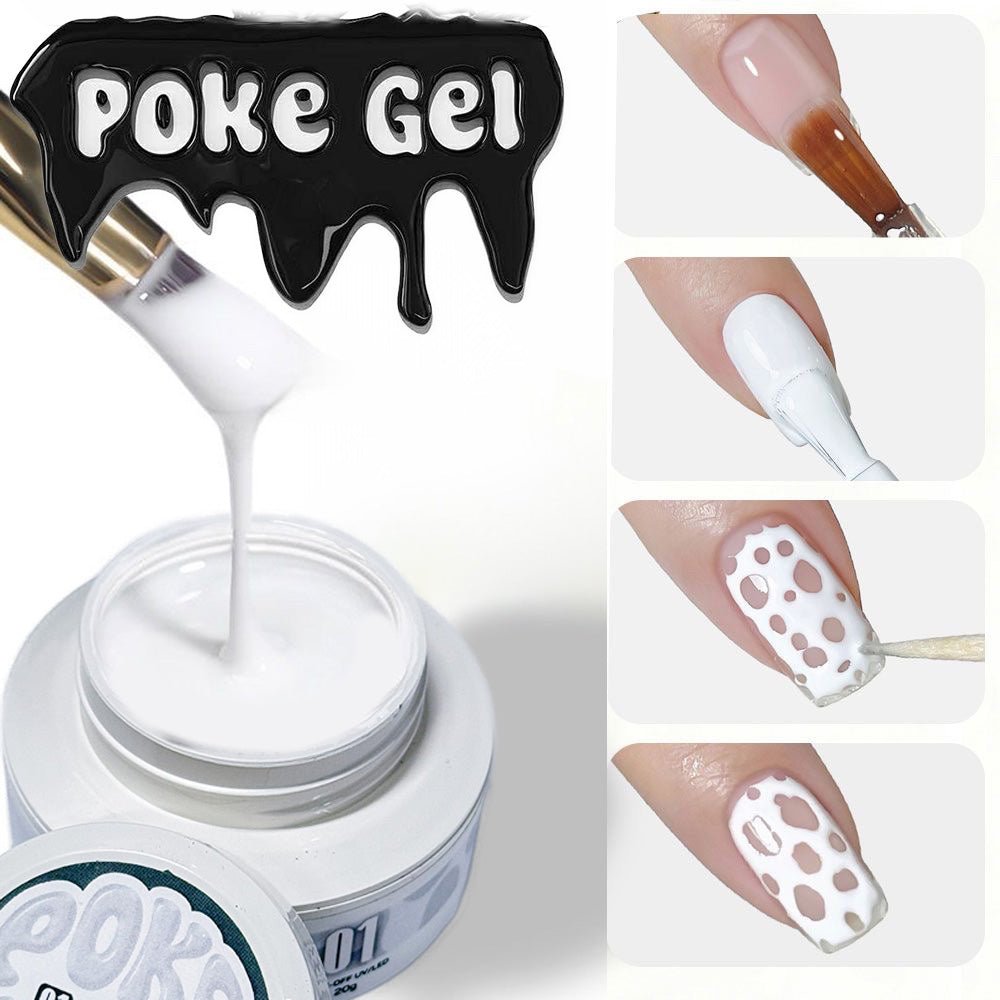
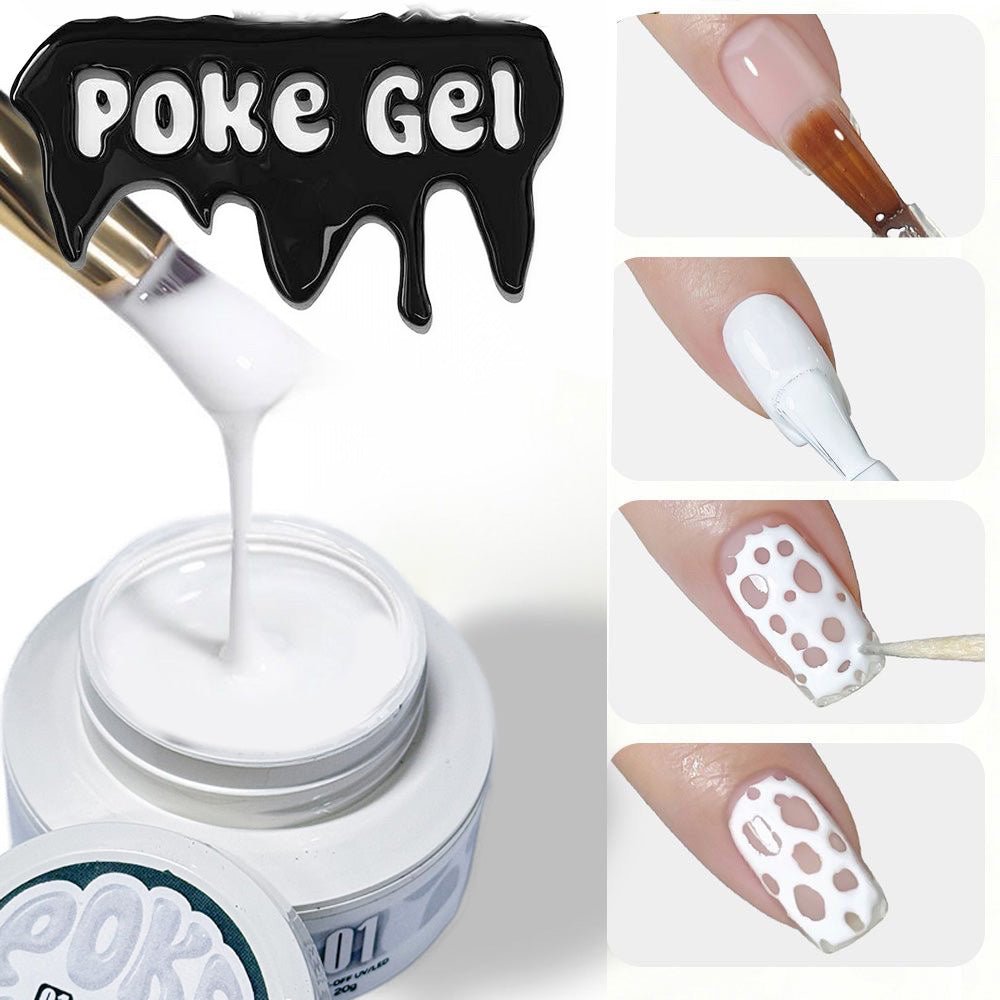
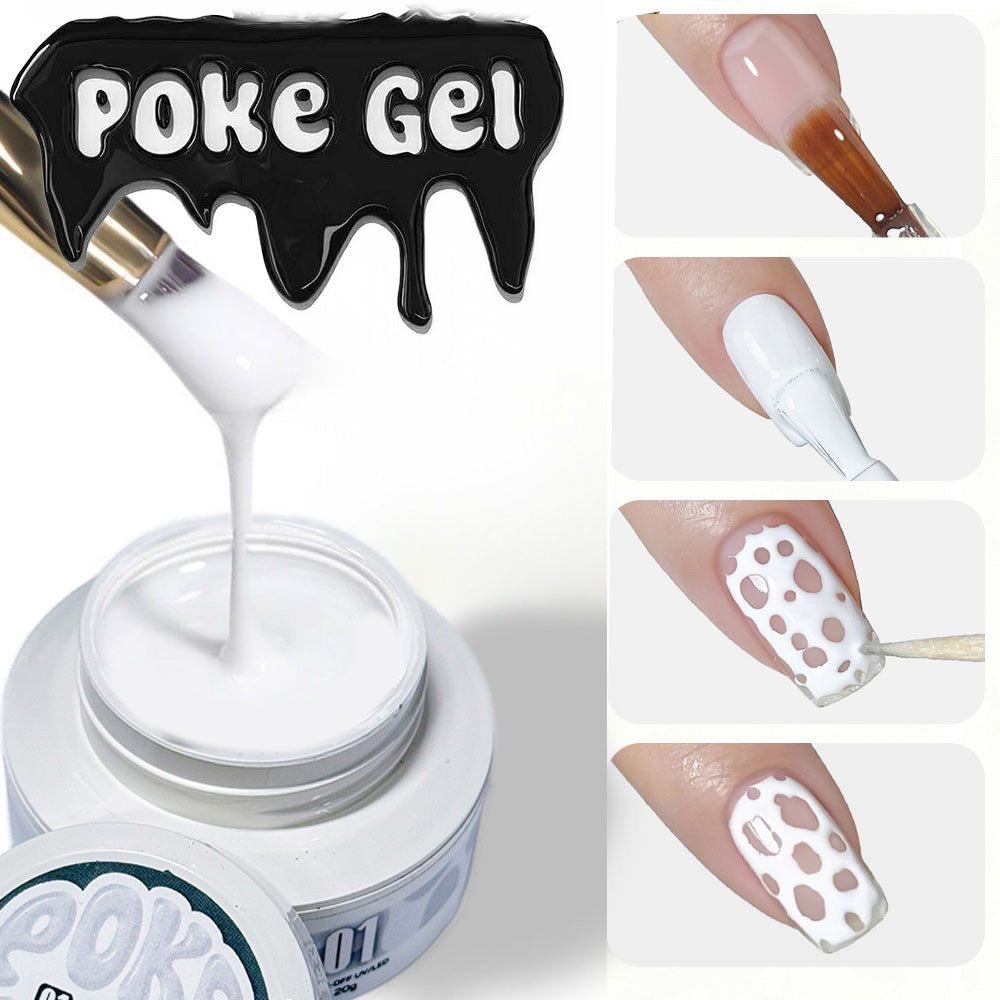
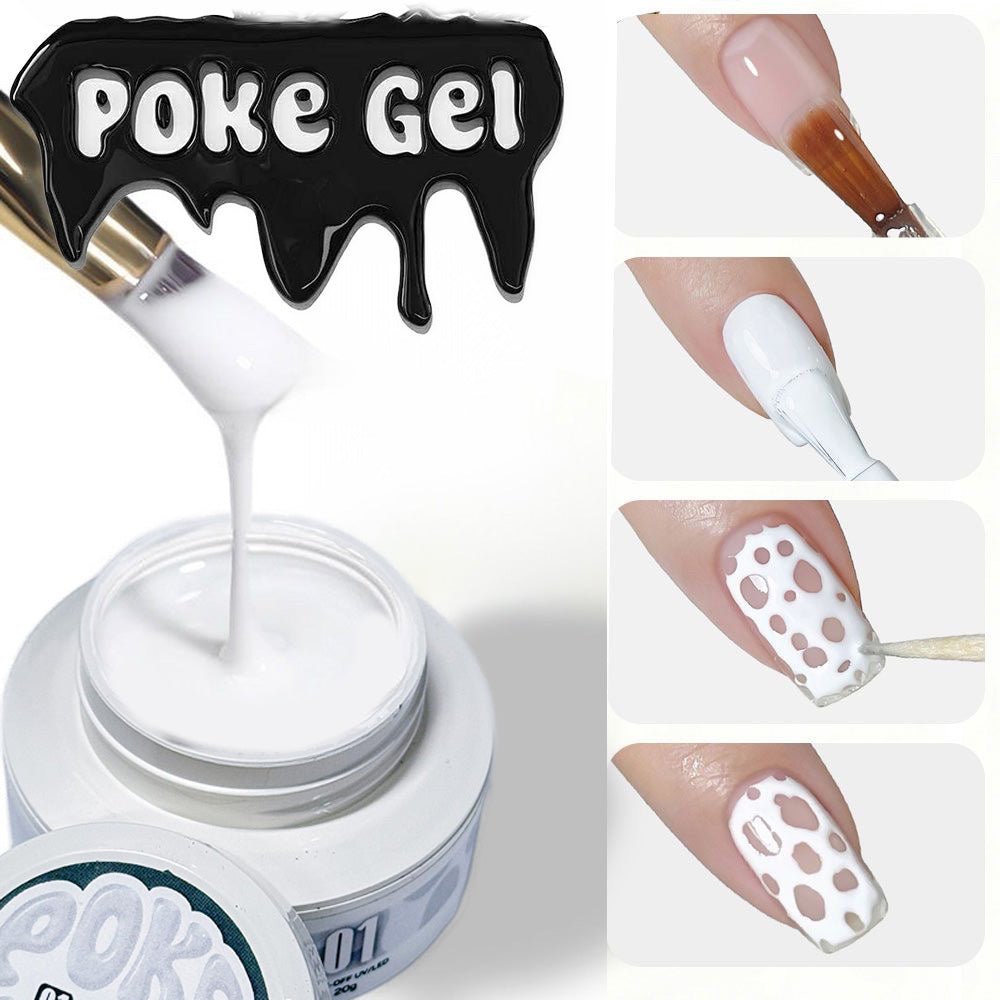
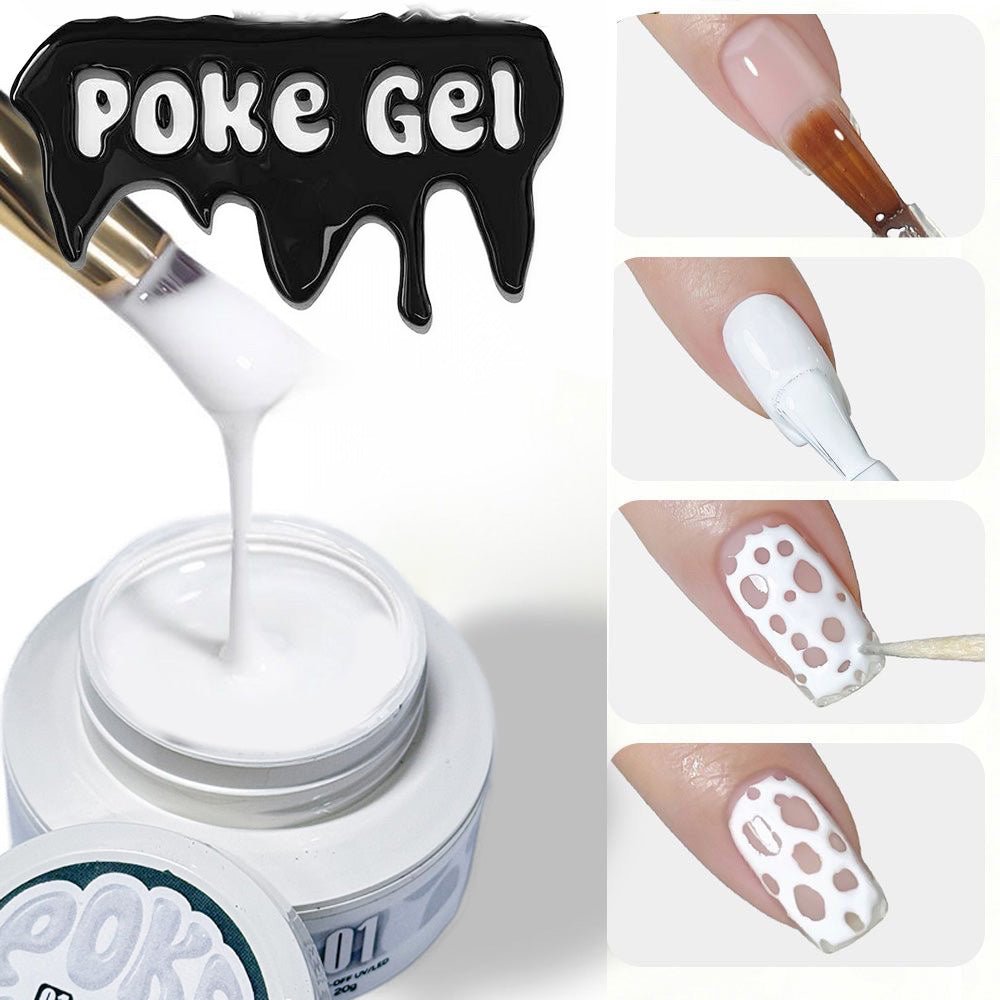
A'DOR Poke Gel for bubble letters and rounded negative-space nail art: 16 listings, shades 01 White to 12 Black, H1 Copper, H2 Silver, H3 Platinum and the Set 12 Colors. Free shipping on qualifying orders.


A'DOR Poke Gel Set 12 Colors - 20g
Regular price
From $5.50
Sale price
Regular price
Choose your option

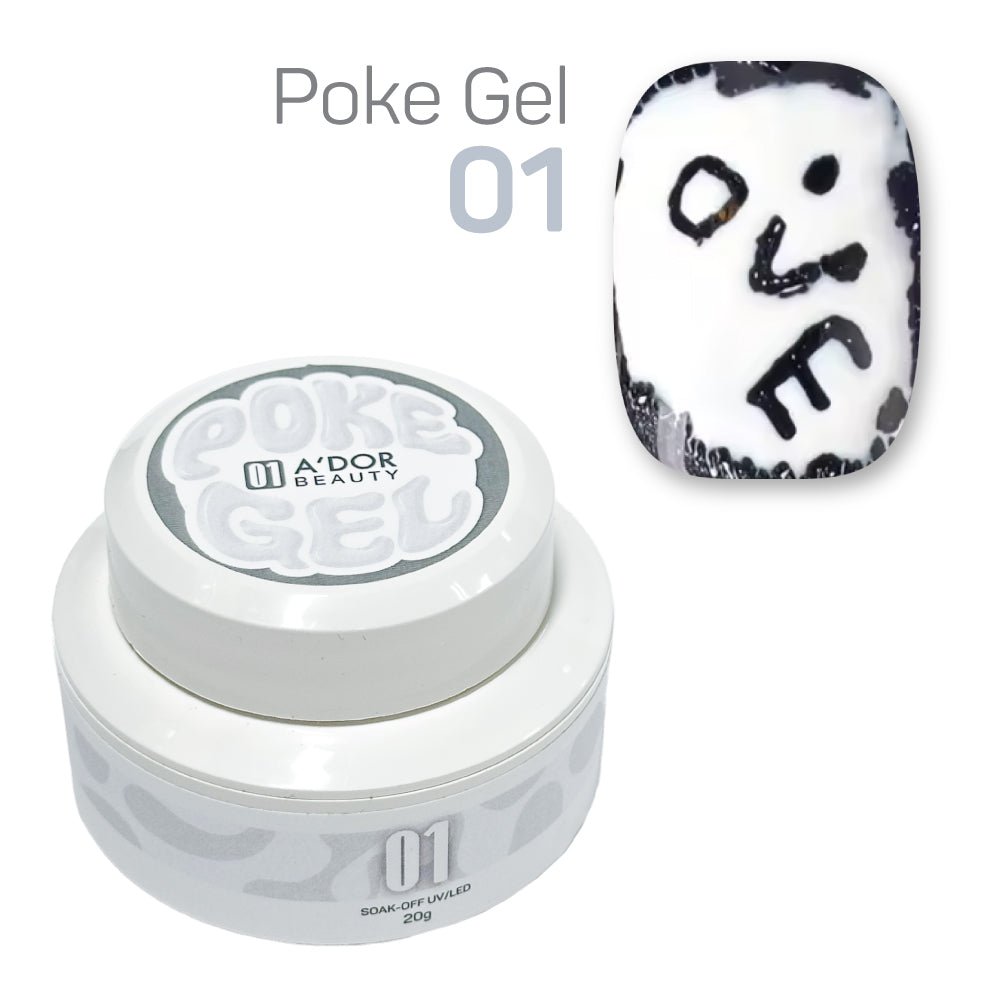
A'DOR Poke Gel 01 - White - Nail Art
Regular price
$5.50
Sale price
Regular price
Choose your option

A'DOR Poke Gel 02 - Pastel Yellow
Regular price
$5.50
Sale price
Regular price
Choose your option

A'DOR Poke Gel 03 - Light Blue
Regular price
$5.50
Sale price
Regular price
Choose your option

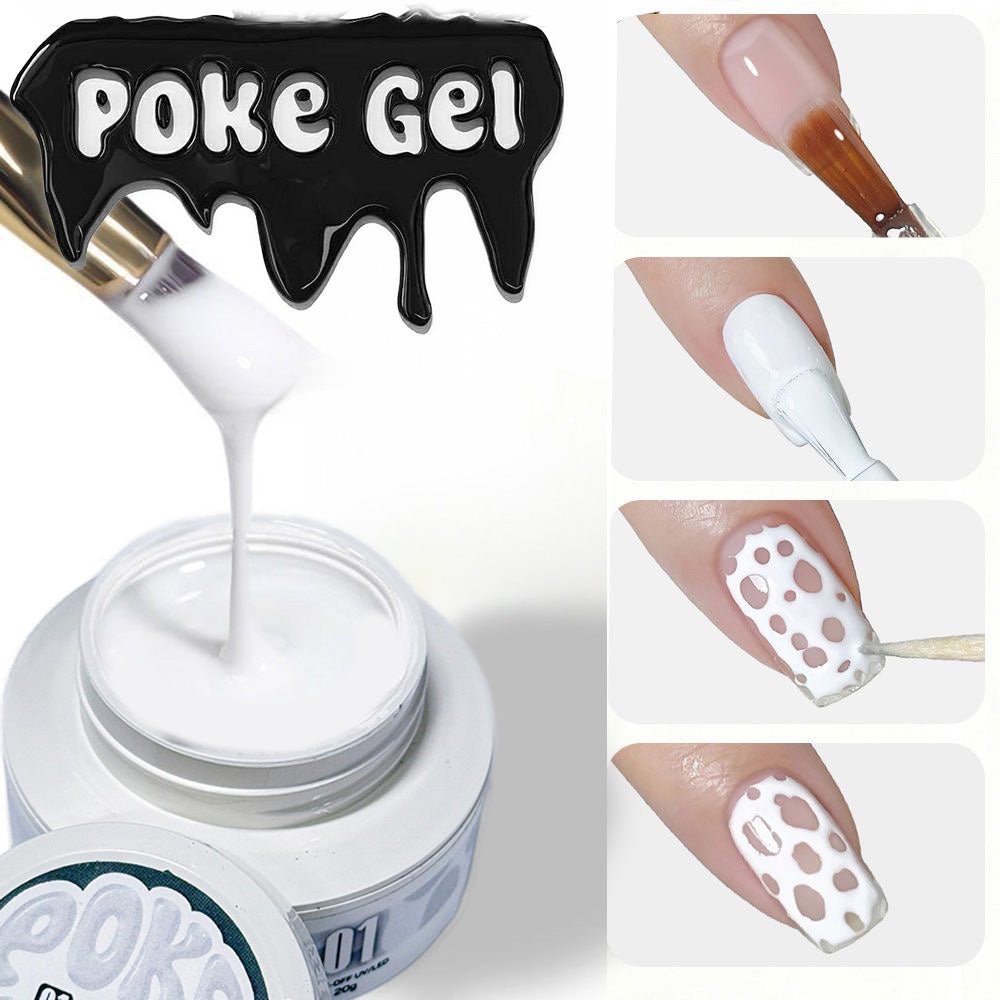
A'DOR Poke Gel 04 - Cobalt Blue
Regular price
$5.50
Sale price
Regular price
Choose your option

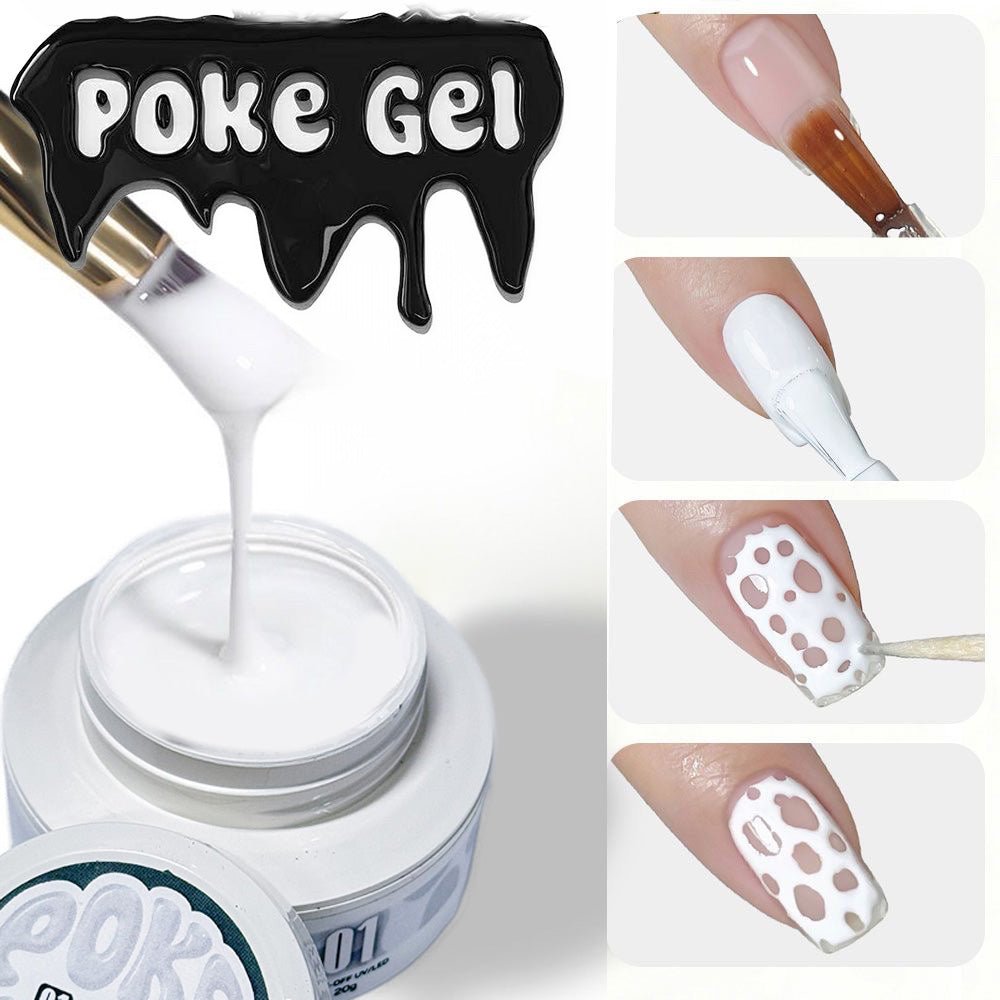
A'DOR Poke Gel 05 - Lilac - Nail Art
Regular price
$5.50
Sale price
Regular price
Choose your option

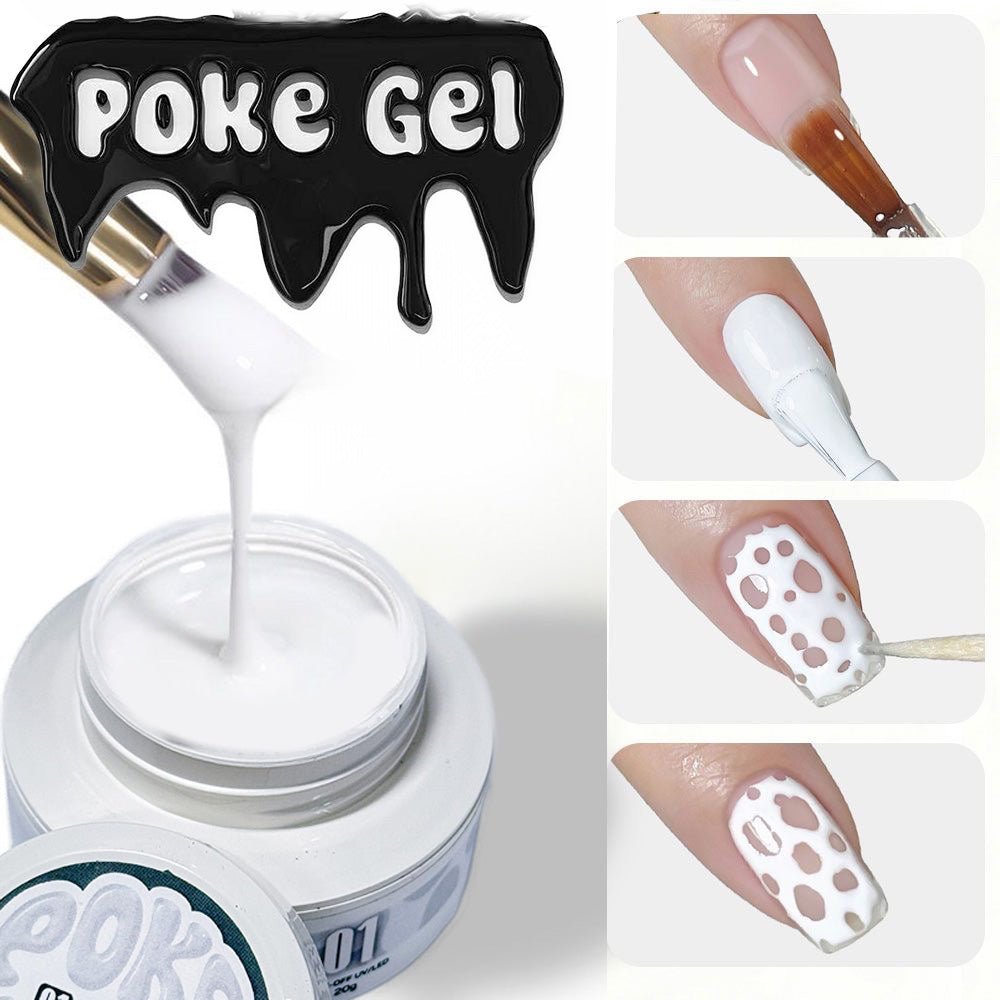
A'DOR Poke Gel 06 - Purple - Nail Art
Regular price
$5.50
Sale price
Regular price
Choose your option

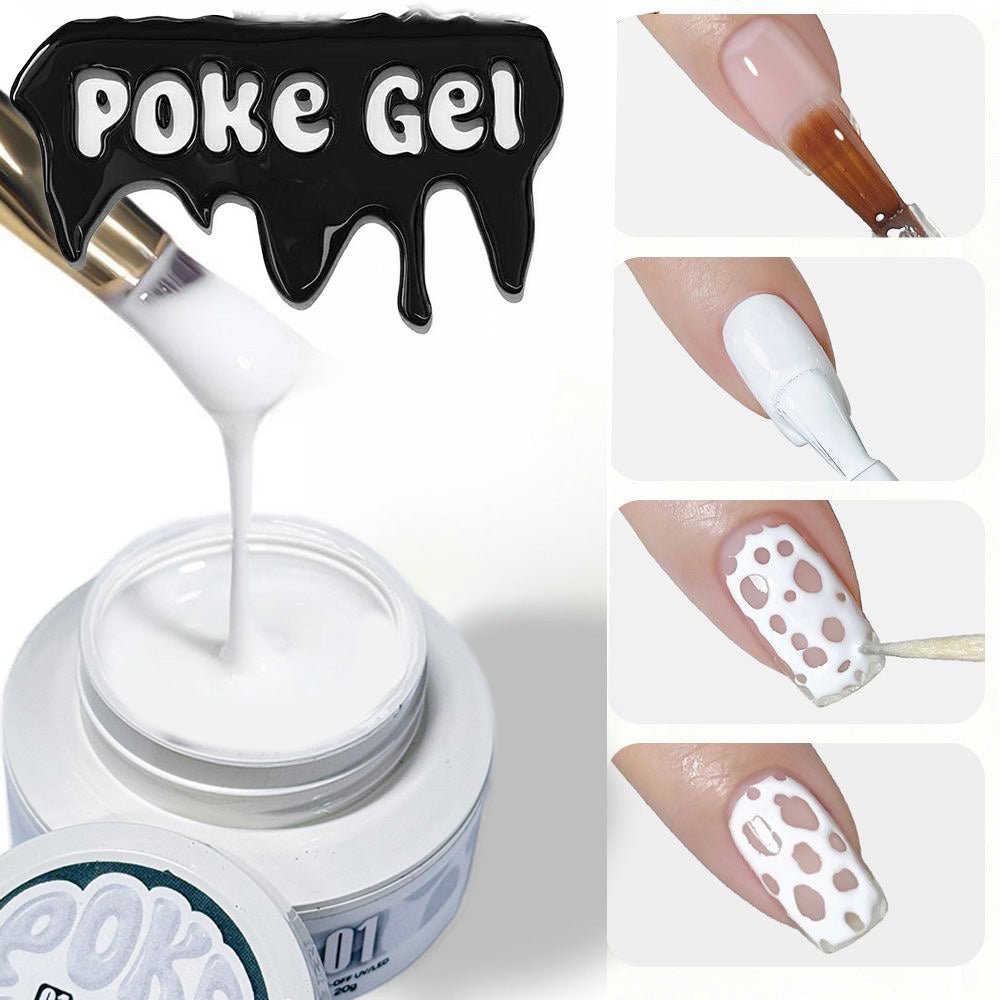
A'DOR Poke Gel 07 - Light Pink
Regular price
$5.50
Sale price
Regular price
Choose your option

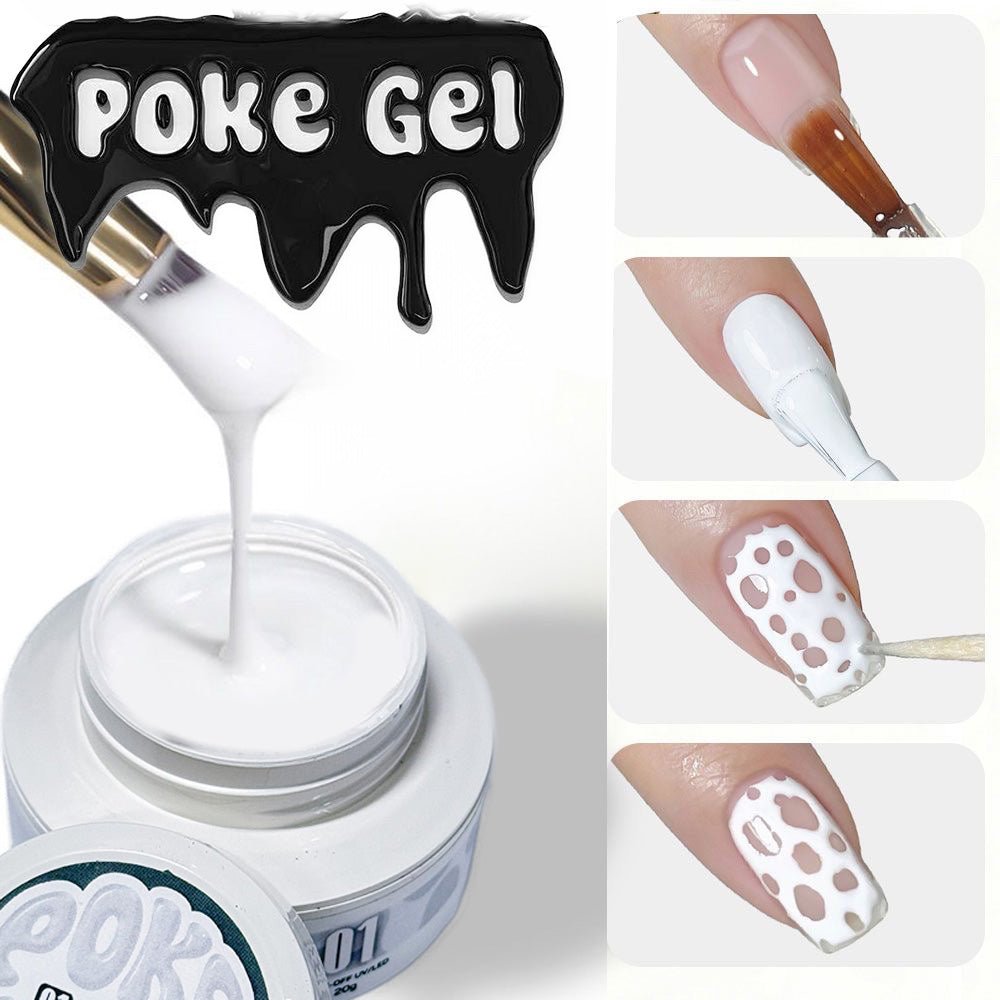
A'DOR Poke Gel 08 - Hot Pink - Nail Art
Regular price
$5.50
Sale price
Regular price
Choose your option

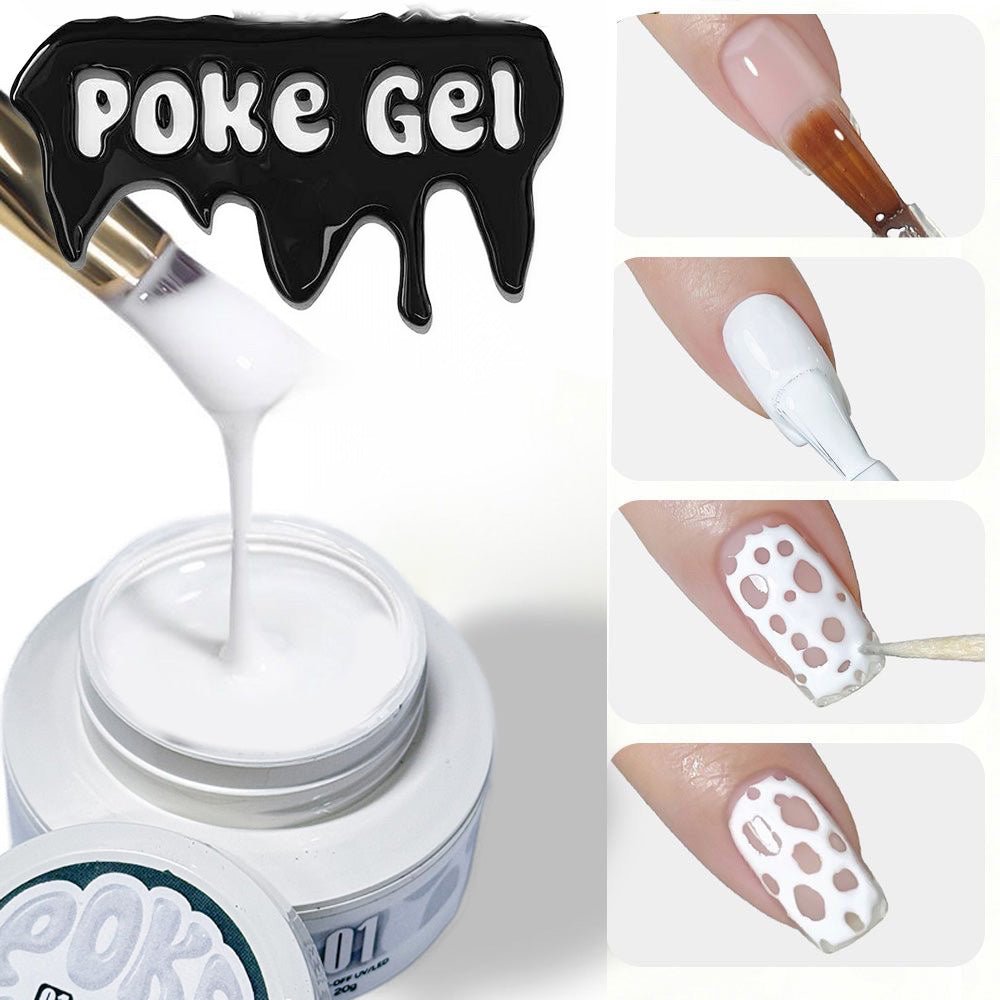
A'DOR Poke Gel 09 - Yellow - Nail Art
Regular price
$5.50
Sale price
Regular price
Choose your option

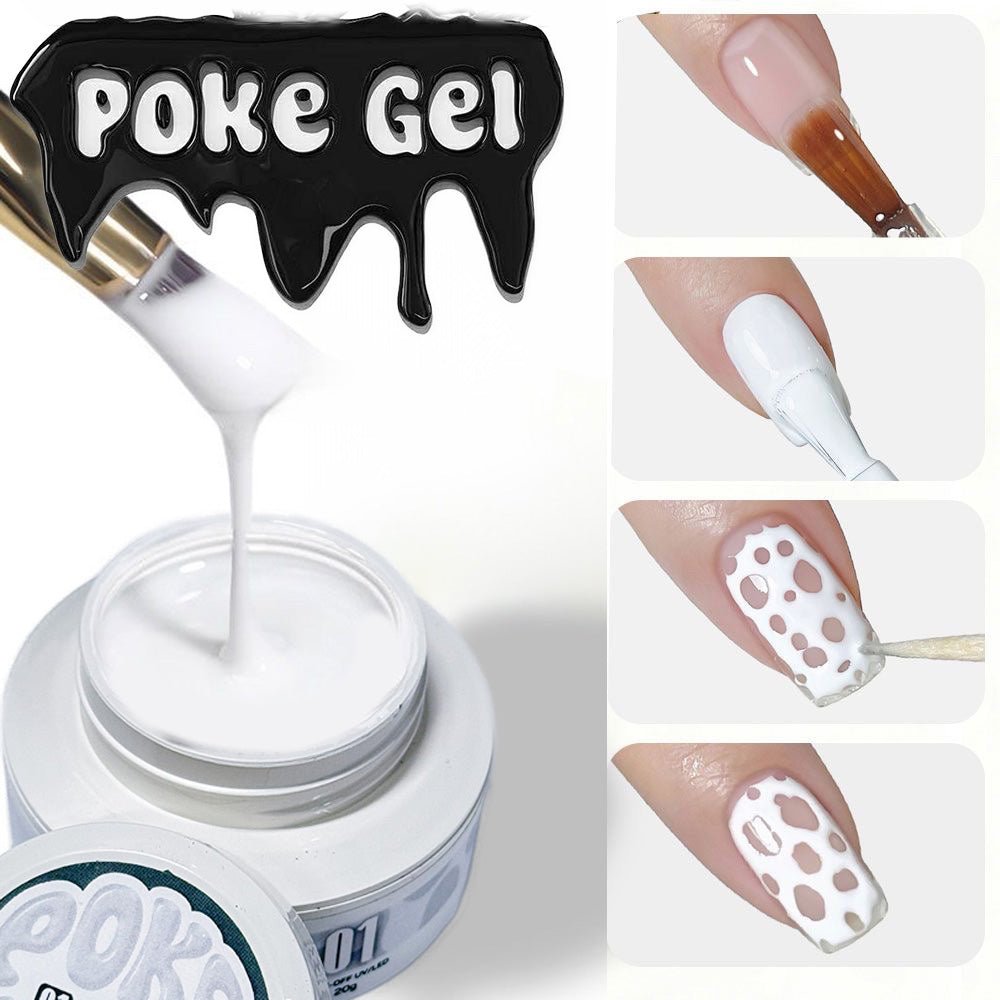
A'DOR Poke Gel 10 - Red - Nail Art
Regular price
$5.50
Sale price
Regular price
Choose your option

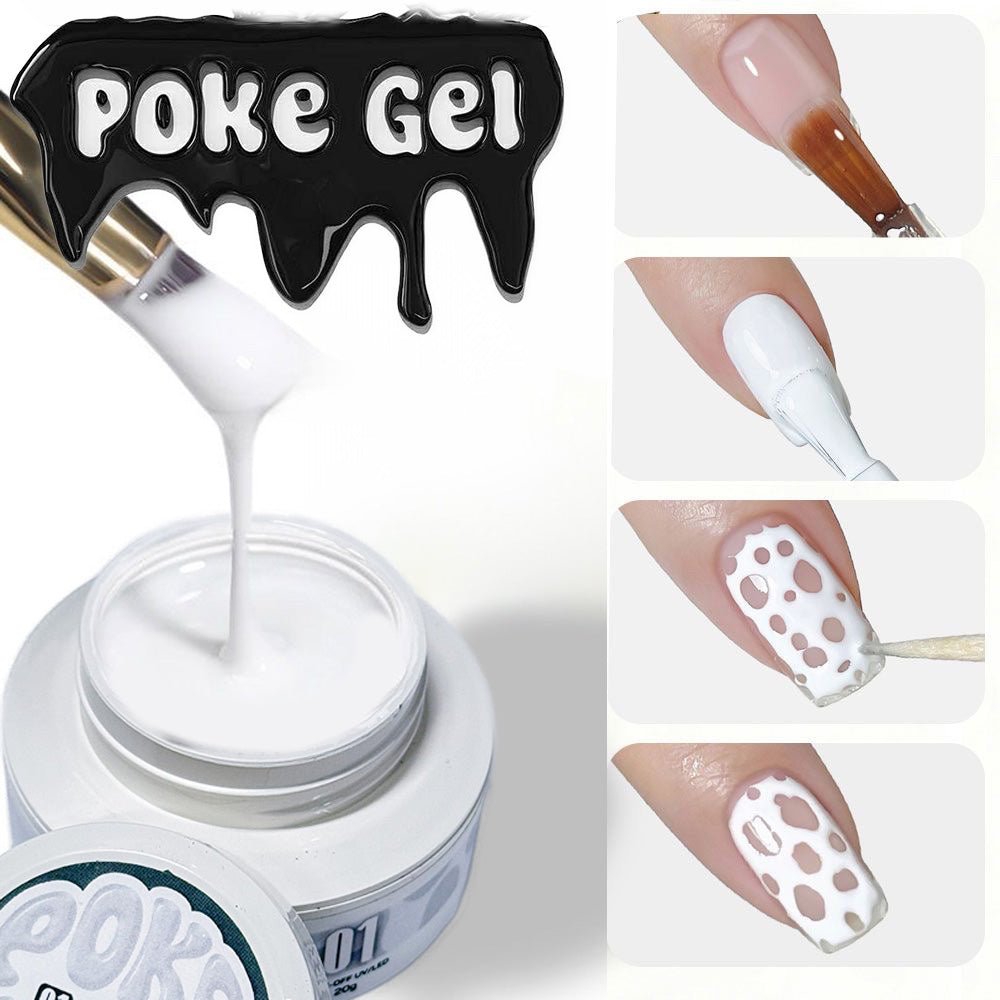
A'DOR Poke Gel 11 - Royal Blue
Regular price
$5.50
Sale price
Regular price
Choose your option

A'DOR Poke Gel 12 - Black - Nail Art
Regular price
$5.50
Sale price
Regular price
Choose your option

A'DOR Poke Gel H1 - Copper - Nail Art
Regular price
$5.50
Sale price
Regular price
Choose your option

A'DOR Poke Gel H2 - Silver - Nail Art
Regular price
$5.50
Sale price
Regular price
Choose your option

A'DOR Poke Gel H3 - Platinum - Nail Art
Regular price
$5.50
Sale price
Regular price
Choose your option
Recently viewed
Best Sellers


DND Gel + Lacquer Duo #448 Snow Flake
Regular price
$6.00
Sale price
Regular price
Choose your option


DND Gel + Lacquer Duo #537 Panther Pink
Regular price
$6.00
Sale price
Regular price
Choose your option


DND Gel Polish - 441 Clear Pink
Regular price
From $3.99
Sale price
Regular price
Choose your option


Kiara Sky Pink Your Poison — HEMA-Free Gel Polish | DTK
Regular price
$13.00
Sale price
Regular price
Choose your option


OPI Intelli-Gel - E82 My Vampire is Buff - Soft Mauve Nude HEMA-Free Gel Polish 0.5 oz
Regular price
$14.95
Sale price
Regular price
Choose your option


OPI Intelli-Gel - H22 Funny Bunny - Soft Sheer White HEMA-Free Gel Polish 0.5 oz
Regular price
$14.95
Sale price
Regular price
Choose your option


OPI Intelli-Gel - H82 Let's Be Friends! - Bright Happy Pink HEMA-Free Gel Polish 0.5 oz
Regular price
$14.95
Sale price
Regular price
Choose your option


OPI Intelli-Gel - L00 Alpine Snow - Pure Opaque White HEMA-Free Gel Polish 0.5 oz
Regular price
$14.95
Sale price
Regular price