


Welcome to our guide to polygel nails. We're excited for you to experience this non-damaging hybrid mani! Polygel is strong, lightweight, and flexible, and it moves naturally with your fingers and toes. That's right, polygel nails are both fingernail and toenail friendly!
Who Can Wear Poly Gel Nails?
Anyone with healthy nails is invited to try polygel overlays, extensions, and sculpted nail art. This innovative nail enhancement is an excellent alternative to acrylic nails. It's non-porous, versatile, and very safe when properly applied and removed. Moreover, polygel is odorless and releases no harmful chemicals.
What Do You Need to Apply Polygel Nails?
Polygel requires a nail lamp to cure as it doesn't air dry like acrylics. You'll also need a sculpting brush and slip solution to shape it. If you're familiar with acrylics, think of it as a premixed acrylic mixture that's already wet and ready to use. There's no guesswork about how much monomer to add. The slip solution simply keeps it from sticking to the bristles.
Most brands of polygel also need a base coat and a top coat. But you have a lot of freedom for creativity. You can paint the polygel, add gems or stickers, and treat it as you would any other nail enhancement.
Fascinating Facts about Polygel
The original PolyGEL hybrid was created by Gelish. It was designed specifically to be odor-free (unlike monomer), and to avoid airborne dust. Furthermore, Gelish claims their product is 16% lighter than hard gel and 23% lighter than acrylics. However, it's just as strong as either and more flexible for a natural feel.
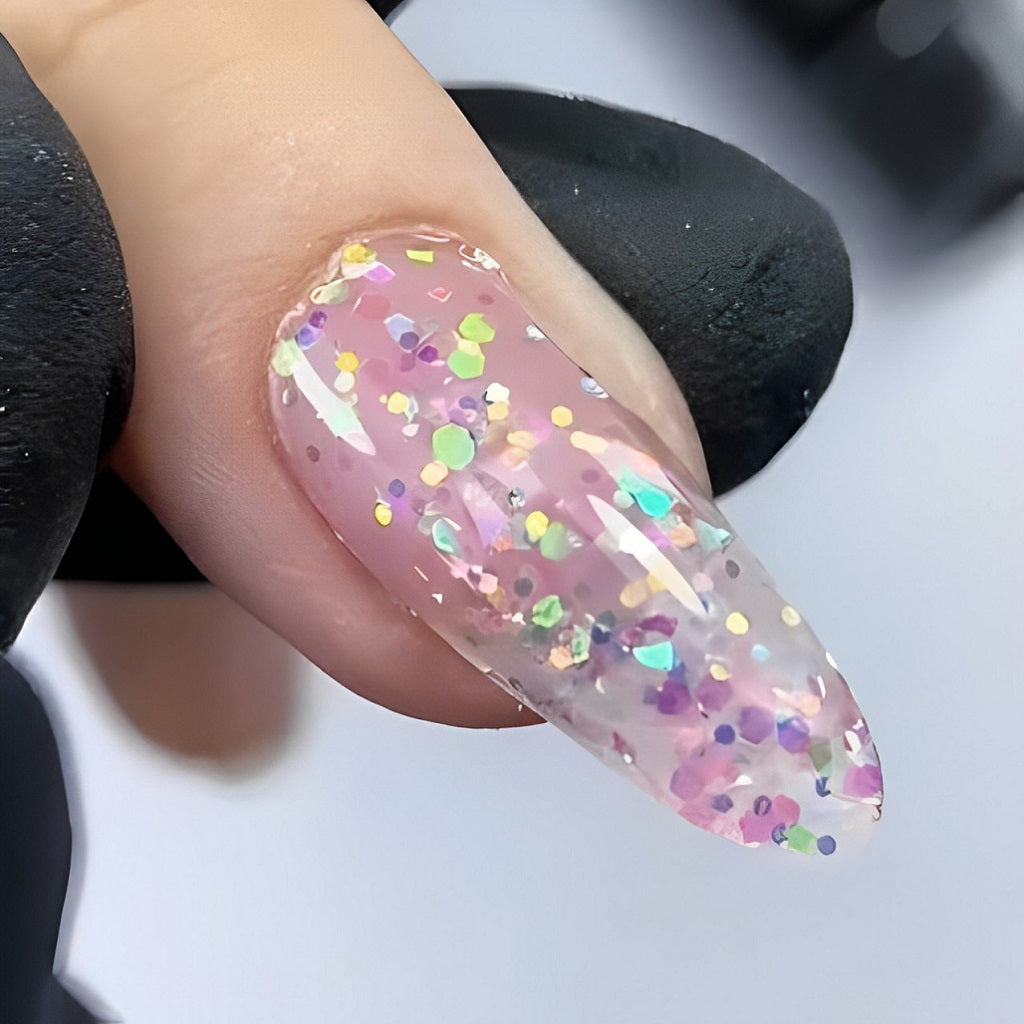
While Gelish has kept only six colors of polygel, brands such as Lavis have developed eighteen, including glitter colors. Instead of sticking to the basics like pink or white, you can have gold, blue, purple, silver, and neutrals to match every skin tone.
What Is Polygel Really?
We call polygel a hybrid because it blends the best characteristics of acrylic and gel polish. It's two products in one, like acrylic powder blended with gel polish.
Polygel is packaged in a squeezable tube because it’s ready to use. Unlike acrylics where you must combine the dry powder and liquid monomer into a paste, or gel polish that’s just a thin liquid, polygel is thick like toothpaste or putty. It has a firm texture and won't run.
Nail techs use a dual tool with a spatula on one end and a brush on the other to manipulate polygel. They squeeze the tube to push out the necessary amount of polygel and slice it off with the spatula. Then they use the bristles dipped in slip solution to flatten and push the polygel onto a mold to shape the nails. You can watch the process in this brief video.
Once polygel is in the desired shape, it’s cured under a nail lamp like gel polish. Afterward, it's usually necessary to file and buff the polygel the same as you would for hard gel or acrylics. Finally, it can be painted or simply finished with a top coat.
What Are the Advantages of Poly Gel Versus Gel Polish?
Regular gel polish doesn't offer structure or support for growing out nails like polygel does. What’s more, polygel is longer lasting. After three or four weeks, you don't need to remove the polygel. You can simply backfill it or fill in the gap where the nail has grown out. Moreover, polygel can be sculpted into extensions and nail art just like acrylics.
What Are the Benefits of Polygel Versus Acrylics?
Polygel is as strong as acrylics but feels lighter and flexes with the nail. It's unlikely to snap at the stress points. Furthermore, polygel is easier for beginners who want to do extensions and 3D nail art. It won't dry until it's cured in a UV or LED lamp, so the user has as much time as needed to perfect the look.
Plus, polygel is odorless, unlike monomer, and there's no need to learn how wet to make the bead because the formula is pre-mixed.
How to Do Polygel Nails
Here's another little video showing the steps to apply Lavis poly extension gel. You'll need the following supplies:
- The usual manicure tools (clippers, nail file, buffer block, lint-free wipes, and alcohol)
- A brush, preferably medium size with firm bristles
- Slip solution for polygel (rubbing alcohol might do in a pinch)
- Gel base and top coats
- 180-grit file for shaping the poly gel once it’s cured
- Polygel, like a natural pink shade or any other color you wish
- Molds or stickers to form extensions if desired
- Clips to secure the transparent plastic molds while curing
- Cuticle oil for a professional finish
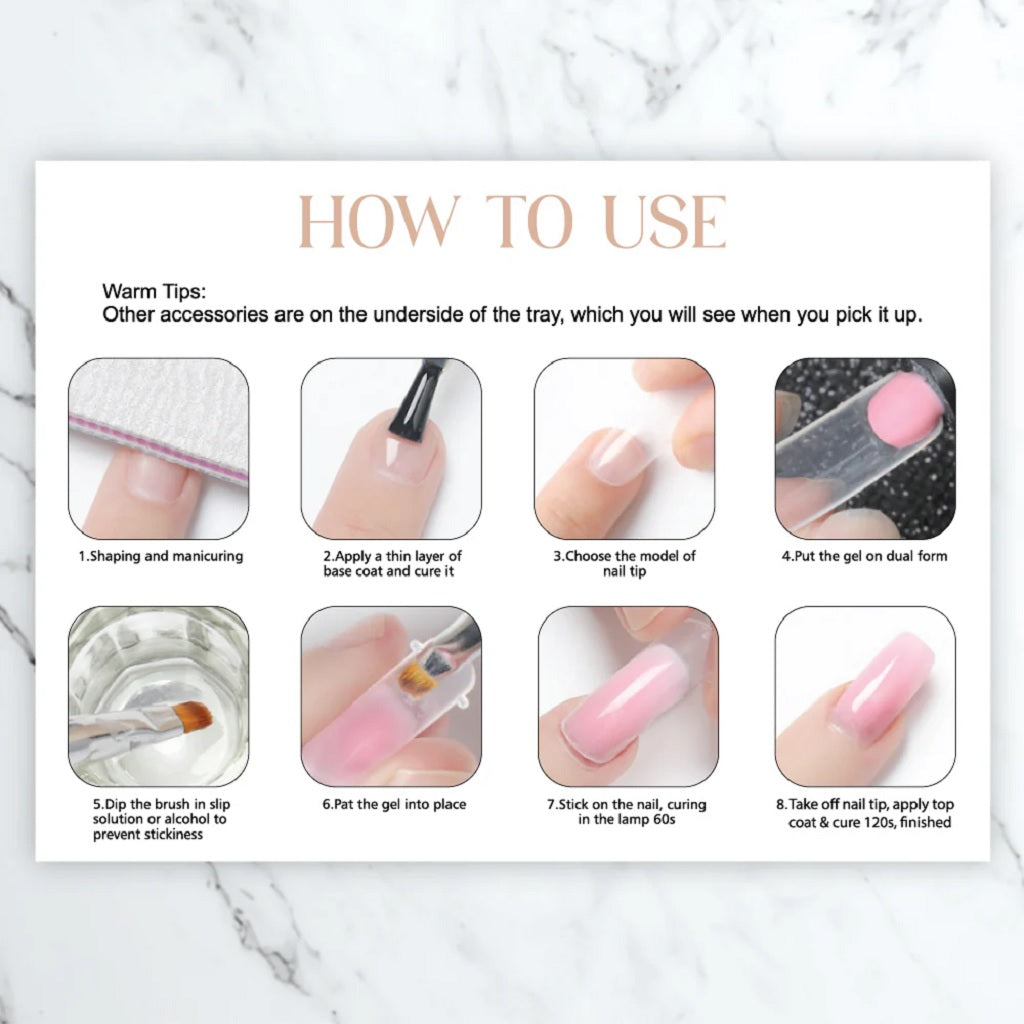
Once you have your supplies ready, prep your nails as you would for any other manicure. Trim, file, and buff them. Remove the natural oil and debris with a lint-free wipe and alcohol.
Next, apply the gel base coat and cure it. You can do this for all the nails at once.
For the best results, apply the polygel to one finger or toenail at a time and cure them individually.
Squeeze out a portion of polygel from the tube. Use the spatula end of the brush to place it on the mold or the nail.
Dip the bristles into the slip solution and pat the gel into place. If you're using a mold, press it firmly into place on the nail. Be sure to flip the finger over and shape the tip inside the mold. Watch the linked video above to see how it’s done.
Once you're pleased with the shape, cure the fingertip in the nail lamp for 60 seconds.
Take off the mold and use the 180-grit nail file to shape and remove the excess polygel. Wipe off the debris and finish with a top coat and cuticle oil.
Conclusion
We're pleased to introduce polygel nails to you today. We’re confident you’ll love this hybrid manicure with the best features of both acrylics and gels.
Explore the Lavis Poly Extension Gel collection and pick up the accessories you need to get started. We offer complimentary gifts and free shipping on orders over $100!


