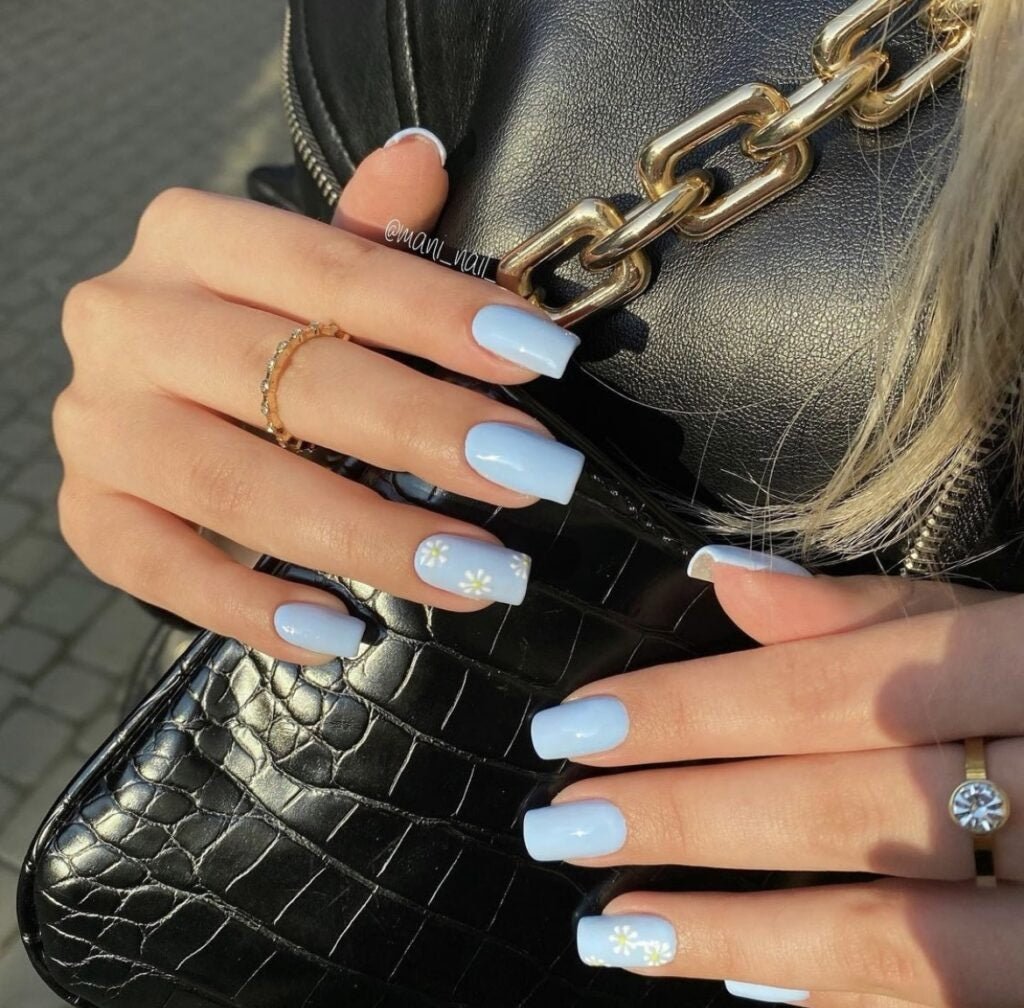
Best Milky Blue Nails for a Spring Manicure at Home
Blue looks good on everyone. But what happens when fashion meets a favorite color? This year, it goes milky. That’s right, milky shades are trending. And now we’ve got the best milky blue nails for a spring manicure at home.
What Do Blue Nails Mean?
Blue symbolizes peace, trustworthiness, creativity, and power. It’s flirty yet responsible. Plus, blue nails go with a lot of outfits!
How Do You Get Milky Blue Nails?
There are three ways to do a milky blue manicure.
One is to use a milky blue shade of polish or dip powder.
The second way is to mix your own shade.
Then, the third way is to use a milky top coat.
LDS Milky Top Coat
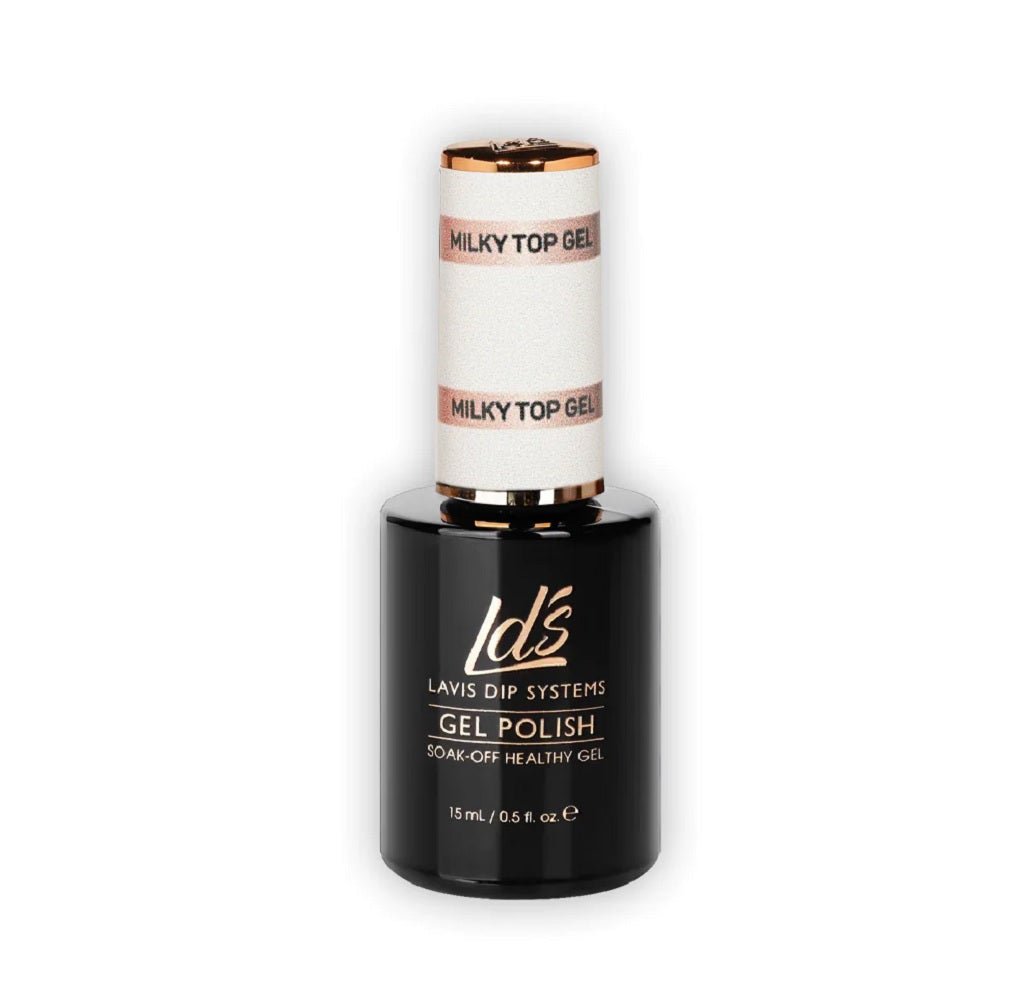
This gel top coat softens any shade to a milky color. See it in action in this video.
It’s odorless, easy for beginners to use, and cures in seconds with a nail lamp.
Milky Blue Shades Ready for Your Nails
There are many light blue shades suitable for a spring manicure. We’d like to show you a few of our favorites.
Lavis Gel Polish 022 Bluebird

This precious shade reminds us of a robin’s eggs. It’s a lovely milky blue base for all sorts of springy nail art designs. Watch this video for an example.
LDS 085 Be-you-tiful Blue
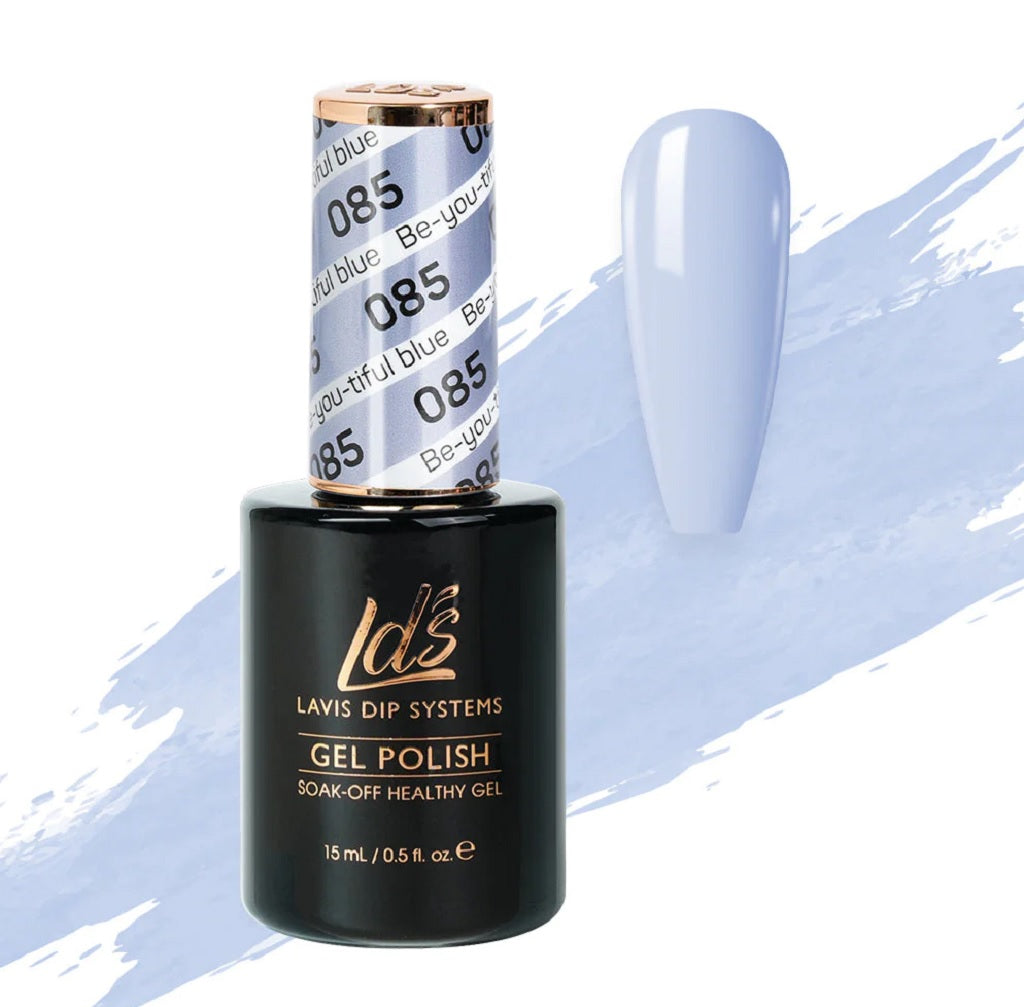
It's milky blue with a hint of lavender. This hard-to-resist color will keep you glancing at your nails all day long.
LDS Gel Nail Polish Duo - 109 a Hint of Sky
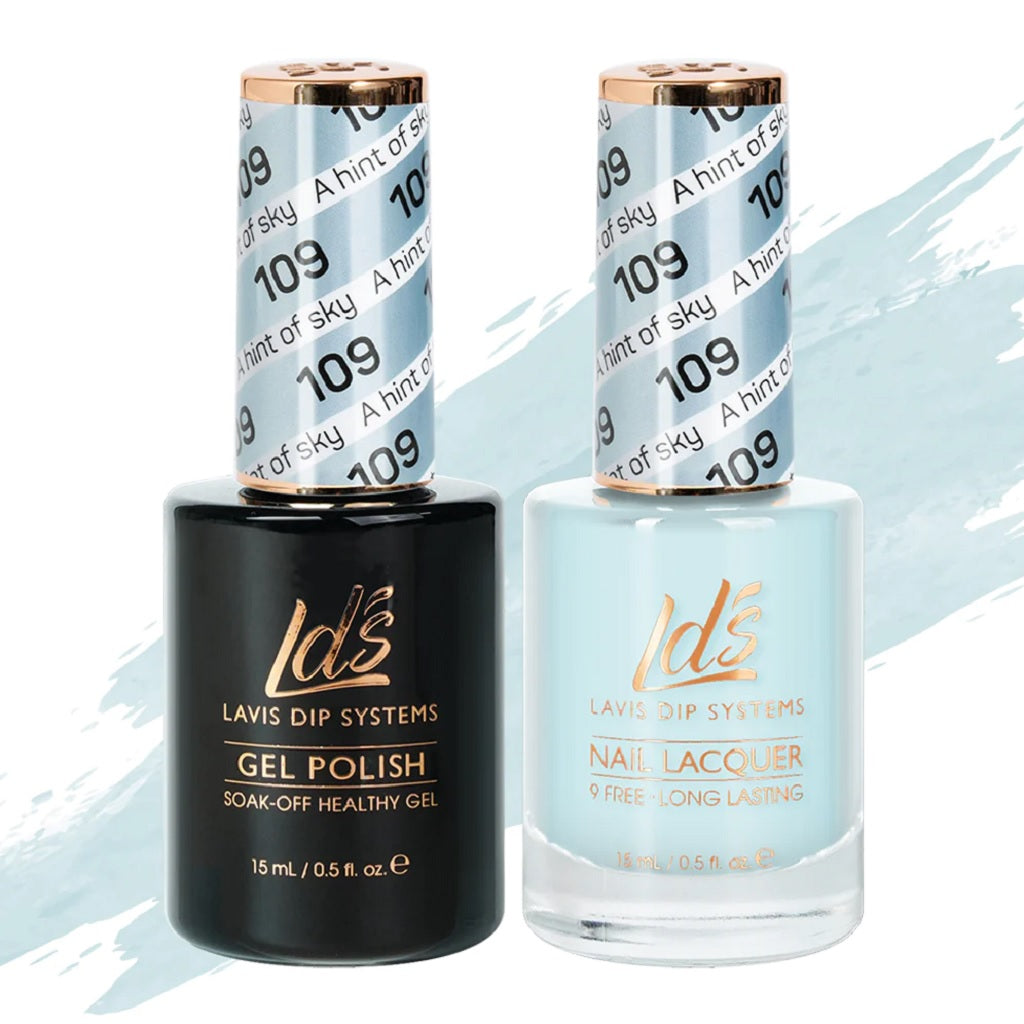
It’s barely blue because it’s so milky. It’s perfect if you’ve been searching for an almost-white shade of blue.
Compare it to OPI’s It’s A Boy gel and lacquer duo. Lucky for you, we have great prices on both sets!
How Do You Make Milky Blue Polish?
If you have a favorite blue shade that you want to turn milky, the easiest option is to use the milky top coat.
But you can also make your own unique shade of milky blue by combining white polish with blue.
Start with 5 drops of white on a palette and add one drop of blue. Stir the polish with a toothpick or dotting pen. If it’s too dark, add white. Or if you want a richer color, add blue. Keep track of the formula so that you can replicate it.
Pro tip: it’s best to use polish from the same brand with the same finish (such as glossy or matte). It’s also easier to combine the same type of base, like glitter or opaque instead of glitter with opaque. If you want a sparkly look, use a glitter top coat.
Lastly, you can make the milky color sheerer by adding a drop or two of clear top coat. This trick is handy if you’re doing jelly nails.
Milky Blue Nail Ideas for a Spring Manicure
Now that you’ve got a delicious new milky blue to try, what should you do with it? We have fun ideas for your manicure.
Speckled Eggs
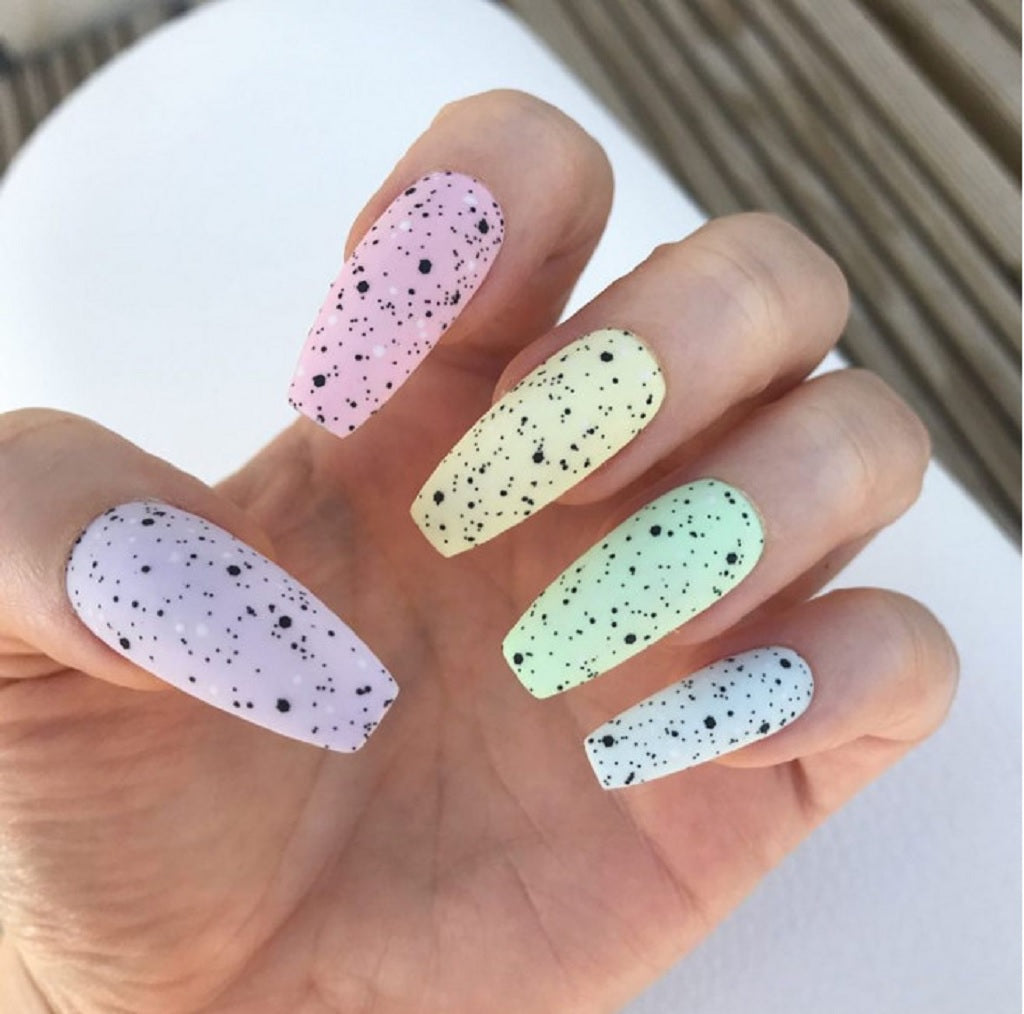
Get ready for Easter with speckled eggshell polish. It’s a gel that adds little black specks to make your fingernails look like candy.
Milky Marble Nails
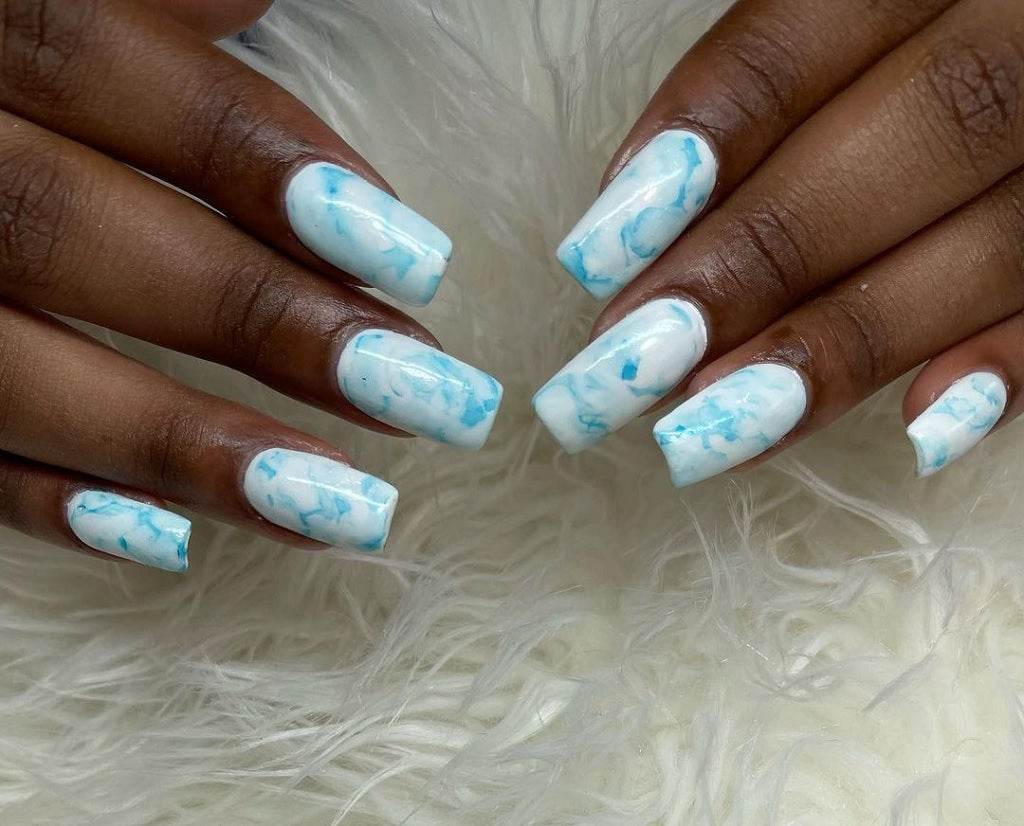
LDS Blossom Gel is the quick and easy way to marble your nails. There’s a video tutorial that shows how to use to make the milky blue polish flow and “bloom.”
Blue Field of Flowers
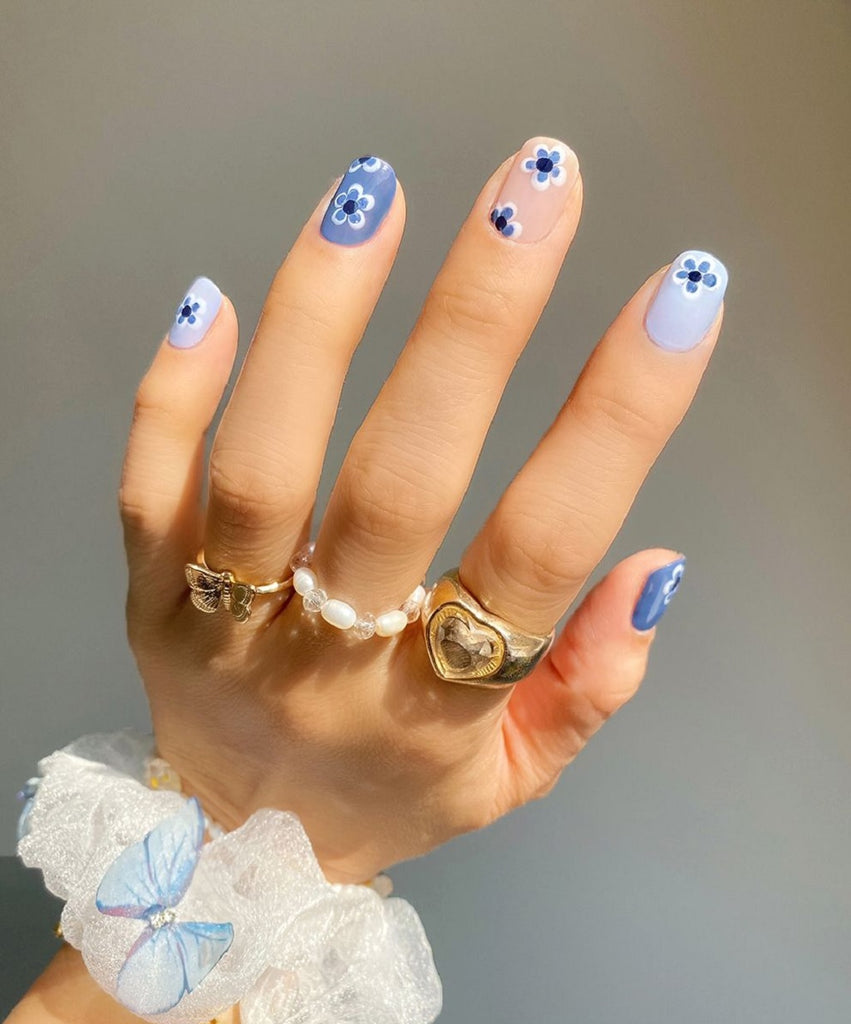
If you love to do nail art, it’s not hard to paint little white daisies on a milky blue background. Still, you have other options like nail stickers and miniature dried flowers to turn them into 3D nails.
Milky Ombre Nails
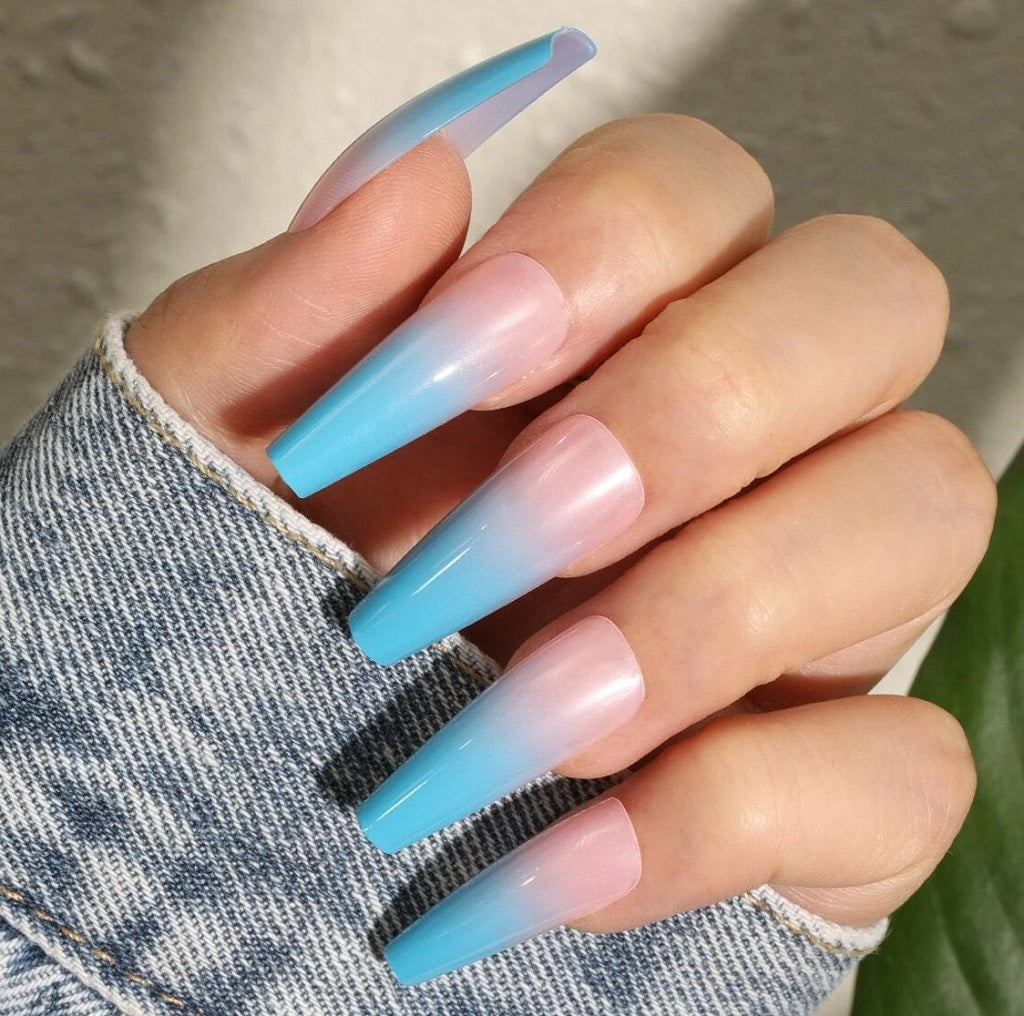
Gradient nails are gorgeous and not hard to do once you learn the trick.
Milky French Manicure
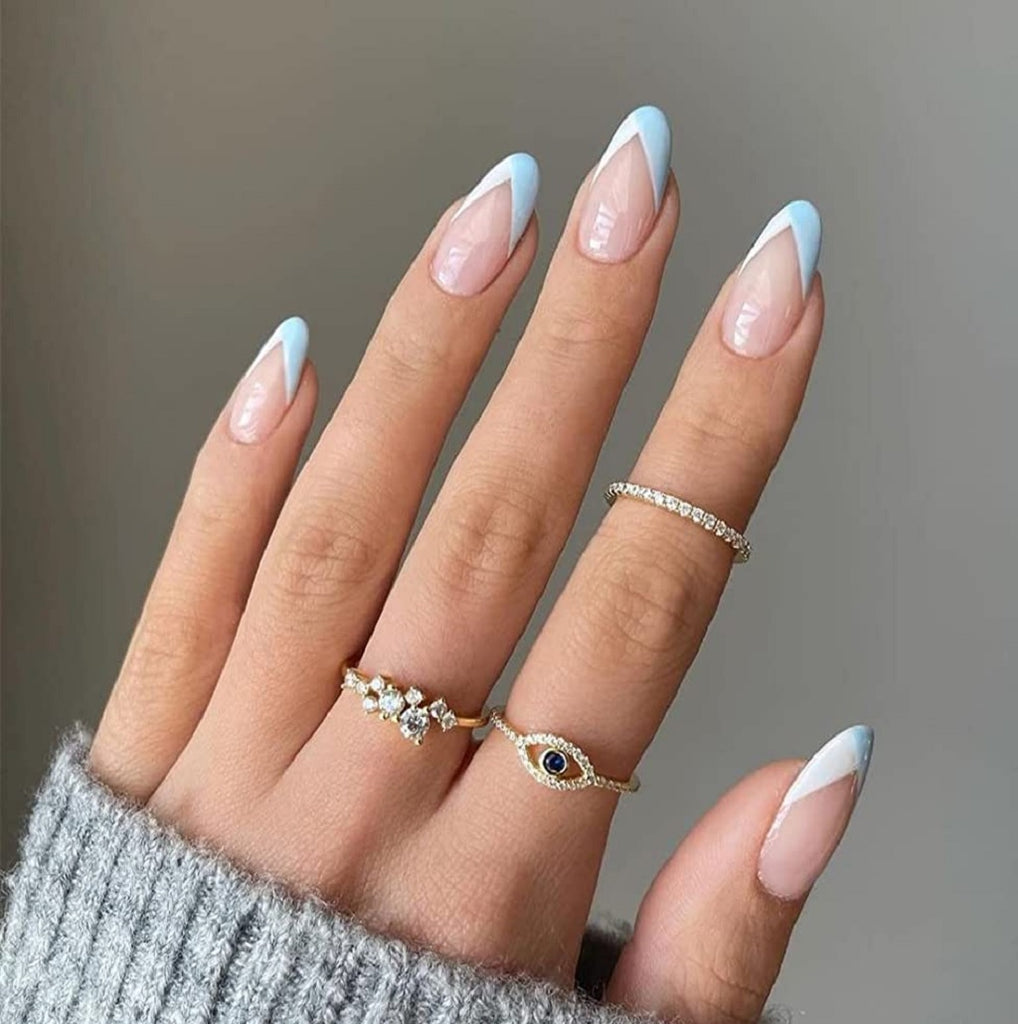
There’s no need for pinks and peaches with this milky twist on your manicure. Another option is to do just the tips in milky blue.
Clouds in a Milky Blue Sky
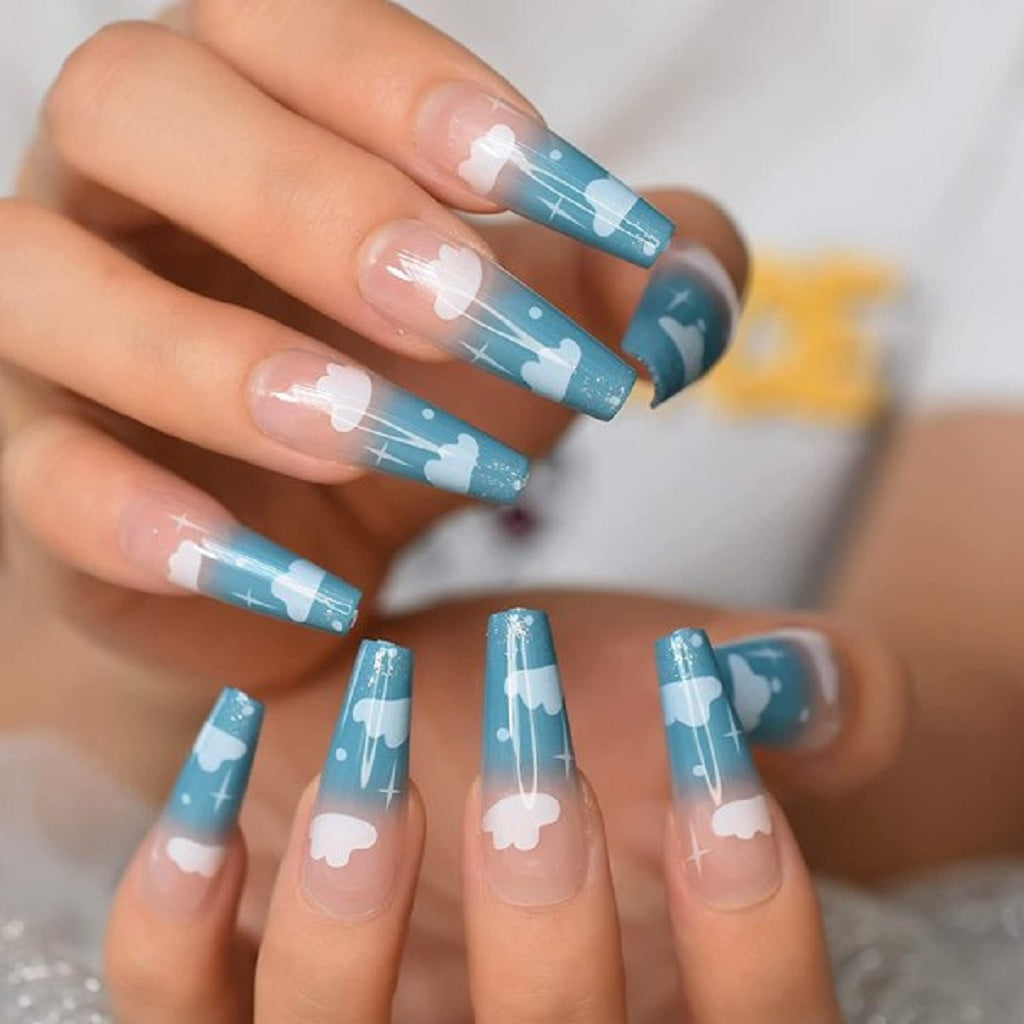
If you want a misty cloud look, use a makeup sponge to stamp the white polish. You can also give it a 3D look by using builder gel or dip powder.
Milky Chrome Nails
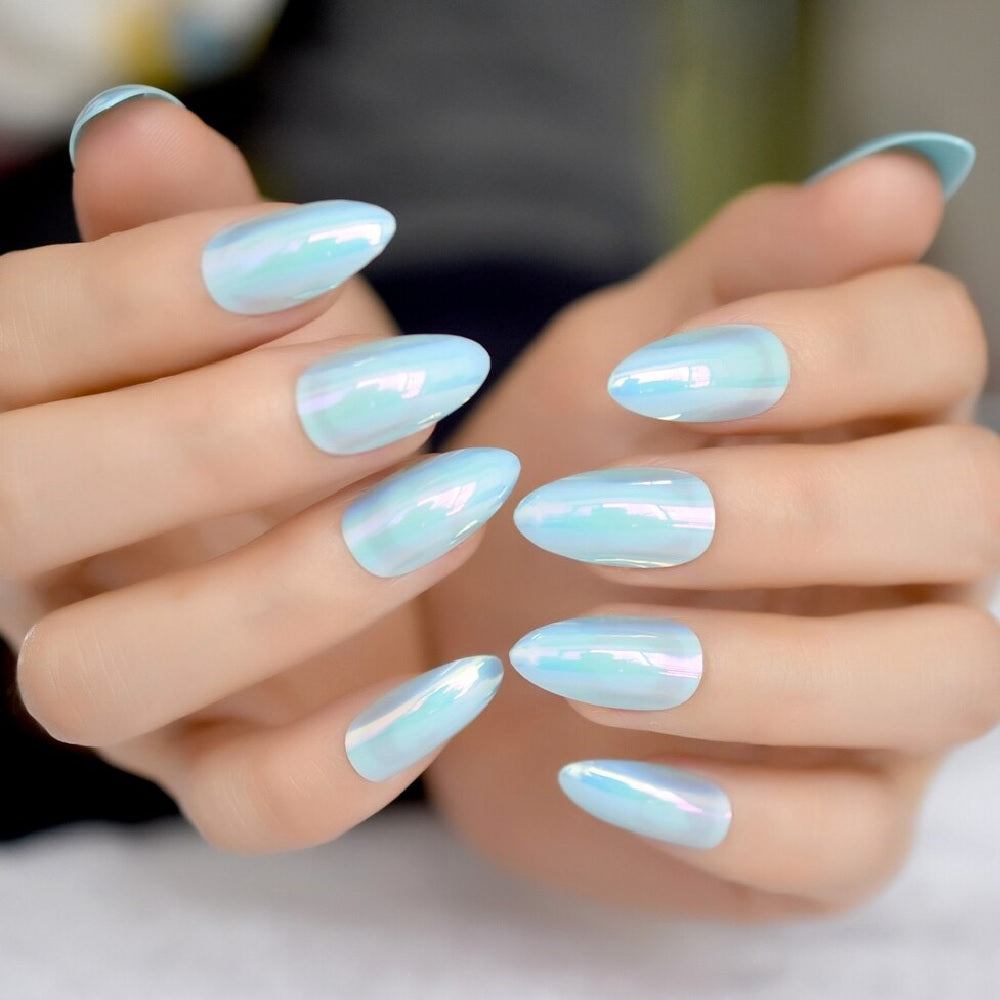
Aurora chrome powder is straightforward to apply. It gives the manicure a reflective finish that changes color depending on the angle of the light.
Tips for Spring Cleaning Your Manicure Tools
While we’re on the topic of springtime, we’d like to offer a few suggestions to help you enjoy doing manicures even more.
First, now’s a good time for cleaning and disinfecting clippers, files, drill bits, and so on. Make sure they are free of debris by using a cleaning brush and soap and water. Then submerge them in alcohol for ten minutes. These simple steps will protect you from nail fungus and other undesirable outcomes.
Next, look at the place where you’re storing your manicure tools and polishes. Does it need to be cleaned up also? It’s better to line a drawer with a clean towel and lay your tools there instead of wrapping them tightly in plastic.
Now, check the polish bottles. Which ones have caps that are stuck tight? Try holding them under hot water to get them open. You might need to wrap a rubber band around the lid for better traction. Once they are unscrewed, clean the necks with acetone. If you put a little cuticle oil on the thread, the lid won’t get stuck again.
If the polishes look like they have settled with the pigment separated from the base, roll them between warm hands for a minute or two to mix the components.
If you have old polish that you won’t use again, give it to someone who will. Otherwise, you’ll need to treat nail polish as hazardous waste and take it to an appropriate disposal facility. The good news is that you can use old nail lacquer for all sorts of projects like crafts, touching up dings on cars, and scratches on shoes.
Finally, take stock of what you’re getting low on. Everyone always needs more files and buffers. Also, check and see if your favorite brands and colors of polish are on sale. We’ve always got new stock coming in and specials on almost everything. There’s even free shipping for orders over $100!
