


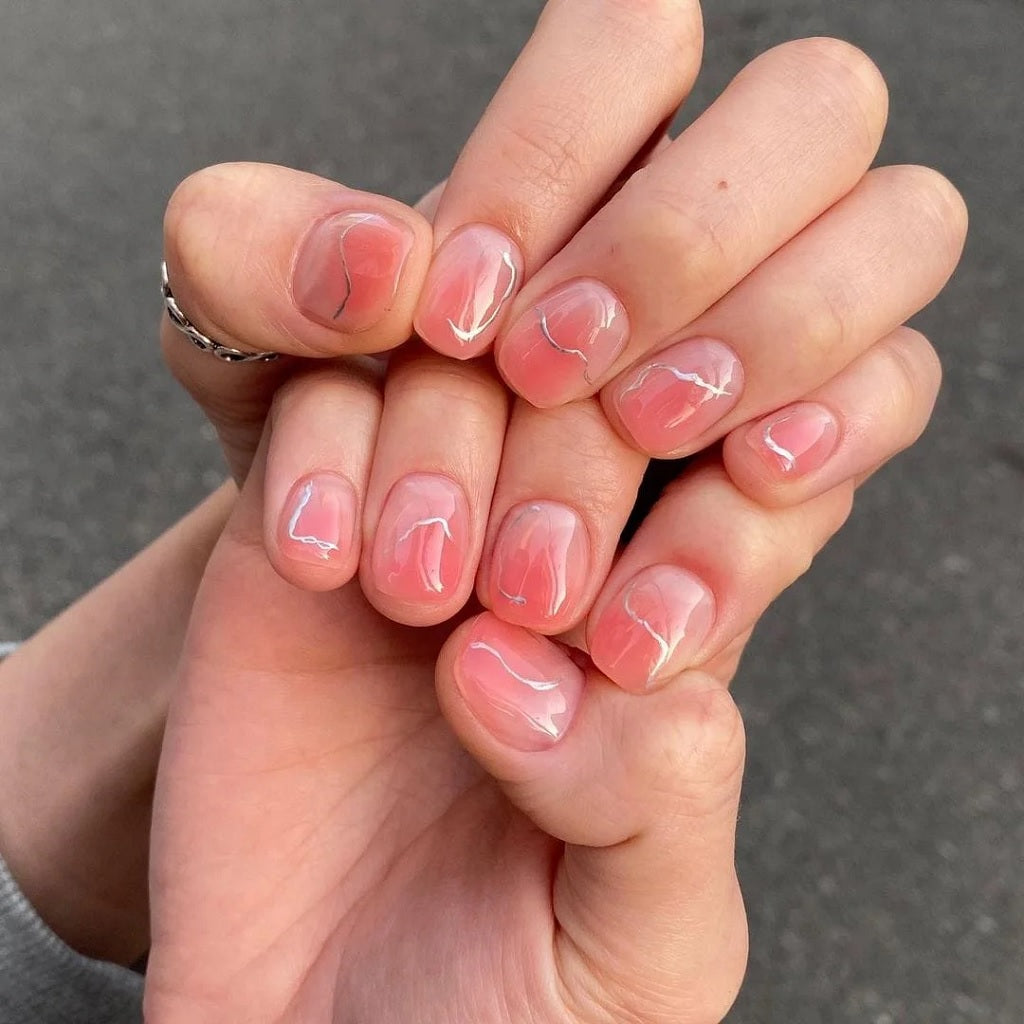
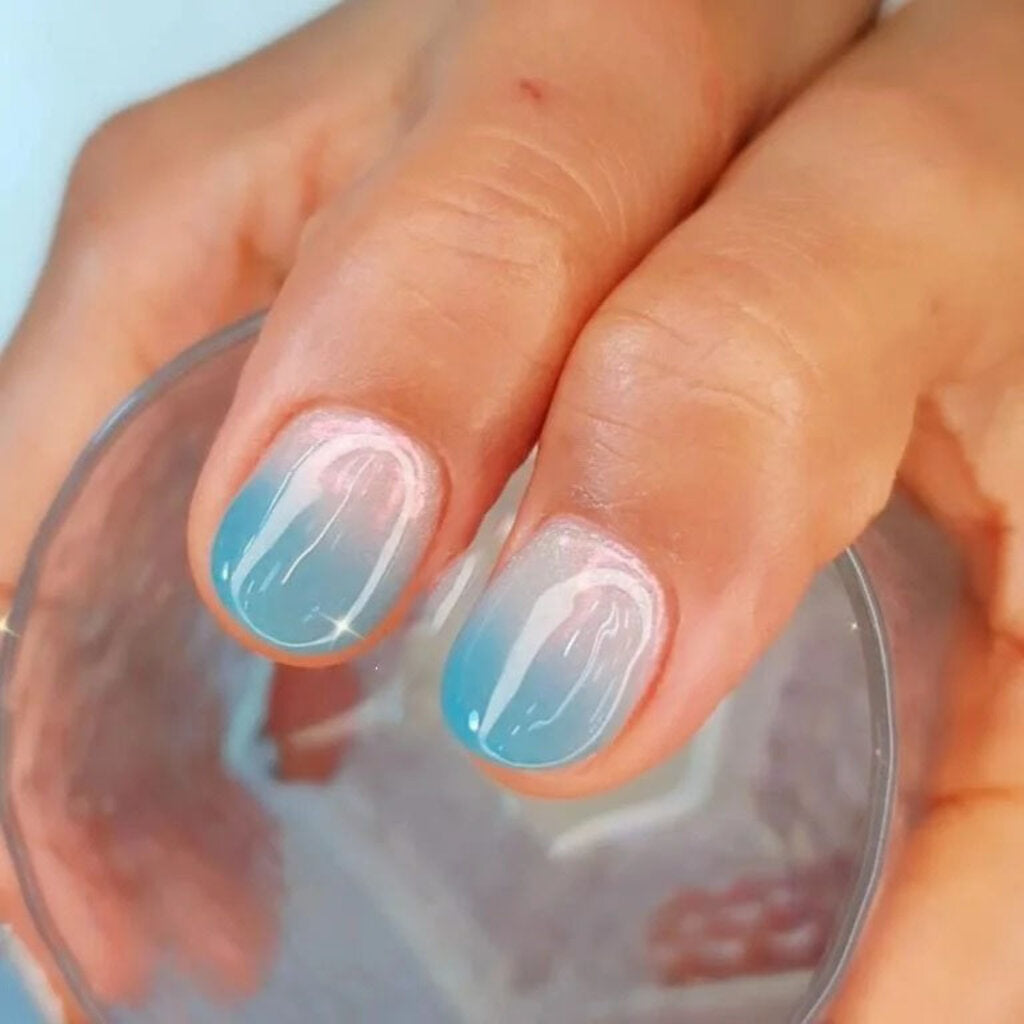
Syrup nails look like candy on your fingertips. They’re glossy with a gradient effect made with sheer polish. You can get the look with jelly polish or by making your own unique shades. If you’d like to try this nail trend, keep reading to learn how to make your own syrup nails.
What Are Syrup Nails?
Nearly a decade ago, syrup nails took over Japan. It's not surprising since this manicure has a clean aesthetic that works well for any outfit or situation. It looks lovely on long or short nails, plus it’s super easy to do at home.
It didn't take long before the trend became popular in South Korea. Cosmetics manufacturers started selling syrup polish explicitly designed for enthusiasts to use at home. However, it's possible to make your own syrup nail polish at home.
What Is Syrup Nails Polish?
Think of it as a glossy top coat with a hint of color. In fact, you can make your own syrup nails formula with a top coat and a bit of regular opaque polish.
How to Make Syrup Nails Polish
If you want to try your hand at creating syrup nails, and you don’t have jelly polish handy, you can mix a color at home. You'll need a glossy top coat and the shade you want to dilute. It may be easiest to begin with sheer colors, pastels, and neutral shades.
Try a ratio of 1:1, or one part top coat to one part colored polish. You’ll need to experiment because every polish formula is different.
The translucent effect you want is similar to looking through stained glass or honey. You should be able to see the nail clearly through the polish but also note the pigment.
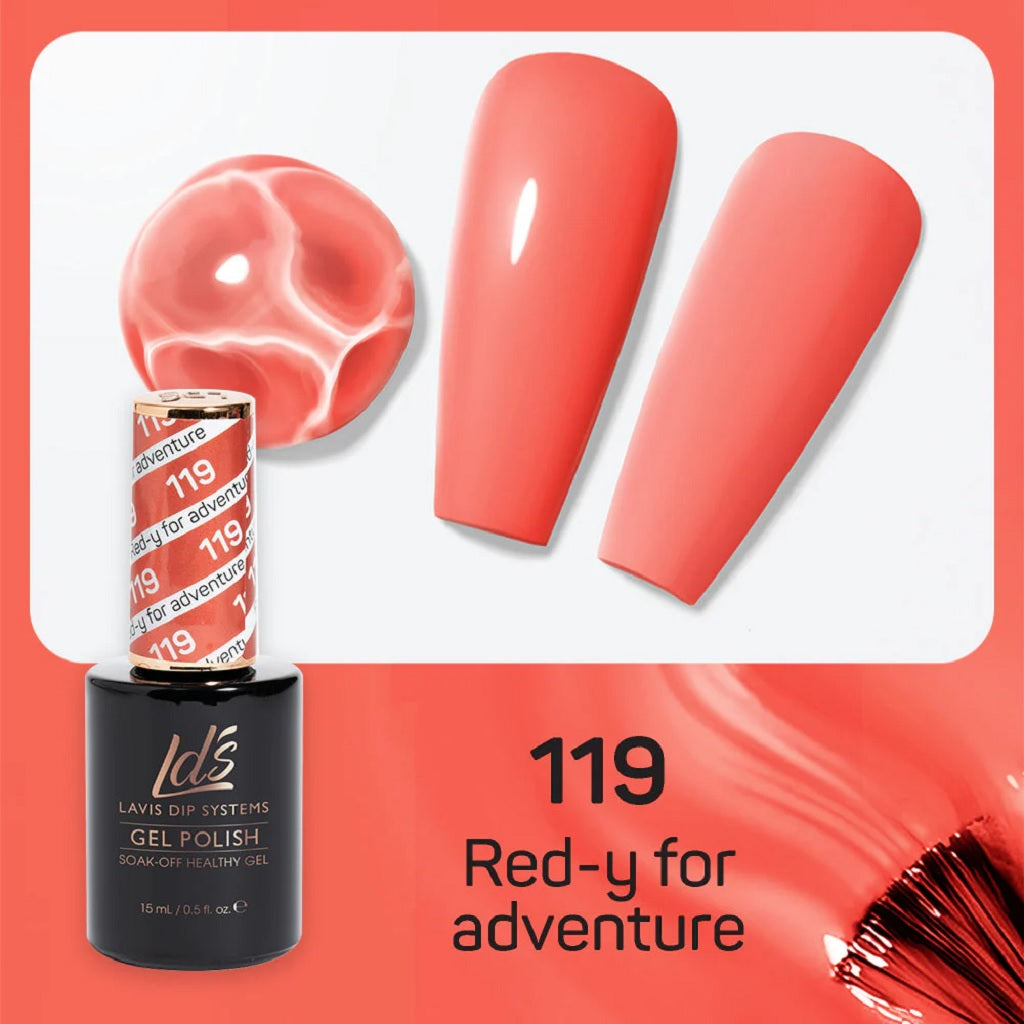
LDS Gel Polish 119 - Orange Colors - Red-Y For Adventure
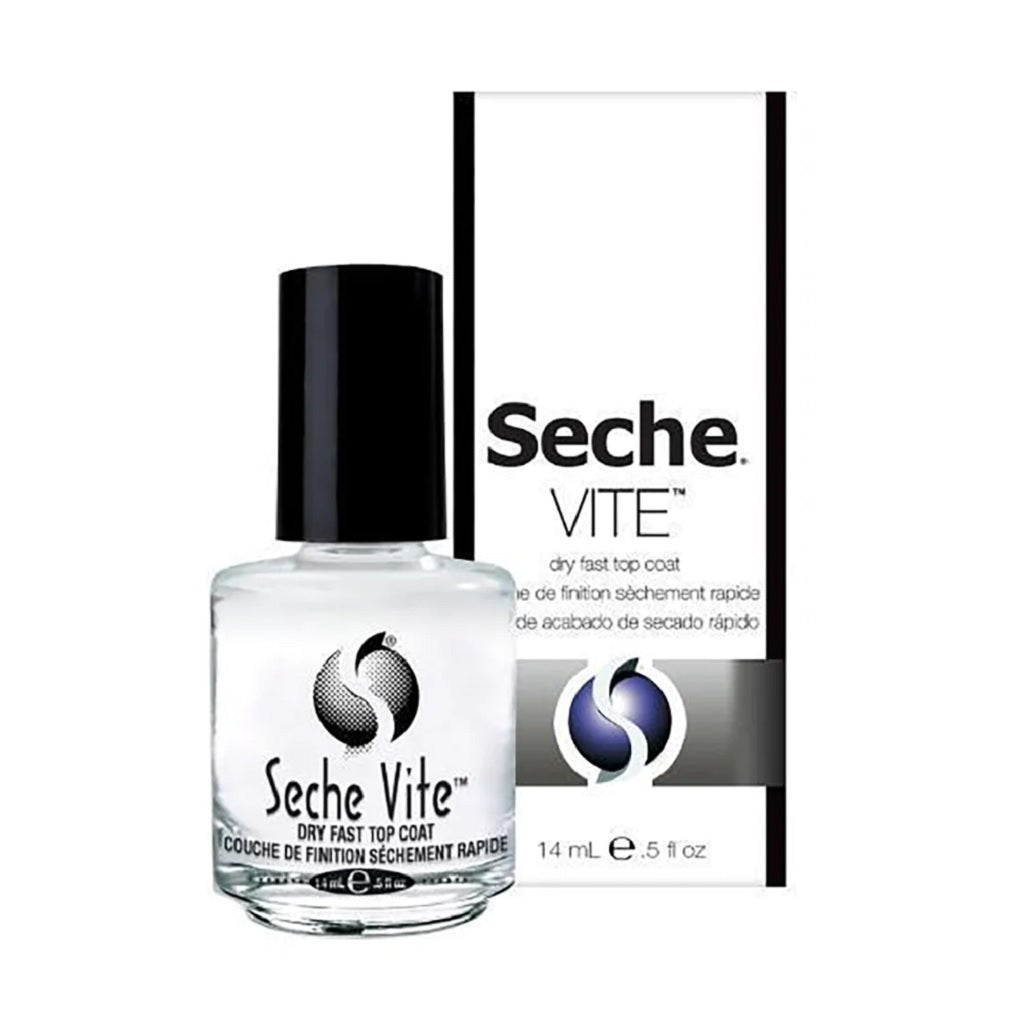
Seche Vite Top Coat
Where Can You Find Jelly Polish for Syrup Nails?
Luckily, you don’t have to travel to Japan or Korea to get jelly polish. Our store stocks gorgeous jelly shades that are perfect for doing syrup nails.
These are all gel polish colors, so you’ll need a nail lamp to cure them. But the good news is that this polish is odorless and straightforward for beginners to use. It won’t dry until you cure it, so you have all the time you need to achieve a flawless design.
Moreover, professionals love this polish for its high-gloss finish and durability.
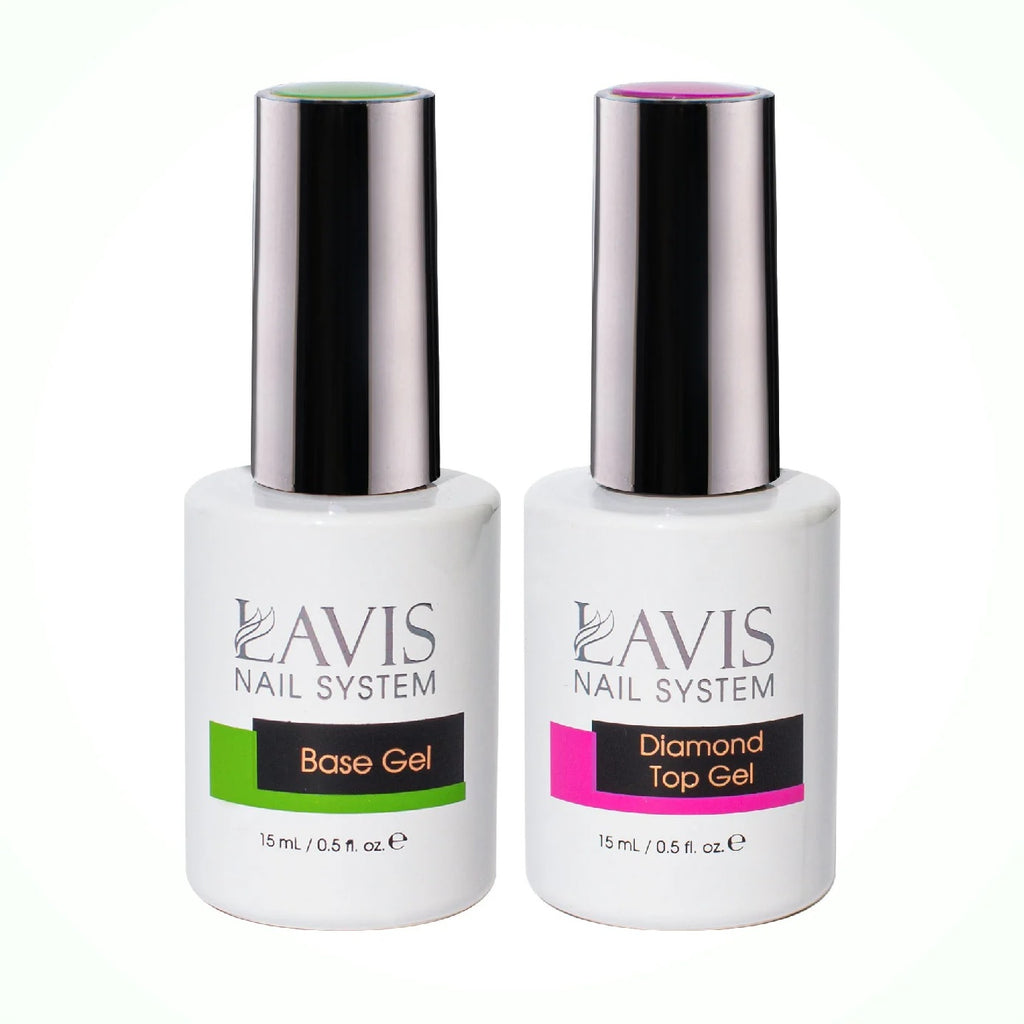
LAVIS Gel Base & Top
LAVIS J03 - Set 36 Colors - Bare With Me Collection

How to Do Syrup Nails
Every stunning manicure starts with meticulous nail preparation. Because syrup nails feature translucent polish, it’s essential that you spend time shaping and cleaning the natural nails. Be sure to push back those cuticles. Then, it's time to do syrup nails.
- For gels, apply a clear base coat and cure. (You may skip this step if you’re using regular nail polish).
- Brush on the first coat of sheer color. Make it a thin layer. Cure it or let it dry.
- For the second layer, focus the polish at the tip as if you were doing a French manicure smile line. But again, keep it light and thin.
- For the third layer, drag the polish from the tip toward the cuticle. Stop at the halfway mark so that the end of the nail is more saturated with color. You should be able to see a soft gradient effect. Feel free to use a small nail brush to blend the edge.
- Once the color is dry and you’re happy with the way it looks, brush on the glossy top coat. It should look as if syrup were dripping down your nails. Feel free to add a second layer of top coat for more depth and shine.
Massage in the cuticle oil and take photos to share your artwork!
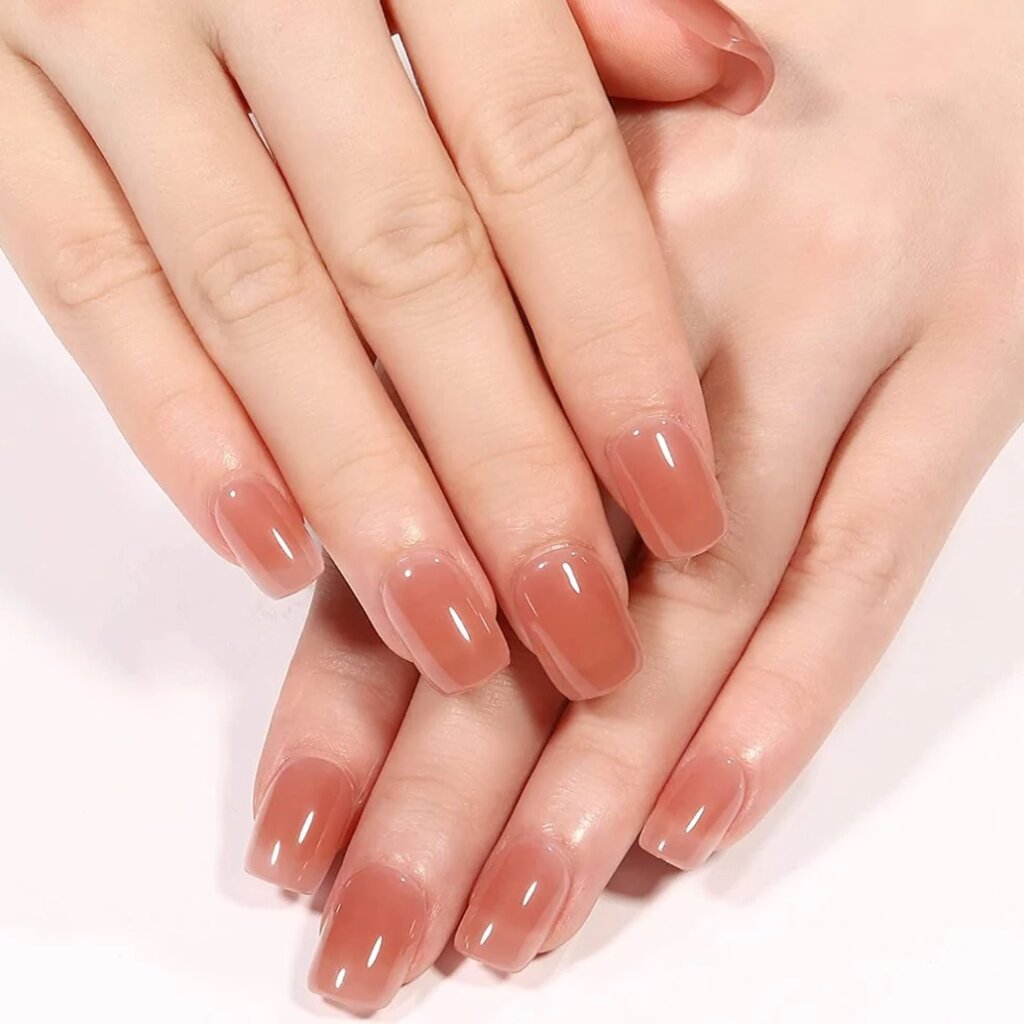
What Colors Are Best for Syrup Nails?
The trend started with sheer pinks and neutral shades. But now, you can see syrup nails in every hue imaginable. Go ahead and test out your favorite colors. All you need to do to stay true to the syrup nails aesthetic is maintain the gradient look with a lip gloss finish.
What's more, you can alter where the gradient effect happens. Instead of concentrating the color on the tips, focus it near the cuticle or to one side of the nail. Just have fun!
Tips for a Longer-Lasting Manicure
Would you like your new syrup nail manicure to last longer? Then here are tips to ensure that your lovely nails stay looking freshly done.
First, cap the ends of the nails when you paint them. Run the brush over the free edge. This simple trick prevents chipping and makes the manicure look professionally done.
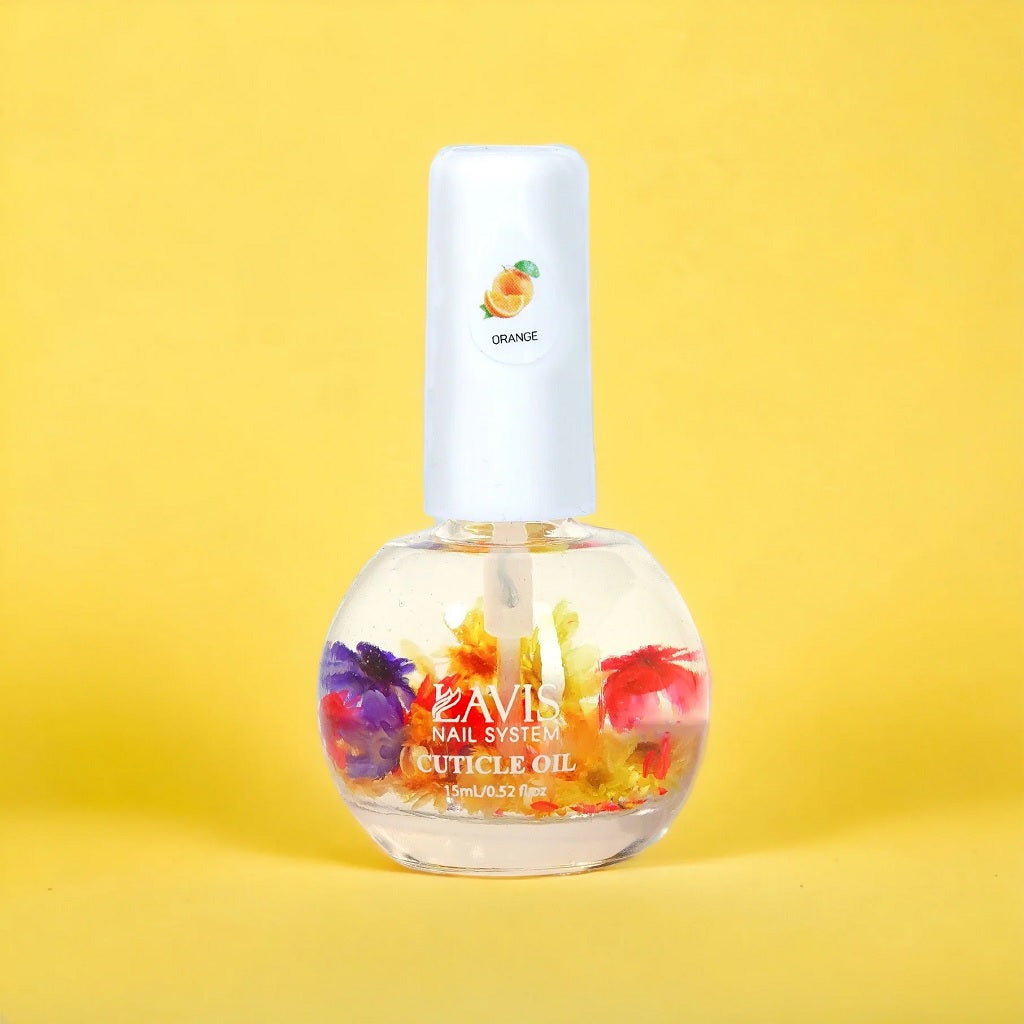
Second, take care of your nails and skin by regularly applying hand cream and cuticle oil. The vitamin-packed oil comes in various delicious scents to uplift your mood and keep your fingertips beautiful.
Lavis Organic Cuticle Oil - Orange
Third, you can avoid lifting in two steps. When you paint your nails, avoid getting polish on the skin or clean it off before it dries. And then, don’t soak your hands in water for long periods. Wear gloves while cleaning.
Fourth, if the polish chips, fix it as soon as possible. Try blurring the problem spot with a tiny amount of acetone. Then reapply the top coat.
Finally, like everything in life, manicures are temporary. If your hard work is wrecked, take advantage to try something new. Check out the latest nail trends for inspiration.
Conclusion
We’re glad you stopped by to learn how to make your own syrup nails. While you’re here, get yourself some goodies from our deals. Now’s a sweet time to stock up because we offer free shipping on orders over $100.


