


Removing nail charms can be an intimidating task, but it doesn't have to be. With the right tools and a little bit of patience, you can easily take off your nail charms without causing any damage to them or your nails.
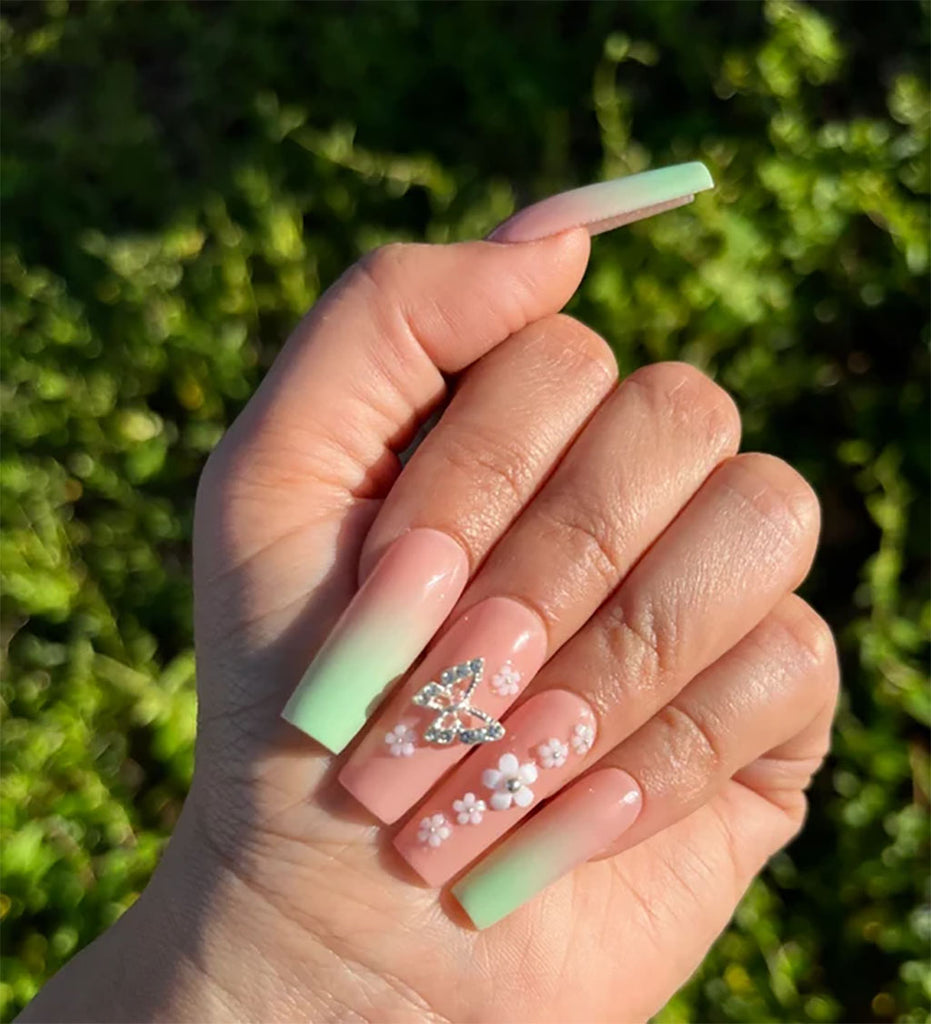
In this article, we'll show you how to remove nail charms with minimal effort. From the best way to remove them quickly and safely to tips for keeping your nails looking healthy afterward - we've got it all covered. Whether you want to put on a new set of charm nails or simply go back to a simpler look - these tips will help you get the job done in no time! So if you're ready - let's jump into our guide on how to remove nail charms with ease.
Step 1: Gather Supplies
Removing nail charms is a relatively straightforward and simple process. In most cases, you don't need any fancy tools or techniques to remove the charms from your nails. All you need are some basic supplies:
- Acetone if you plan to remove both the charms and the polish
- Cuticle nippers
- Nail drill or file
If you only plan to pull off the charms without damaging the polish, don’t use acetone. Also, if you’re using acrylics, don’t use acetone.
Cuticle nippers are better than tweezers for removing charms from the nail. They are stronger and can pop the gems and charms right out of the glue.
If you have a more intricate design, you may want a nail drill so that you can carefully etch away at small portions of your design until it's completely removed. It's also handy for buffing off glue residue.
Step 2: Pry off Large Charms with Nippers
Many guides to removing charms and gems say to soak the nails in acetone first. That’s good advice if you plan to remove the entire manicure. But if all you want to do is switch from Christmas charms to New Year’s sparkles, there’s no need to take off your gels or acrylics.
Instead, use your trusty cuticle nippers to pry the charms out of the glue. Be careful and gentle. It’s not easy – you’ll need to use a bit of force. But using nippers instead of acetone means you can probably reuse the charms.
HA Nail Cuticle Nipper S-05
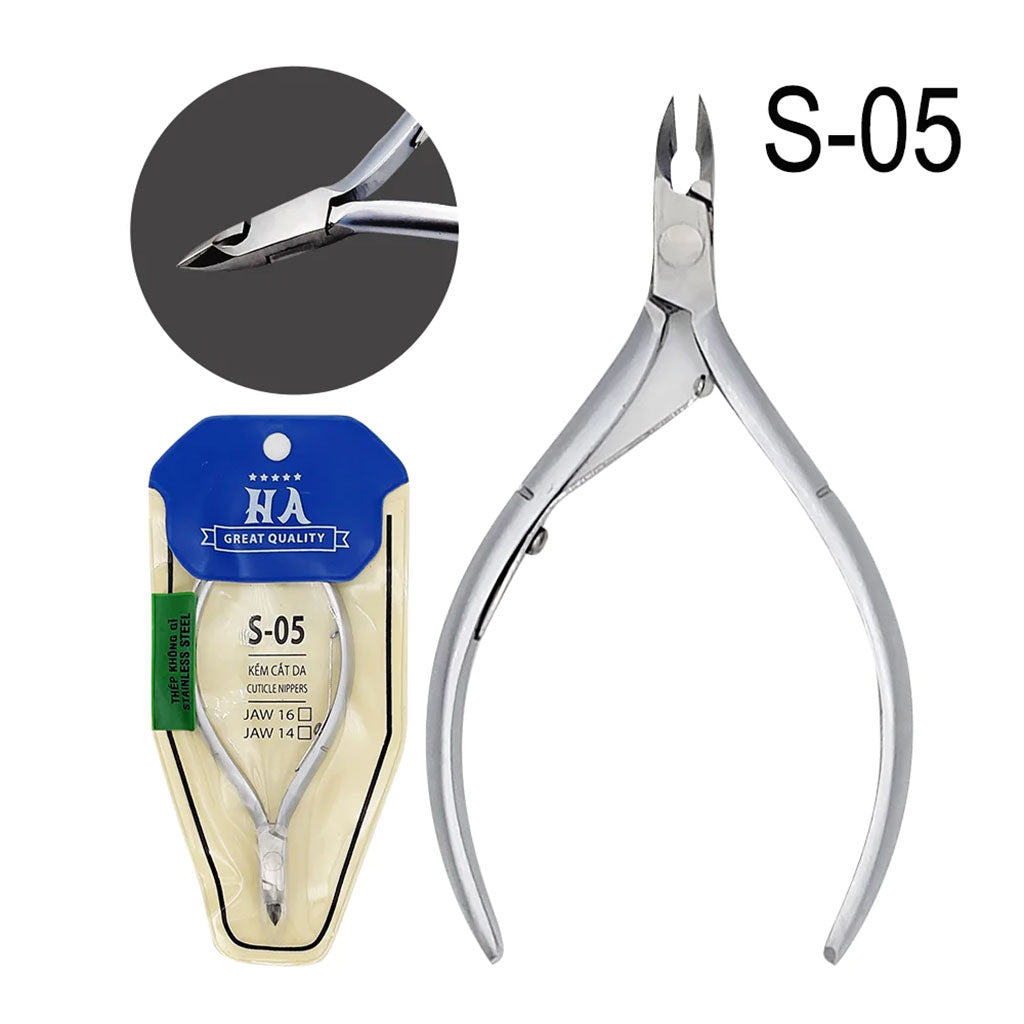
These stainless steel cuticle nippers make it easier than ever to keep up with regular nail care while avoiding painful snags when trimming nails and cuticles. Not only do they have spring action to provide smooth cuts but their durability ensures you’ll get years of use. With its comfortable ambidextrous handle design and durable construction, this is one manicure tool you won't want to be without.
When it comes to purchasing cuticle nippers, look at the length of the handle and the type of jaw. Get the kind that best suits the tasks you do most often.
Step 3: Use a Nail Drill
A nail drill is especially handy for prying off small charms and stones. Use a narrow tip bit to free them from the glue. Then switch to a sanding band or fine grit bit to buff the glue residue off the nail.
Portable Cordless Electric Nail Drill 35000rpm
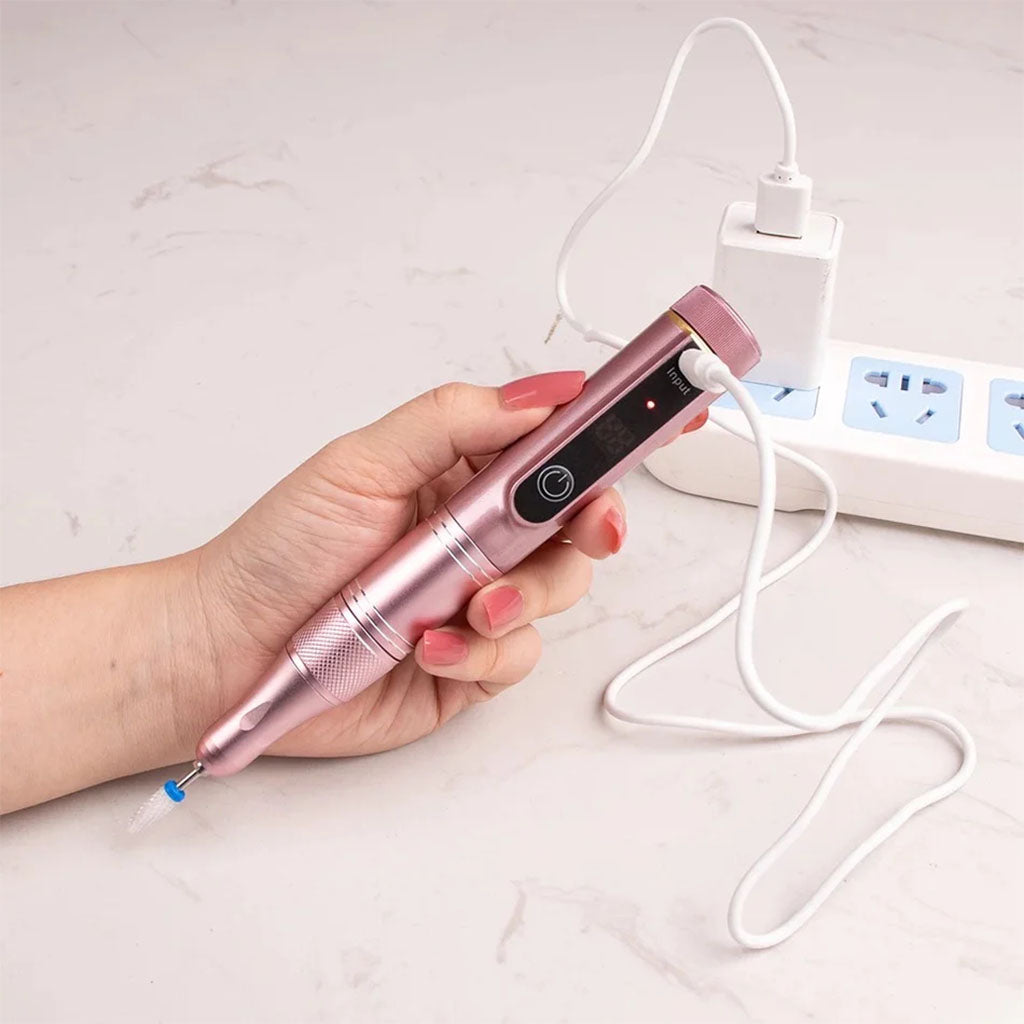
This electric nail drill is designed with convenience and comfort in mind – it's lightweight, portable, and has adjustable speed settings. With low heat, low noise, and low vibration technology, it provides results that are precise yet gentle on your nails.
7pcs Nail Drill Bits with Storage Case

This seven-piece set has all the bits you need to remove nail charms and maintain your manicure.
Step 4: Buff off Glue Residue
After removing the charms, there will likely be residual glue on the nails. It’s time to buff off the glue with a nail drill or nail file.
Use a fine grit bit or band to avoid abrading the polish or the natural nail. Use a light touch to graze the surface. Then remove the dust with a lint-free wipe.
Nail Sanding Band - Zebra - Fine

Add a finishing touch of beauty to your nails with a salon-quality accessory. These fine grit bands are made for grinding, smoothing, shaping, shortening, and polishing nail art on both natural and artificial nails.
Step 5: Clean the Nails
Once you’ve removed the nail charms and the glue, use a lint-free wipe or wash your hands to get rid of the dust.
Now, inspect the manicure. You might need new polish or a top coat to touch up the nails. Otherwise, feel free to add new charms or simply wrap up. In any case, don’t forget to apply cuticle oil and moisturizer to keep your hands and nails healthy.
24k Gold Nail & Cuticle Oil

This lush oil is infused with nutrients and 24K gold to restore strength and vitality to your nails. The orange essential oil and hyaluronic acid leave the skin brighter and softer. Moreover, the professional formula penetrates quickly for maximum effect without leaving any sticky or greasy residue.
What Could Go Wrong When Removing Nail Charms?
Removing nail charms may sound like an easy task, but there are a few potential pitfalls that can leave your nails and skin less than perfect.
First, if you're using cuticle nippers to remove the charm, you risk cutting yourself or damaging the nails or manicure. Take your time. If it’s too hard, it’s best to remove the nail art with acetone instead.
You might also abrade your nails or skin with the drill or damage the polish. Then you would have to redo the manicure.
Finally, if you use acetone to remove the glue, it tends to dehydrate your nails and skin if you soak in it too long.
An alternative would be to visit the salon for a nail tech to remove the charms. There's no shame in this – people do it all the time.
Conclusion
Removing nail charms can be easy and stress-free with the right tools and patience. We hope these tips helped you give your nails a much-needed makeover!


