


We’ve seen jelly nails on Dua Lipa, Cardi B, Lil Nas X, Megan Fox, Lizzo, and Kylie Jenner, for starters. Or maybe we should say we’ve “seen through” the jelly nails because they’re translucent.
They’re glossy, translucent, and colorful. Jelly nails are see-through like lip gloss, yet they can be customized in so many different ways. What’s more, you can easily do this type of manicure at home. Check out these jelly nail designs you’ll want to try ASAP.
How to Do Jelly Nails
The most straightforward way to do jelly nails is to use jelly nude nail polish. It’s already translucent with a smooth and shiny glass-like finish.
Take a look at this gel polish set with trendy colors:
LAVIS Jelly Nude Gel Collection - Set 24 Colors
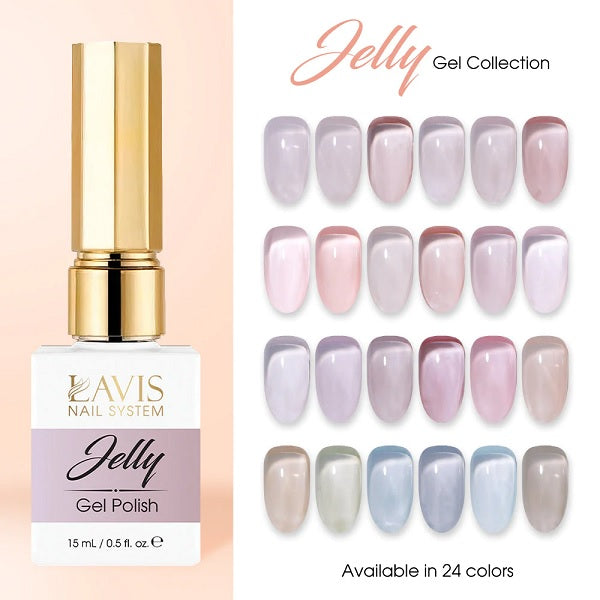
Transparent yet packed with color, these jelly nude gel colors last up to 3 weeks. The polish has a pleasant scent and it’s easy for beginners to apply and remove. All you need is a nail lamp to cure it.
Another option is to dilute your favorite nail color with a clear top coat to make the polish translucent.
In short, you’ll need:
- regular manicure tools to prep and shape the nails
- gel polish
- a nail lamp
Here’s our favorite nail lamp. It’s powerful enough for a salon yet perfect for beginners:
LAVIS UV/LED Nail Lamp
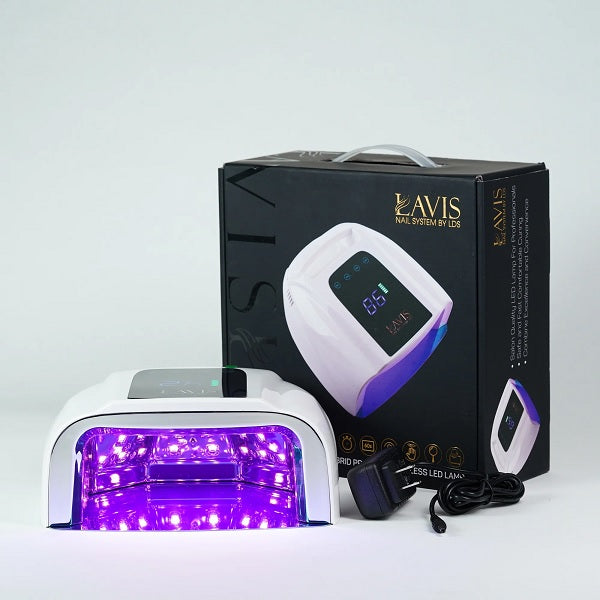
With 96 watts of power, it only takes seconds to cure all types of gels. Set the timer and let the motion sensor turn the light on when you need it. The highly reflective interior makes sure that the polish is cured evenly.
Plus, it’s easy to take this lamp on the road because it has a rechargeable battery that lasts for hours.
When you use jelly gel polish, start with a translucent base coat and cure it with the nail lamp. Then brush on two thin layers of translucent gel, curing each one. Finish up with a high-gloss top coat.
On the other hand, you can experiment with diluting gel polish to get a transparent color. Add a few drops of top coat to get the desired amount of translucence. Once you’re happy, it’s the same application process. Brush on a base coat, two thin layers of jelly color, and a top coat to finish.
But what if you want something more than plain jelly nails?
How to Do 3D Jelly Nails
If you want the jelly nails to have more depth, add a little glitter to the polish. Before curing it, use a dotting tool or a toothpick to distribute the sparkles.
You can also use an overlay like the eggshell gel that speckles the surface.
Or you can take inspiration from the 3D jelly nails designs from Japan and Korea. Nail artists start with multiple layers of translucent jelly polish. Then they use builder gel or hard gel to create shapes like raindrops and clouds.
Delicious Jelly Nail Designs to Try
It’s time to get creative. Let your imagination run wild as you browse the jelly nail design ideas below.
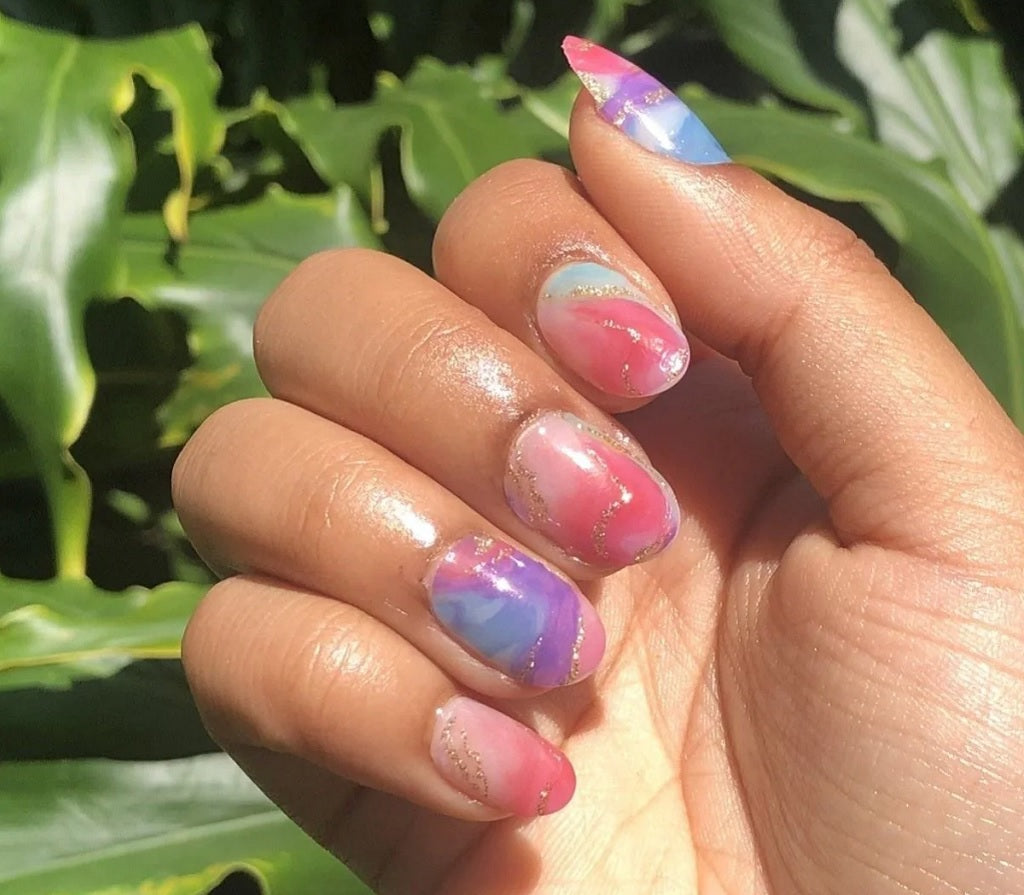
Watercolor jelly nails are simply beautiful. But how do you get the swirly mix of colors? We’ve found that blooming gel polish works like magic.
LDS Blossom Gel Polish
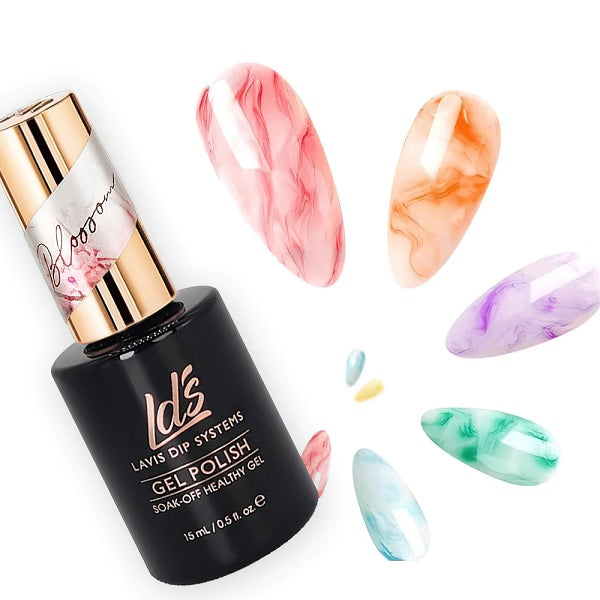
Blossom gel or blooming gel is a translucent polish. Apply it but don’t cure it. Instead, add the colored gel and watch as the color spreads or blooms. Once you’re satisfied with the way it looks, cure it.
The blooming gel won’t dilute a color enough to make it translucent, however. It’s best if you use a pre-diluted or ready-made jelly shade.
There’s a marble nail tutorial with blossom gel that you can do with jelly nude polish instead.
Confetti
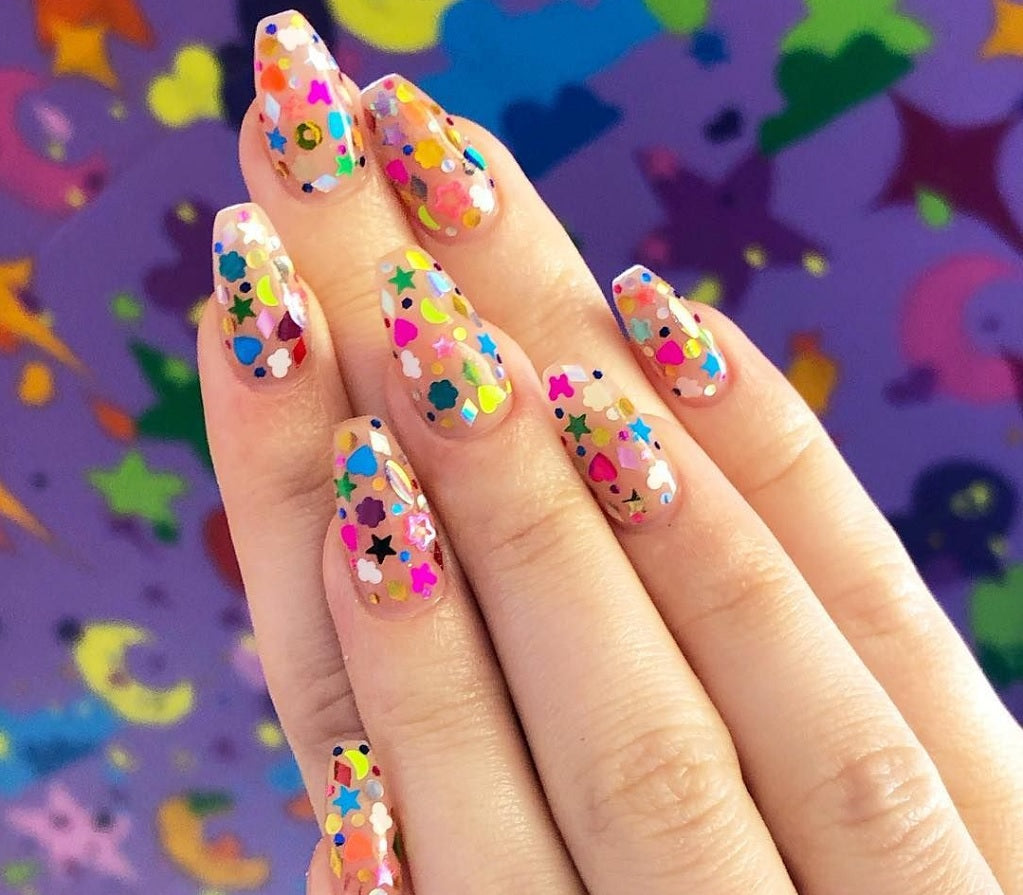
Host a party on your nails with jelly nude polish and confetti. The effect is even more stunning on a jelly French manicure with long tips.
Chrome
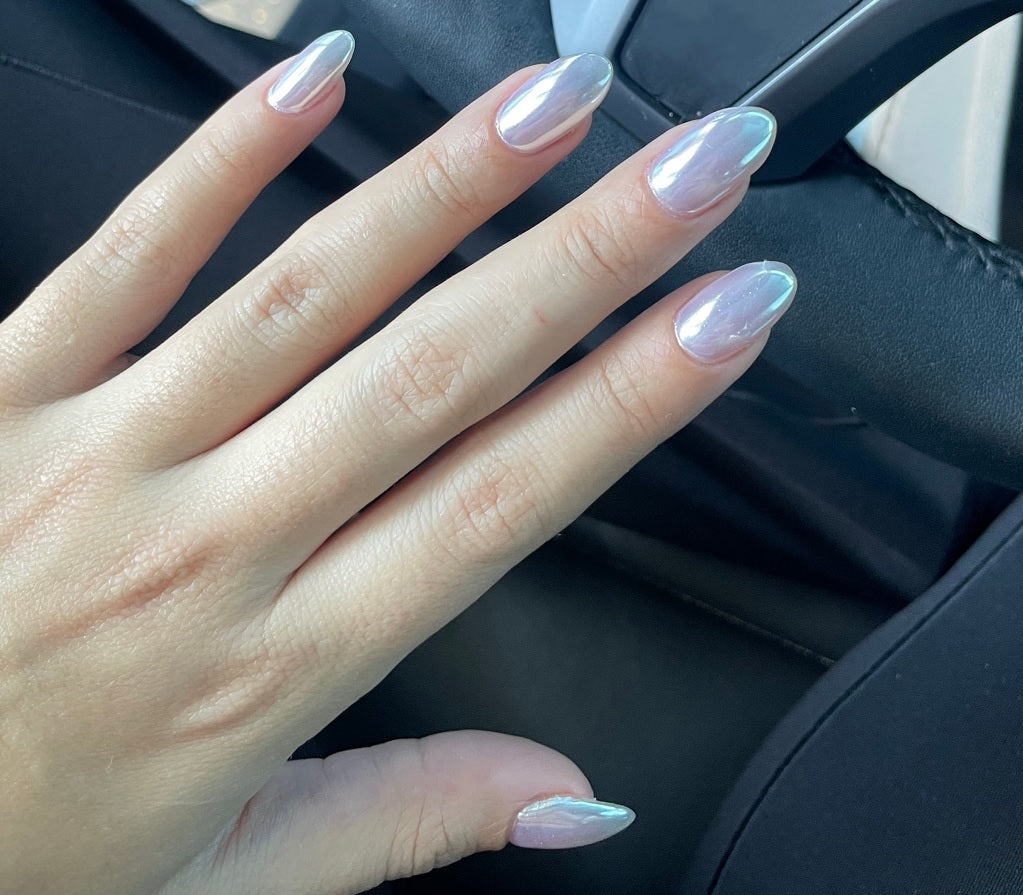
Jelly chrome nails? Yes, please.
Use chrome powder to make those jelly nails gleam!
Chameleon Chrome Nail Pigment Powder Set
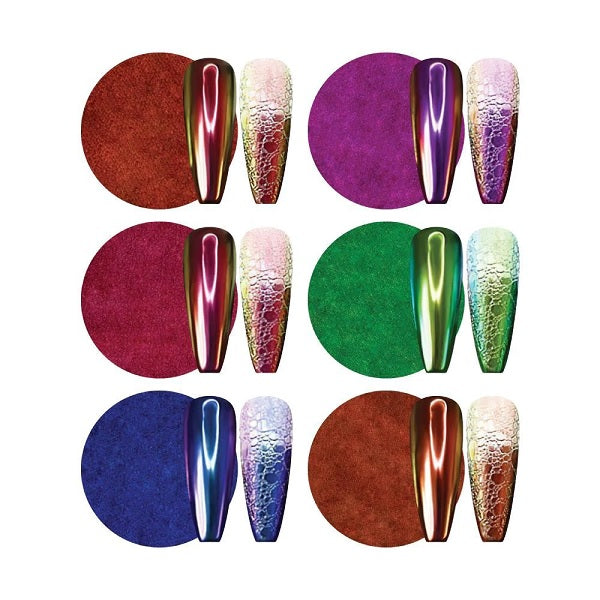
The chameleon chrome powder changes color depending on the type of light, background color, and the angle at which you view it. It’s compatible with gel polish, builder gel, acrylic nail art, dip powder manicures, and more. See this video to learn how easy it is to make those jelly nails look magical.
Holographic
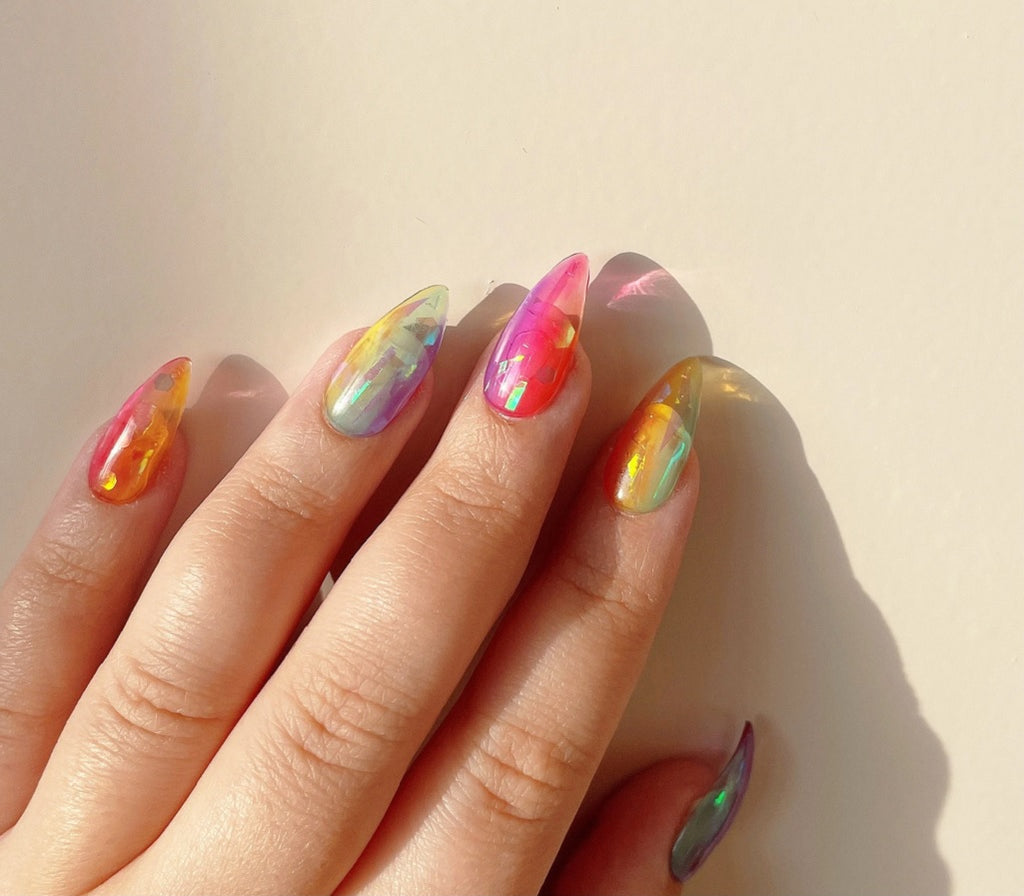
There are all sorts of ways to give jelly nails a holographic depth. You can add holographic stickers or confetti, for example.
Glitter Jelly Nails

The glassy Aurora top coat adds special effects to jelly nails. It’s not an ordinary glitter polish. The hardest part about using it is deciding which shade to try first.
Embossed Jelly Nails
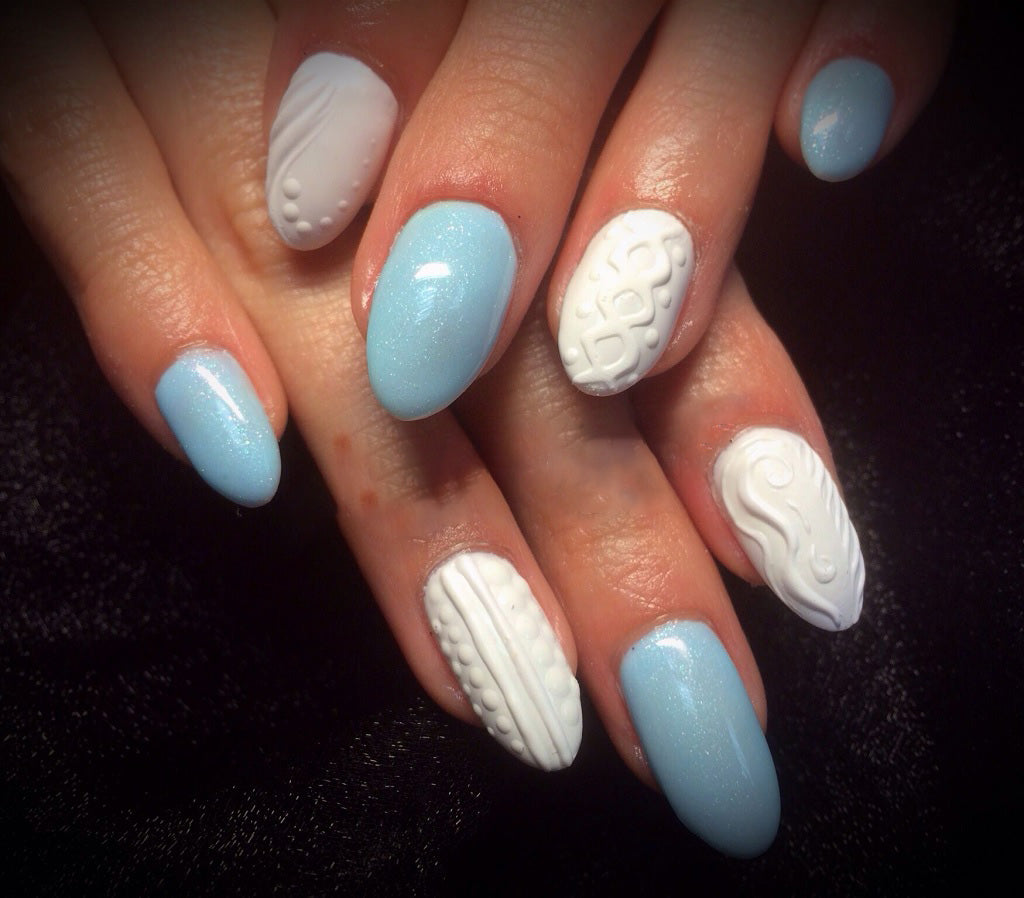
Now we’re getting into 3D nails. Apply the jelly nude gel and cure it before embossing the surface with hand-painted or stamped designs. We have a set of 5 different emboss gels in various colors. Can you picture blue jelly nails with silver lightning flashes across them?
3D Fruit or Clouds
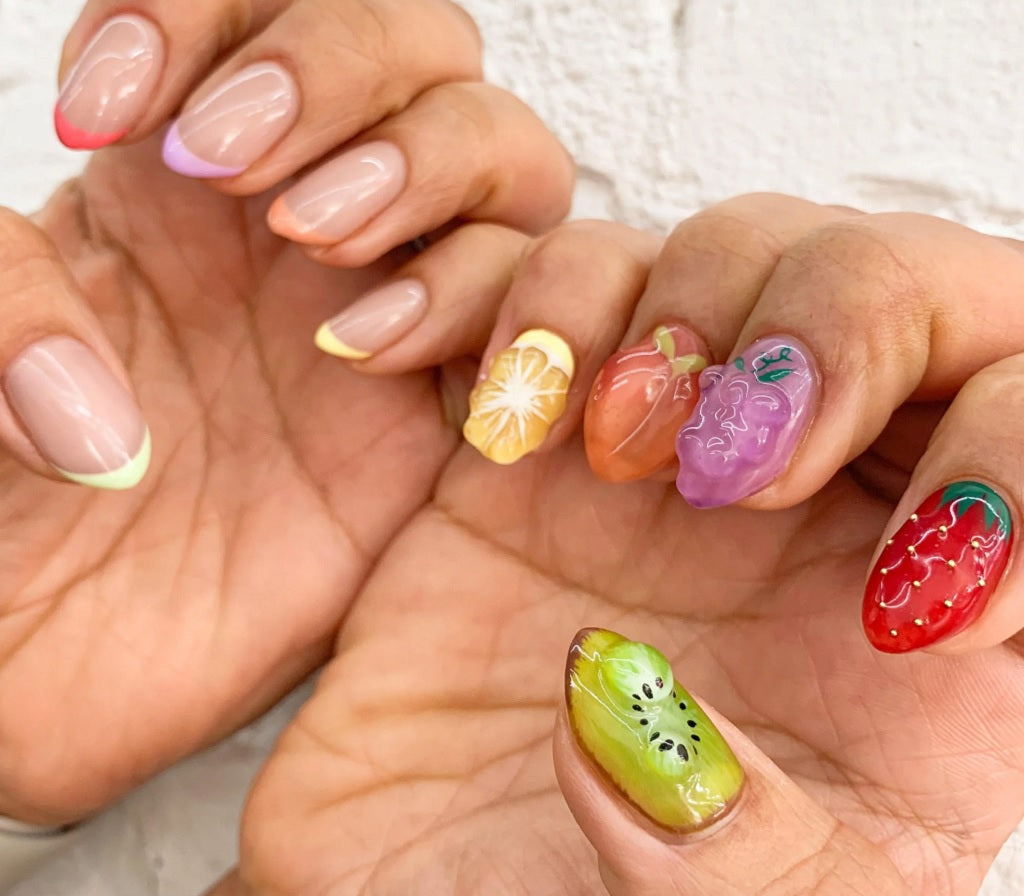
What’s the secret to adding clouds, fruit, gummi bears, or jellyfish to your jelly nails? Builder gel makes it happen.
Lavis Builder Gel
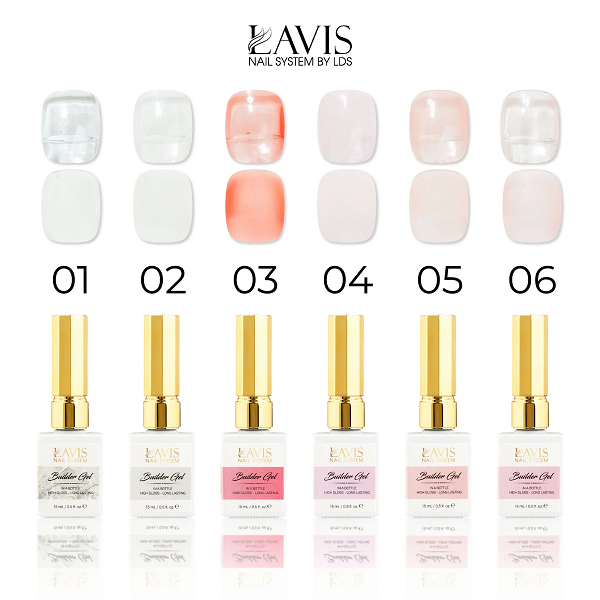
This set includes all 6 colors of builder gel. It’s 100% true gel with a smooth texture and a glossy finish. It lasts up to 3 weeks, the same as any other gel. Furthermore, it cures in 60 seconds with a LED nail lamp.
Shape it into anything you like to decorate your jelly nails.
Can You Do Jelly Nails with Lacquer Instead of Gels?
Yes, you can create jelly nail designs with nail lacquer instead of gel polish. The method making the rounds on TikTok uses a clear top coat to dilute colored polish and re-create the transparent look. Just be sure the colored coat completely dries before sealing it with a glossy top coat.
We like using the lovely LDS nail lacquers that last up to 7 days without chipping. Plus, they are 9-free with no nasty chemicals.
Conclusion
Are you all fired up to do jelly nail designs? It’s one of the trendiest and easiest manicures to do at home. Catch one of our sales and stock up on what you need today.


