



Flakes & Foils
Nail flakes and transfer foils together: 108 listings, from 6-grid iridescent, shell and flower flakes to transfer foil rolls in leopard, floral and solid patterns. Free shipping on qualifying orders.


Lavis Foil Transfer Gel (New) — Metallic Foil Application Adhesive
Regular price
$7.00
Sale price
Regular price
Choose your option

6 Grids of Iridescent Flakes - OB - #1 - Opal
Regular price
$5.99
Sale price
Regular price
Choose your option


6 Grids of Iridescent Flakes- # 3 - Fairytale
Regular price
$5.99
Sale price
Regular price
Choose your option


6 Grids of Iridescent Flakes- #4 - Neon
Regular price
$5.99
Sale price
Regular price
Choose your option


3 Jars of Foil Set - JBZ02 - 5g
Regular price
$7.99
Sale price
Regular price
Choose your option


6 Grids Flower Flakes Charms #03 Neon
Regular price
$5.99
Sale price
Regular price
Choose your option


6 Grids of Iridescent Flakes - XR - #2 - Cosmos
Regular price
$5.99
Sale price
Regular price
Choose your option

Nail Transfer Foil - M375
Regular price
$8.99
Sale price
Regular price
Choose your option


Nail Transfer Foil - Hello Kitty - LS201
Regular price
$5.99
Sale price
Regular price
Choose your option


6 Grids Flower Flakes Charms #04 Pastel
Regular price
$5.99
Sale price
Regular price
Choose your option


Nail Transfer Foil - Hello Kitty - JSX502
Regular price
$8.99
Sale price
Regular price
Choose your option


Nail Transfer Foil - Hello Kitty - LS200
Regular price
$5.99
Sale price
Regular price
Choose your option


Nail Transfer Foil 1 - Spring Flower & Pattern - M364
Regular price
$8.99
Sale price
Regular price
Choose your option

Nail Transfer Foil - M395-1
Regular price
$8.99
Sale price
Regular price
Choose your option


Nail Transfer Foil - M386
Regular price
$8.99
Sale price
Regular price
Choose your option

Nail Transfer Foil - M383
Regular price
$8.99
Sale price
Regular price
Choose your option


Nail Transfer Foil - Hello Kitty - JSX503
Regular price
$8.99
Sale price
Regular price
Choose your option

Nail Transfer Foil - M390
Regular price
$8.99
Sale price
Regular price
Choose your option

Nail Transfer Foil - M384
Regular price
$8.99
Sale price
Regular price
Choose your option

Nail Transfer Foil - M381
Regular price
$8.99
Sale price
Regular price
Choose your option


6 Grids of Shell Flakes YM-32 - #1 - Elegant
Regular price
$5.99
Sale price
Regular price
Choose your option

6 Grids of Shell Flakes - YM-30 - #2 - Lovely
Regular price
$5.99
Sale price
Regular price
Choose your option

Nail Transfer Foil - M387
Regular price
$8.99
Sale price
Regular price
Choose your option

Nail Transfer Foil - M385
Regular price
$8.99
Sale price
Regular price
Choose your option

Nail Transfer Foil - M382
Regular price
$8.99
Sale price
Regular price
Choose your option

Nail Transfer Foil - M376
Regular price
$8.99
Sale price
Regular price
Choose your option


Nail Transfer Foil 2 - Spring Pattern - M362
Regular price
$8.99
Sale price
Regular price
Choose your option


3 Jars of Foil Set - JBZ01 - 3g
Regular price
$5.99
Sale price
Regular price
Choose your option
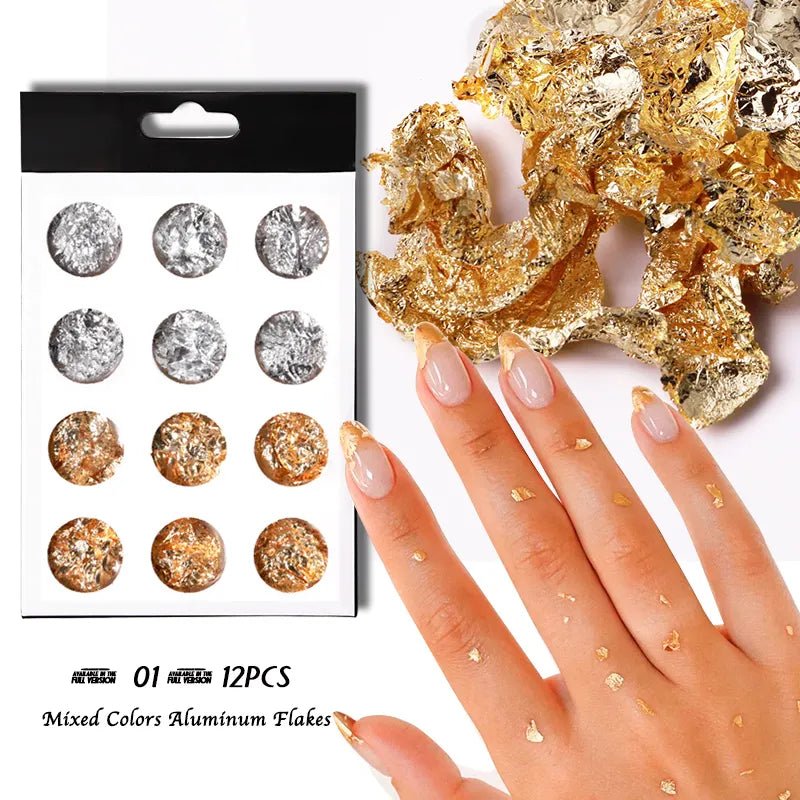
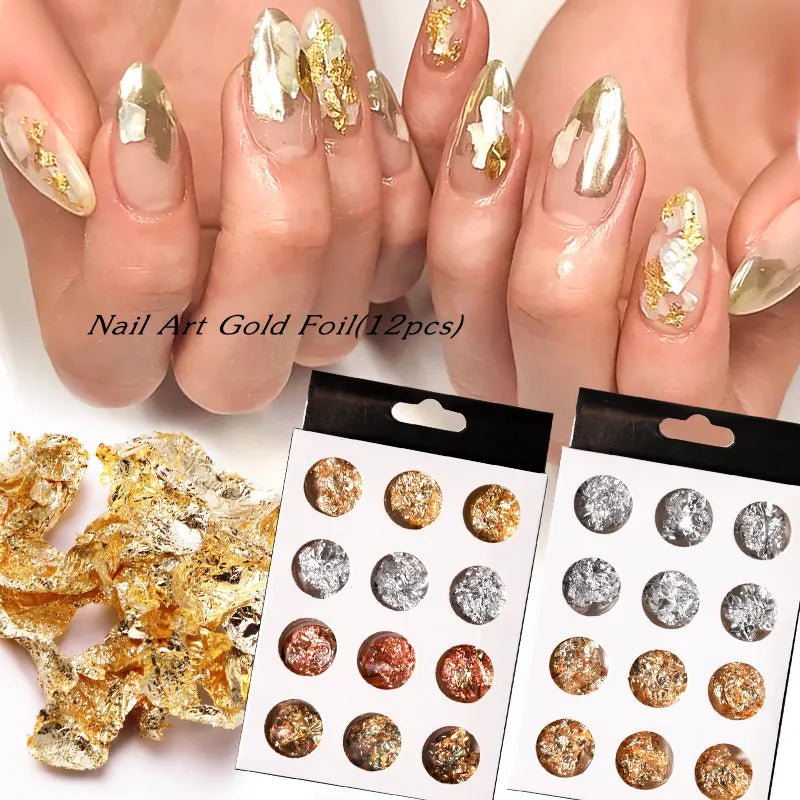
Ultra Thin Foil Paper - 12Pcs Gold/Silver
Regular price
$5.99
Sale price
Regular price
Choose your option


6-Grid Chrome Powder Kit — 1909-40 | Purple/Red theme
Regular price
$5.99
Sale price
Regular price
Choose your option


6-Grid Chrome Powder Kit — 1909-39 #4 Green
Regular price
$5.99
Sale price
Regular price
Choose your option


6-Grid Chrome Powder Kit — 1909-38 | Metal theme
Regular price
$5.99
Sale price
Regular price
Choose your option


12 Grids of Foil - CB05 - Mixed Foil - Hygrangea
Regular price
$7.99
Sale price
Regular price
Choose your option
Best Sellers


DND Gel + Lacquer Duo #448 Snow Flake
Regular price
$6.00
Sale price
Regular price
Choose your option


DND Gel + Lacquer Duo #537 Panther Pink
Regular price
$6.00
Sale price
Regular price
Choose your option


DND Gel Polish - 441 Clear Pink
Regular price
From $3.99
Sale price
Regular price
Choose your option


Kiara Sky Pink Your Poison — HEMA-Free Gel Polish | DTK
Regular price
$13.00
Sale price
Regular price
Choose your option


OPI Intelli-Gel - E82 My Vampire is Buff - Soft Mauve Nude HEMA-Free Gel Polish 0.5 oz
Regular price
$14.95
Sale price
Regular price
Choose your option


OPI Intelli-Gel - H22 Funny Bunny - Soft Sheer White HEMA-Free Gel Polish 0.5 oz
Regular price
$14.95
Sale price
Regular price
Choose your option


OPI Intelli-Gel - H82 Let's Be Friends! - Bright Happy Pink HEMA-Free Gel Polish 0.5 oz
Regular price
$14.95
Sale price
Regular price
Choose your option


OPI Intelli-Gel - L00 Alpine Snow - Pure Opaque White HEMA-Free Gel Polish 0.5 oz
Regular price
$14.95
Sale price
Regular price