Best Splatter Nail Designs and Ideas for Your Clients in 2026
Are you looking for a fun manicure? Something unique and easy to personalize? We have the best splatter nail designs and ideas for you right here.
Splatter nail art means spraying or splashing your nails with various nail polish shades. It's a creative way to add texture and visual interest to your manicure. You can customize it with different colors, patterns, and intensity levels.
Best Splatter Nail Designs
Just a Little Splatter
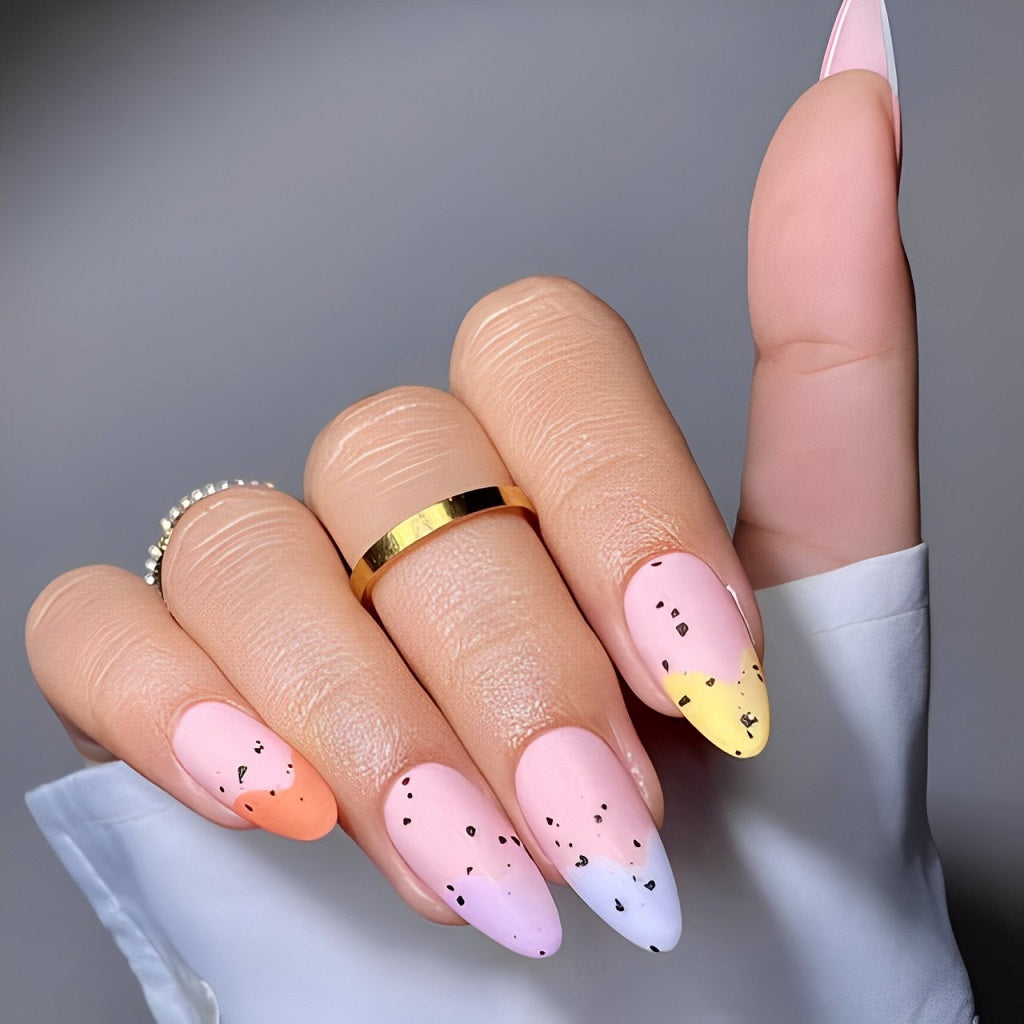
For example, you could paint your nails with colorful French tips. Then, add a few speckles of color to make them look like Easter eggs.
Pollock-Style Drip Nails
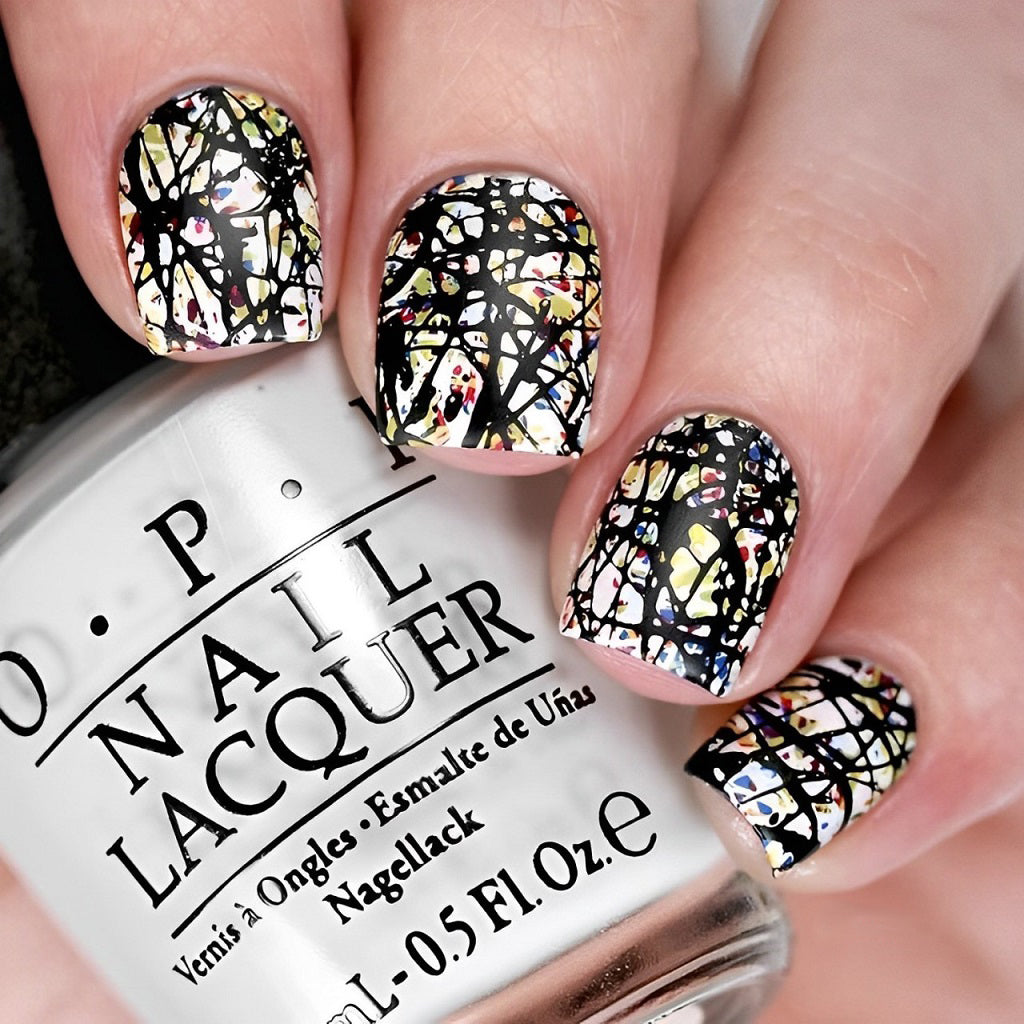
Or you could go all out Jackson Pollock-style and randomly splash and stripe your nails. The famous artist called this his “drip technique”.
Who Was Jackson Pollock, and How Did He Influence Nail Art?
Jackson Pollock was an American painter who lived at the beginning of the 20th century. He only lived to age 44. Although he had a short life, he had a long-lasting impact on abstract art.
His signature style was pouring or splashing paint onto a horizontal surface. Some called it action painting. As he coated the entire canvas, he danced with his whole body. He preferred this method because he could be a part of the painting and work it from all sides. He explained that he let his art come to life on its own. Moreover, he preferred to use tools like knives, trowels, and sticks instead of typical art brushes.
This freestyle creativity has come down to us in the form of splatter nail designs. Instead of smooth strokes, the nail artist can use a straw to spatter and a toothbrush to spray droplets. We’ll explain how to DIY splatter nails in a moment. First, let’s talk about colors.
Primary and Secondary Colors

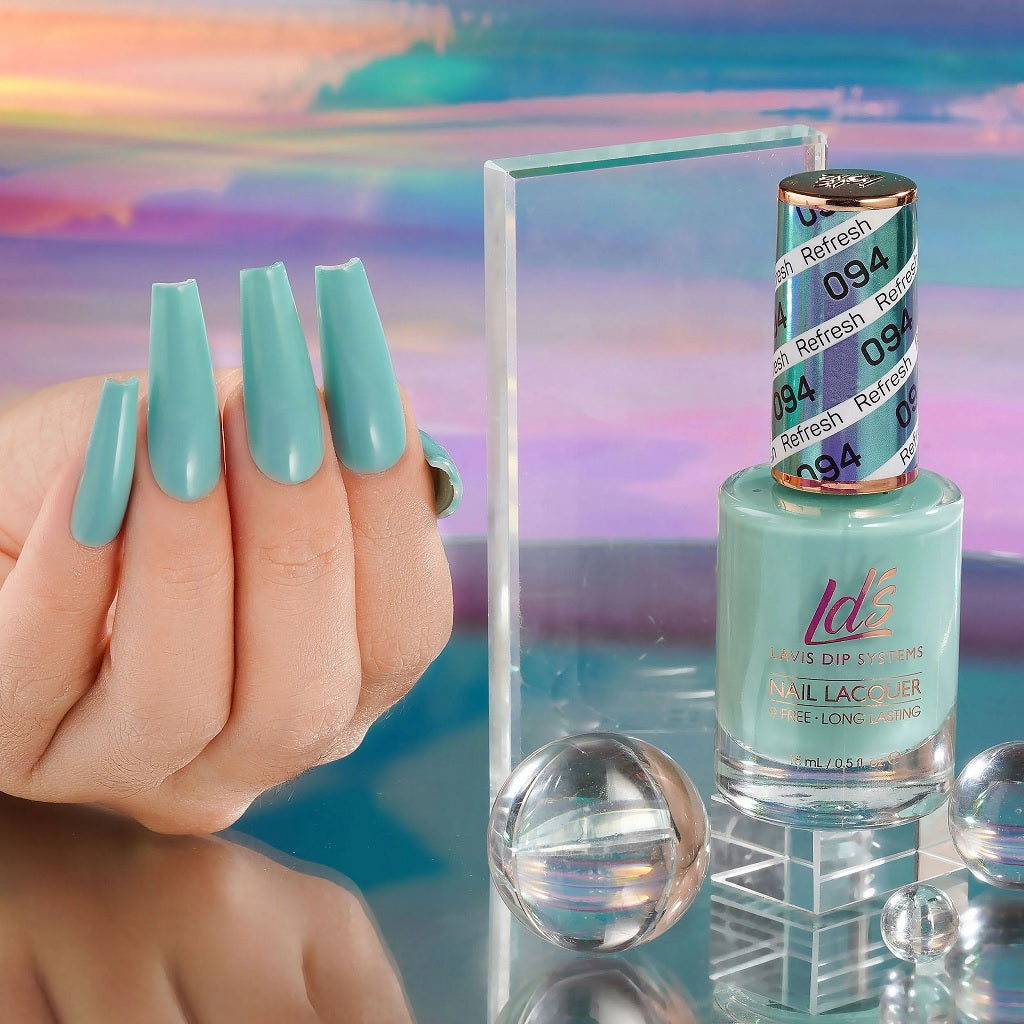
Art class taught you that red, blue, and yellow are the primary colors from which all others spring. If you mix blue and yellow, you'll have green. Meanwhile, red and yellow make orange. Check out the splatter nail design below to see the color wheel in action.
LDS Nail Lacquer
Splatter Nail Accents
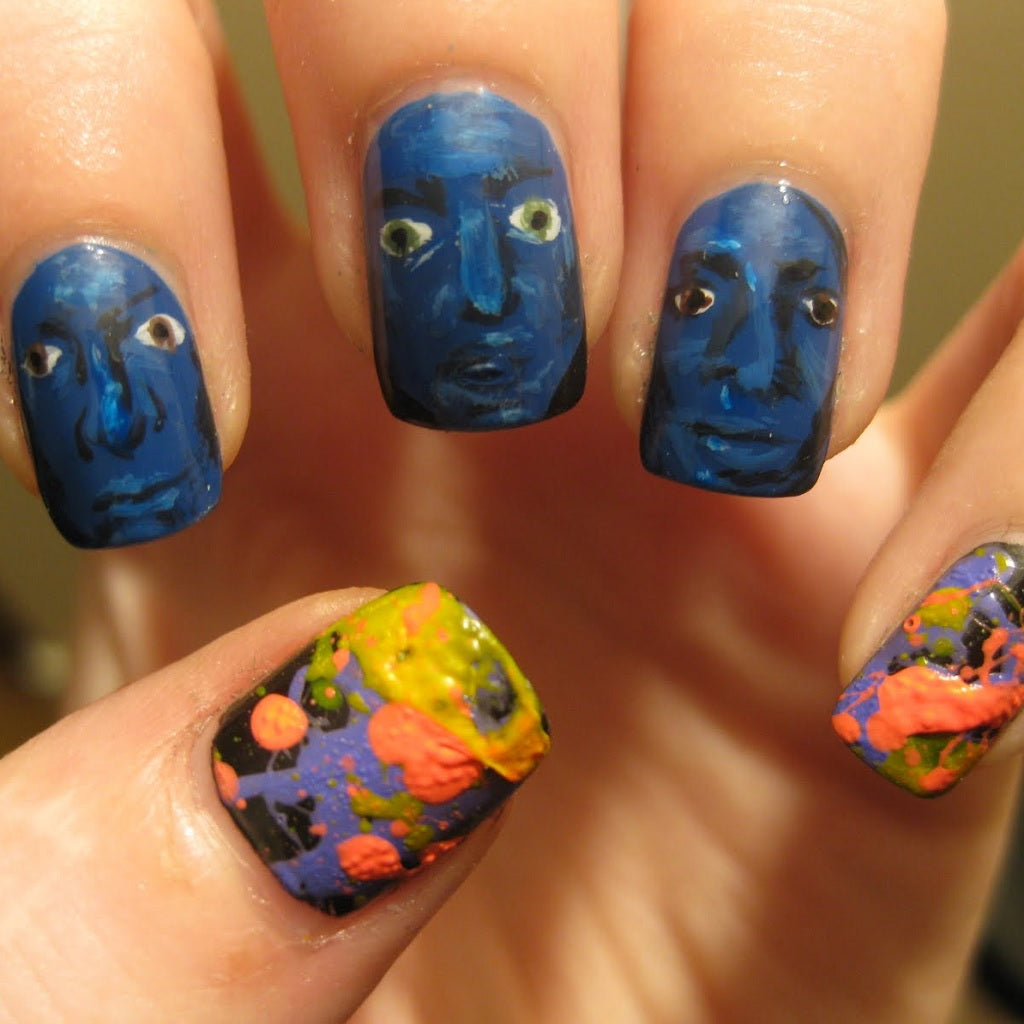
Here's a bold combination of complementary colors. Purple is opposite the color wheel from yellow and orange. The colors contrast for a stunning look.
Furthermore, if you're using lacquer, the layers of spatter will likely create texture. Sometimes, it's hard to be patient while each layer dries. We recommend using quick dry drops to avoid smudges.
The good news is that this versatile type of nail design doesn't have rules. If it feels like a lot of work to splatter all your nails, do a couple as accents.
Monochrome Splatter Nails

Although many spatter nail designs feature three colors, using only two might be more dramatic.
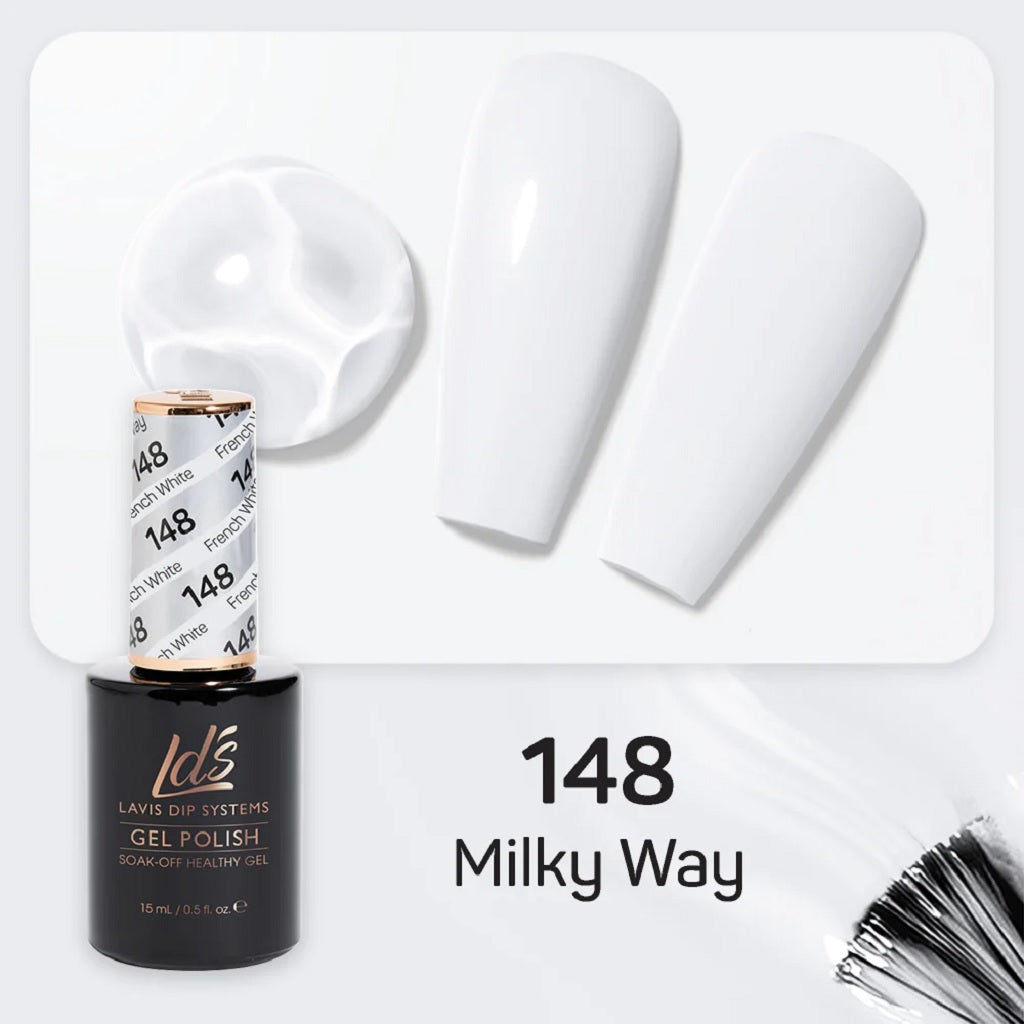
LDS 148 French White - LDS Gel Polish
LAVIS Gel Polish Super Black

Halloween Splatter Nails
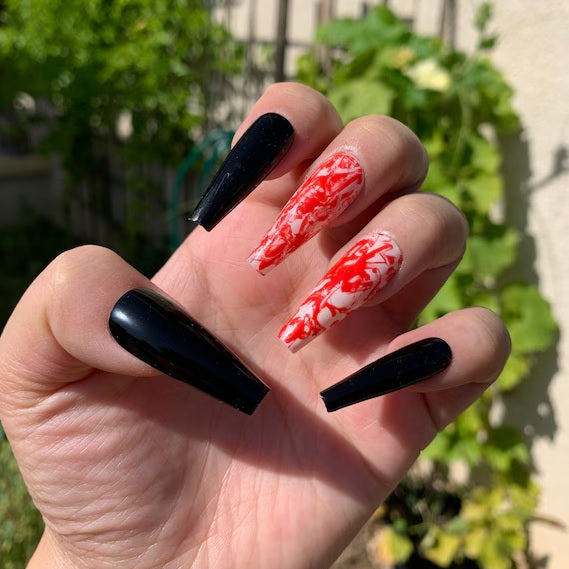
Crime show fans could have fun with blood-splatter nails for Halloween.
Big Drips

Give your splatter nails a 3D texture with builder gel, acrylics, or poly gel. We won't tell anyone if you decide to keep the splashes tidy.
Neon-Splattered Stained Glass
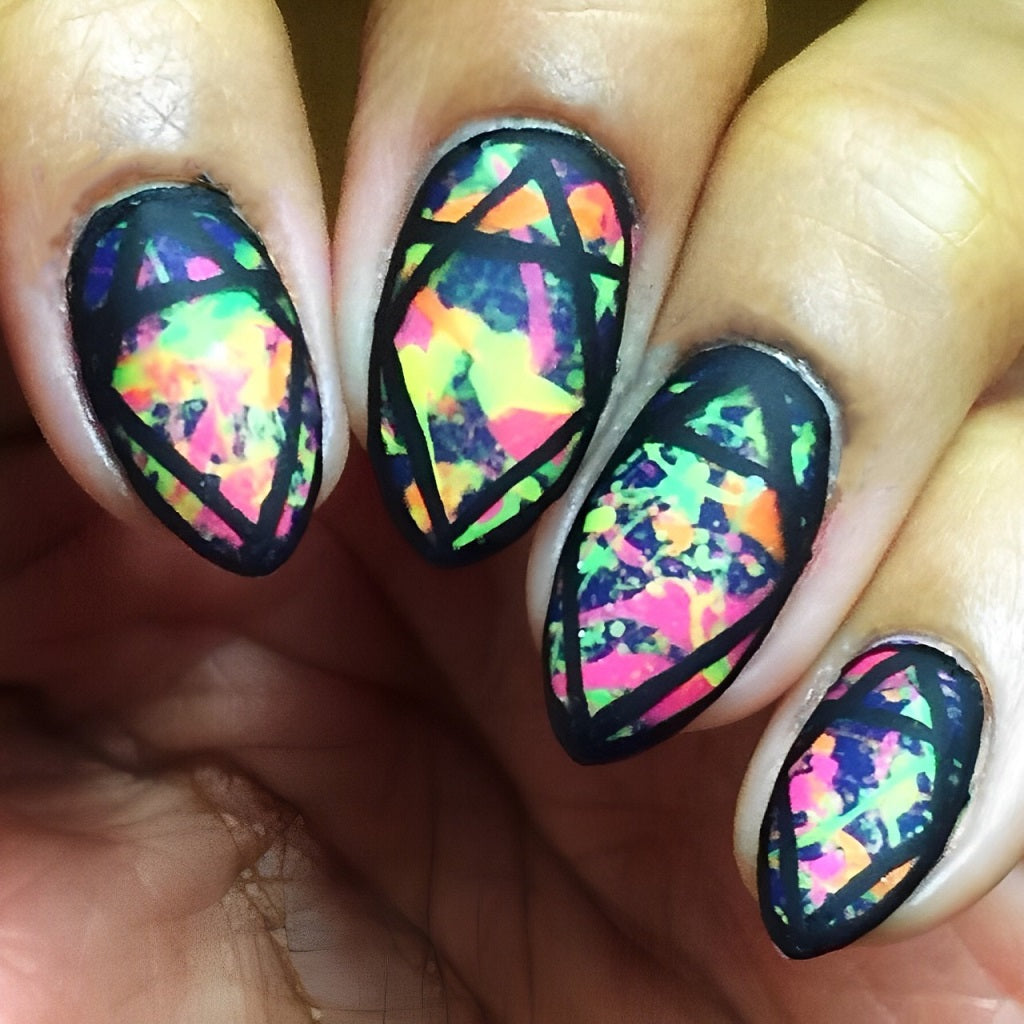
Here's a fun effect using black frames to make the nails look like stained glass. The matte finish is another unexpected touch.
LAVIS Matte Top Gel

How to Do Splatter Nails
Now that you’ve seen some design ideas, are you ready to try splatter nails at home? You'll need a few supplies:
- Two or three polish colors (find the trendiest shades in our new arrivals)
- Nail polish remover for cleanup.
- Masking or Scotch tape or petroleum jelly
- Paper towels, a sheet of paper, or some other kind of surface that's disposable
- Splattering tools like an old toothbrush, a straw, or a nail art brush (although you could use the brushes from the polish bottles)
- All the other tools you need for a regular manicure, like clippers, a nail file, a cuticle pusher, cuticle oil, and a nail lamp if using gel polish
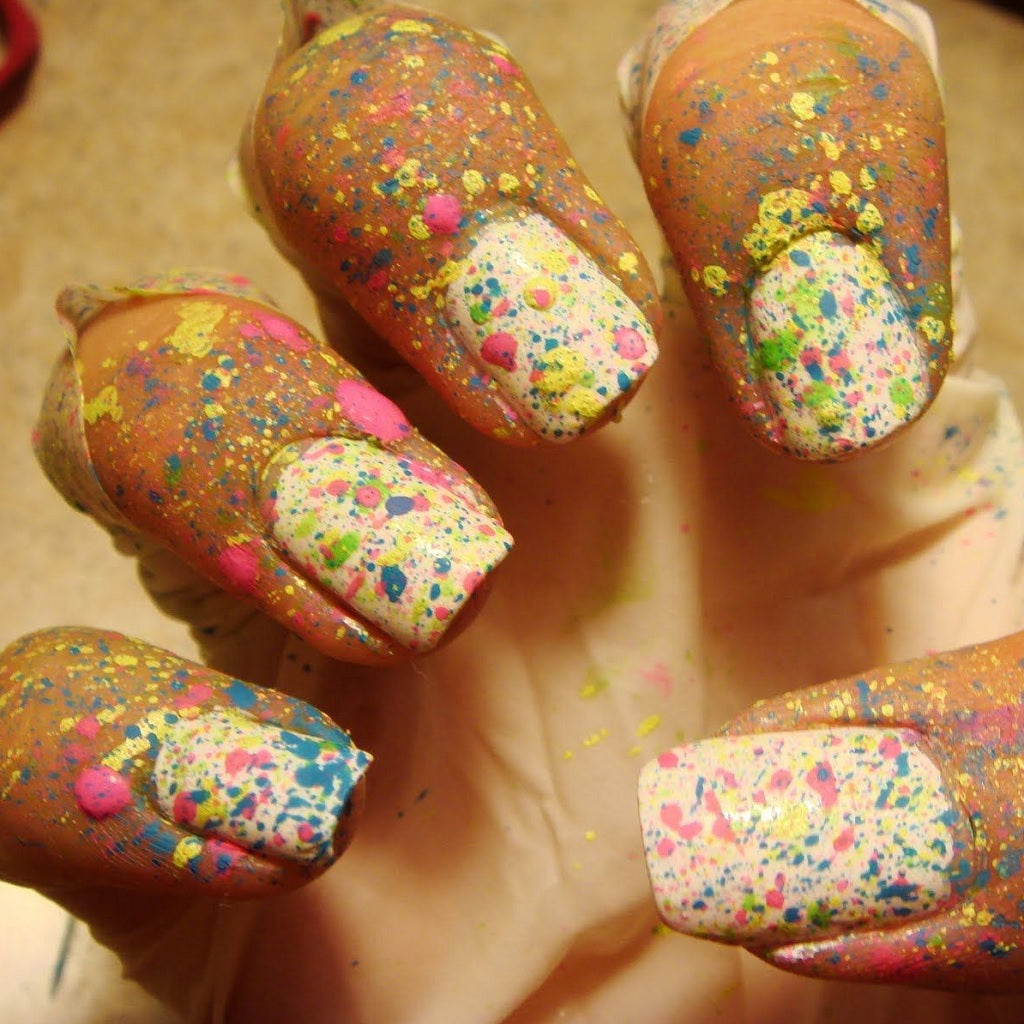
The first step is to choose the colors. We recommend contrasting shades that will stand out well next to each other.
The next step is to set up your workspace. It will get messy, so remove items you don’t want to splash and cover the surface with protective material. Artists use disposable plates, aluminum foil, wax paper, or paper towels to protect the surface underneath their hands.
If you use the straw method, we recommend cutting the straws in half or into three pieces so you don't have to use as many.
Begin by preparing your nails as you would for any other manicure. It's wise to apply a base coat to prevent staining and improve adhesion for the following layers.
Next, apply the base color as usual. It's easiest to start with a light shade and splash darker colors on top.
Finally, this part is highly recommended, mask off the skin around your nails with tape or petroleum jelly to clean up faster.
The Straw Method for Splattering Nails
Ensure the base is dry, and prep the next color for splattering. Pour out a few drops or dip the straw directly into the polish if it fits in the bottle’s neck. Once the end of the straw is coated in polish, point it at your nails from about two inches away and blow a burst of air through it. Raise the straw higher, and the drops will be smaller. Bring it closer, and they will be larger.
The Brush Method
You can spray polish with a brush instead of blowing polish onto your nails. For instance, dip an old toothbrush into the polish and then drag your thumb across the bristles to spray the nails on the other hand. (You might want to put on a disposable glove for this part).
You can also use the brush from the polish bottle or any nail art brush. Load the bristles with polish and tap the brush over the nails to flick droplets.
If you want to take your splatter nail design to new heights, try masking off part of your nail. Half will be a solid color, and the other splattered. You might also consider adding rhinestones, stickers, or other embellishments. Have fun!
Conclusion
The best splatter nail designs and ideas are the ones that make you happy! We hope you have a blast doing nail art. Your fingertips are miniature canvases just waiting for the next masterpiece.
While you're here, get the best deals on nail supplies in our clearance section. Then, take advantage of free shipping on orders over $100!
