


Soft Gel Nail Systems – Apres Gel-X & Extensions | DTK Nail Supply
Everything a soft gel nail system station runs on: 390+ tip boxes and single-size refills from Aprés Gel-X, LAVIS, LDS and DND, plus Extend Gel, tip adhesive, prep liquids and top gel, with free shipping on qualifying orders.
Learn More About This Collection
A soft gel nail system, part by part
A soft gel extension is a pre-shaped tip made of soft gel, bonded to the natural nail with a gel that cures under a lamp. It only holds up when every part of the system does its job: the prep liquids that clean and prime the nail plate, the bonding gel that holds the tip, the tip itself in the right size, the lamp that cures it, and the top gel that seals the finish. This collection gathers all of those parts in one place, so a tech can restock a whole station from a single page.
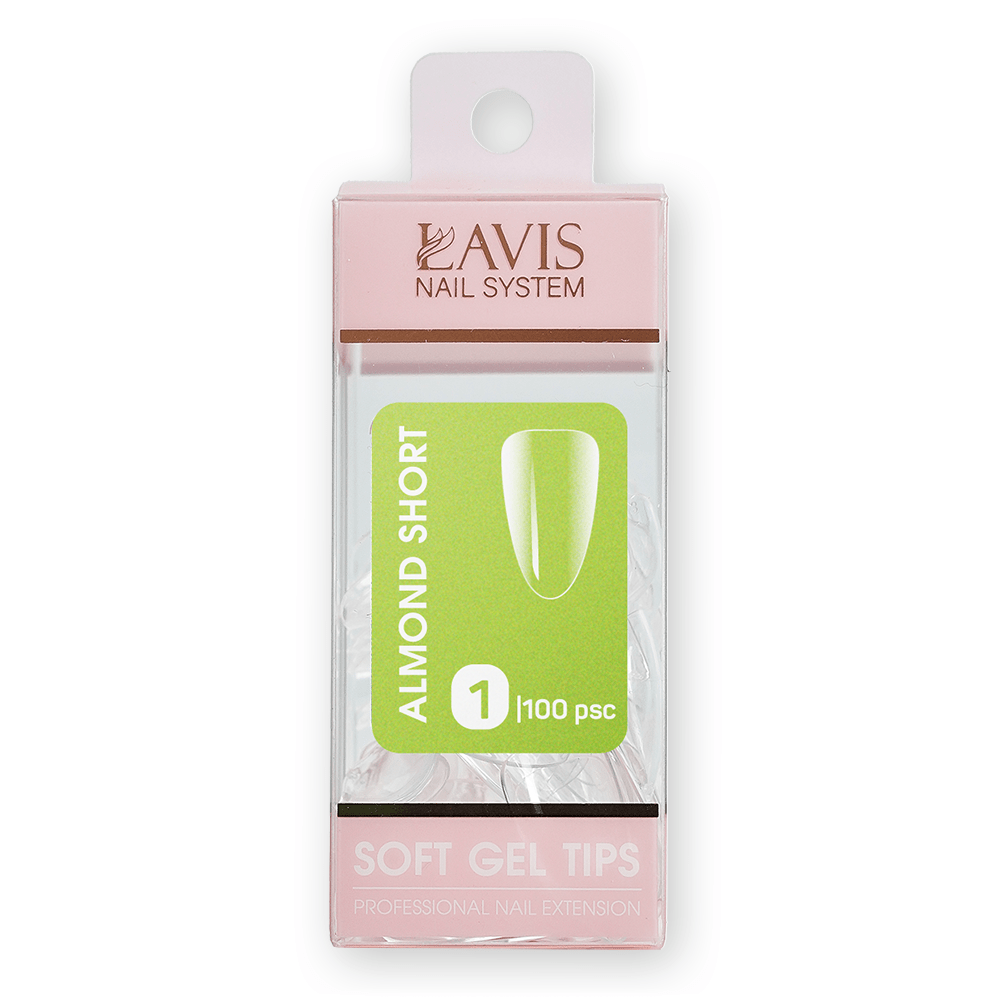
Most of the listings are tips: Aprés Gel-X boxes and single-size refill bags, LAVIS boxes and 100-piece refills, LDS shape boxes and DND clear gel tips. Around them sit Aprés Extend Gel, LAVIS Soft Gel Tip Adhesive, the Aprés pH Bonder and Non-Acidic Gel Primer, base and top gels from several brands, lamps and starter kits. If you want to pick tips by shape first, the tips sorted by shape page is laid out for that; this page is organised around the steps of the service.
Step 1: prep liquids
Retention starts before any tip touches the nail. The nail plate is pushed back, the shine is removed and the surface is dehydrated, then a bonder or primer goes on.
- Aprés pH Bonder: the dehydrating prep step in the Gel-X system, applied to the natural nail before the primer.
- Aprés Non-Acidic Gel Primer: the second prep step. It is acid-free and leaves a tacky surface on the nail so the tip grips better.
- LAVIS Protein Bond & Primer: an acid-free bond and primer that air-dries, with no lamp needed for this layer.
Some techs also roughen the inside of a clear tip so the bonding gel has texture to hold. LAVIS half-matte tips come with that texture built in, so they do not need filing or etching on the inside.
Step 2: the bonding gel
The bonding gel goes inside the tip and on the nail, then holds everything together once cured. There are two main choices here, plus one alternative that many techs use.
| Bonding option | Format | How it handles | Works with |
|---|---|---|---|
| Aprés Extend Gel | Gold bottle, 15, 30 or 45 mL | Slightly thicker, gives more control while you place the tip; a few more steps to learn | Built for Aprés Gel-X tips; the formula the Gel-X system is based on |
| LAVIS Soft Gel Tip Adhesive | Brush-in-bottle, 15 or 30 mL | Smoother and easy for beginners; cures with a tacky layer, so the next layer goes straight on without wiping | Most soft gel tip brands, not only LAVIS tips |
| LAVIS builder gel in a jar | Jar | Used in place of an adhesive by many techs for a stronger bond | Clients with oily or lifting-prone nails |
Both adhesives reach very similar retention when the prep is right. In practice, most retention comes from the nail prep, not from the brand of bonding gel. LAVIS lists its adhesive at about 60 to 90 seconds under a UV or LED lamp depending on lamp strength, with a bond that lasts 3 weeks or more when the prep and sealing are done well.
Step 3: tips and size refills
Soft gel tips are sold as full boxes for a new kit and as refills for the sizes you use most. Running out of one size usually happens long before the box is empty, so refills by size are what keep a station going.
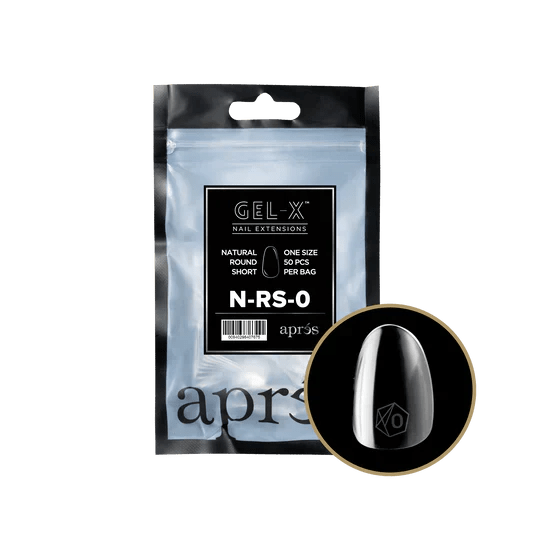
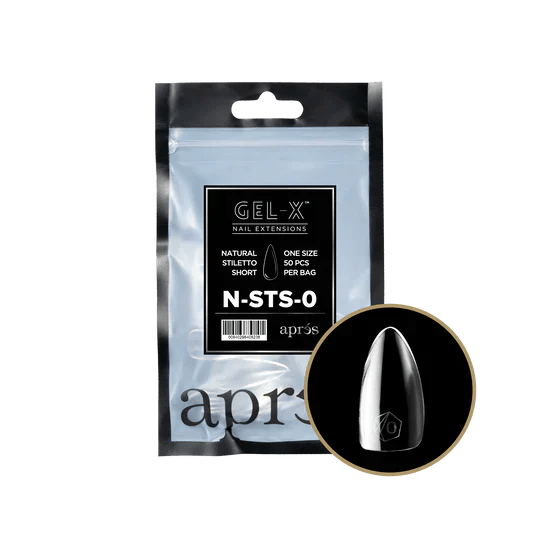
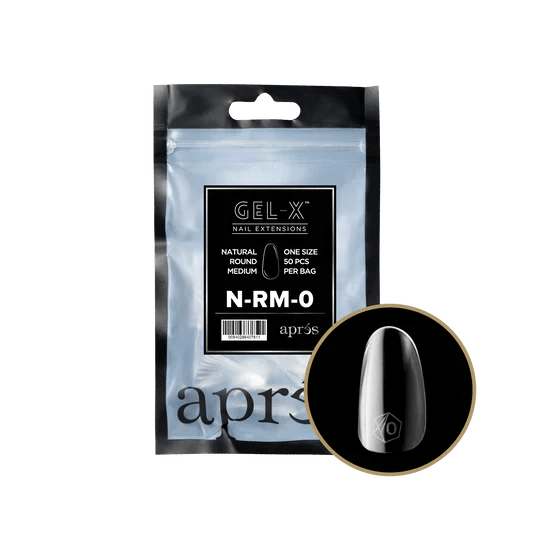
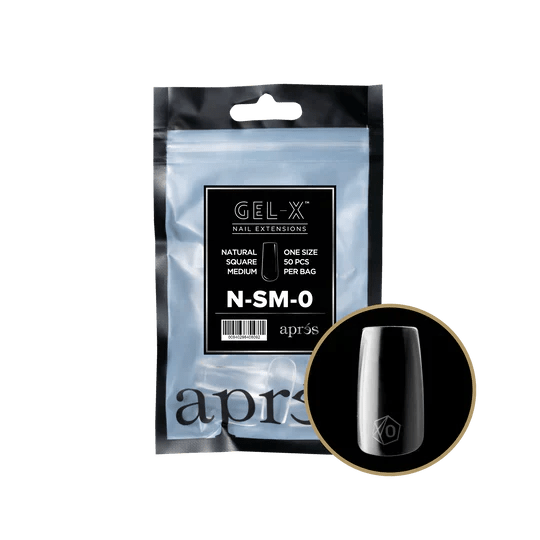
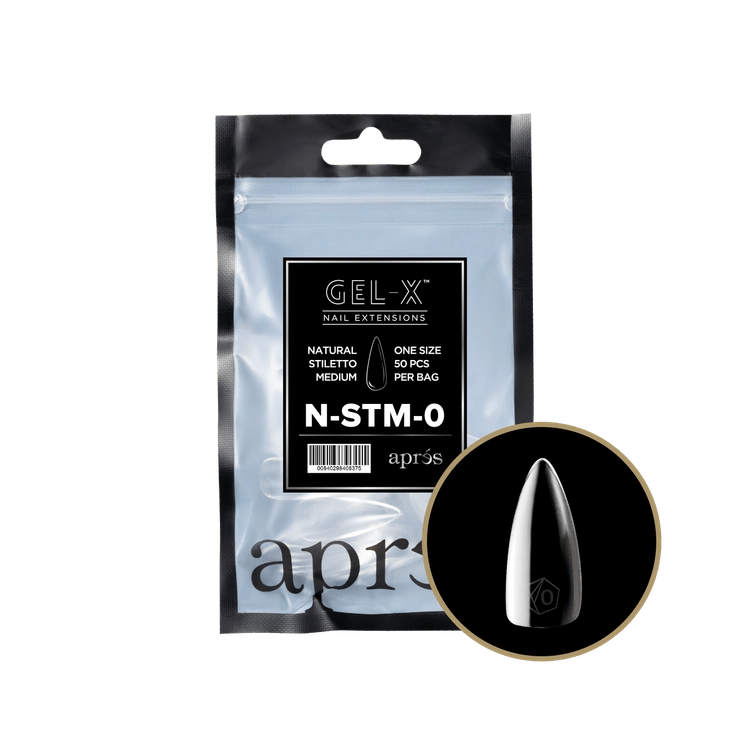
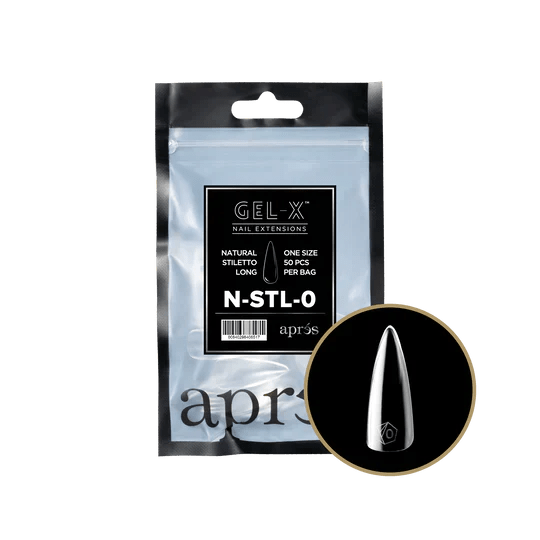
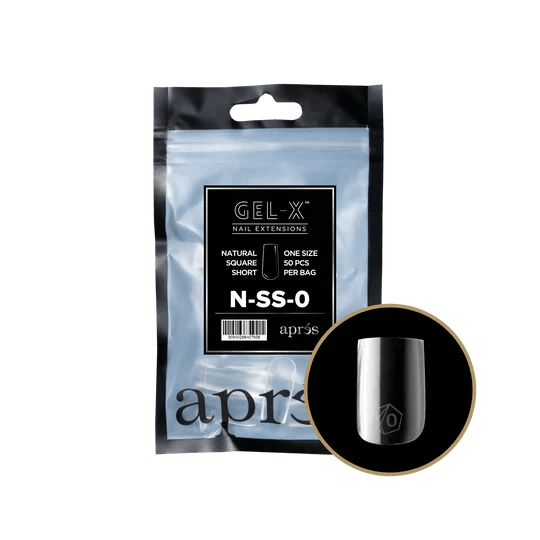
- Aprés Gel-X Natural refill bags: each bag holds 50 tips of one size. Sizes are numbered from #00 and #0 up to #9, with half sizes #4.5, #5.5 and #6.5, for 14 sizes per shape and length. A Set 14 Bag listing bundles one bag of every size for a single shape and length.
- Aprés Gel-X boxes: Natural, Sculpted and Ombré boxes for a first purchase. Ombré tips are soft gel with white pigment that fades from clear to opaque white, 210 tips in 14 sizes per box.
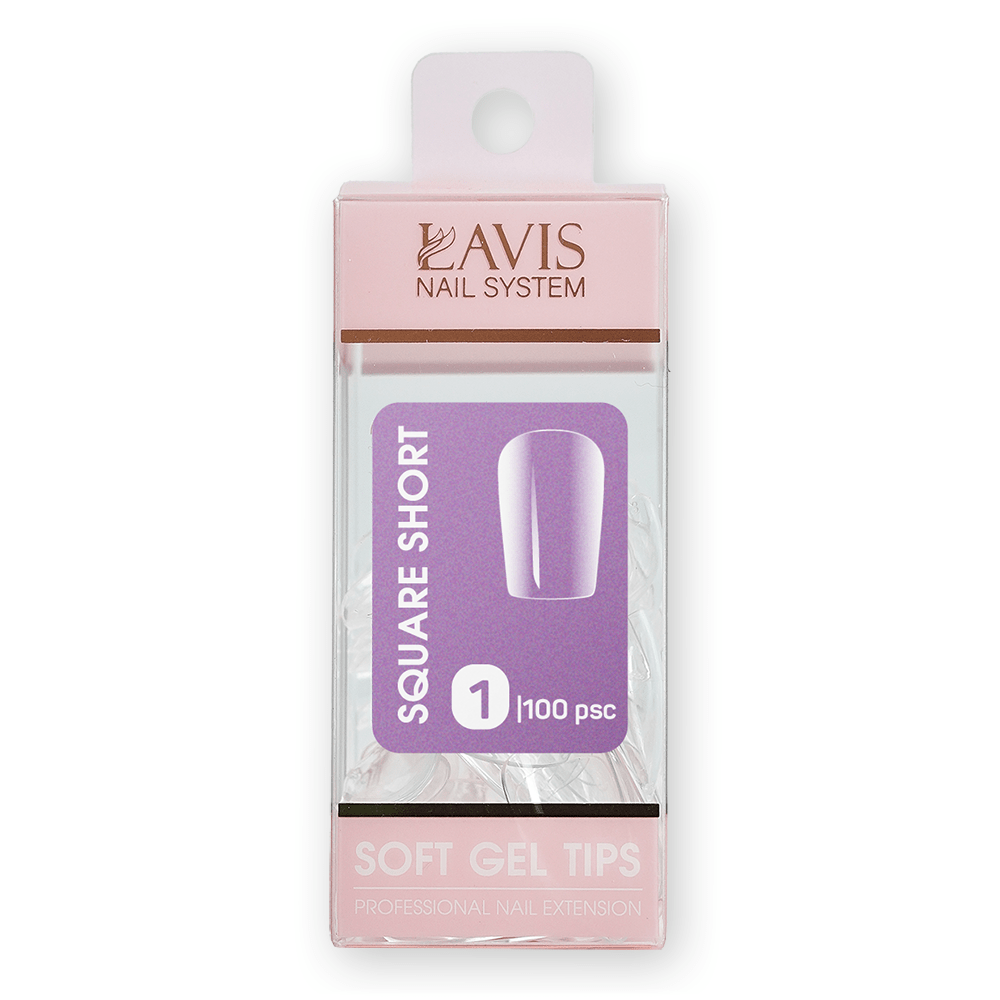
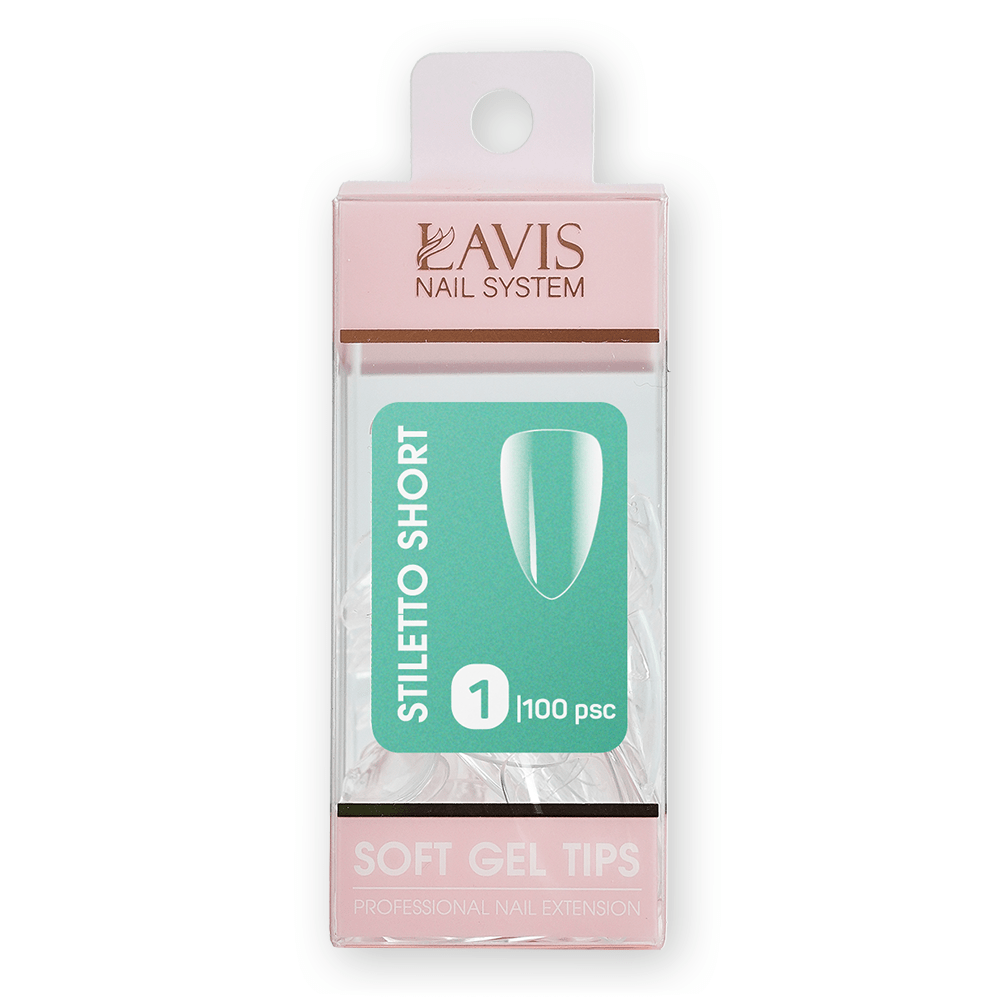
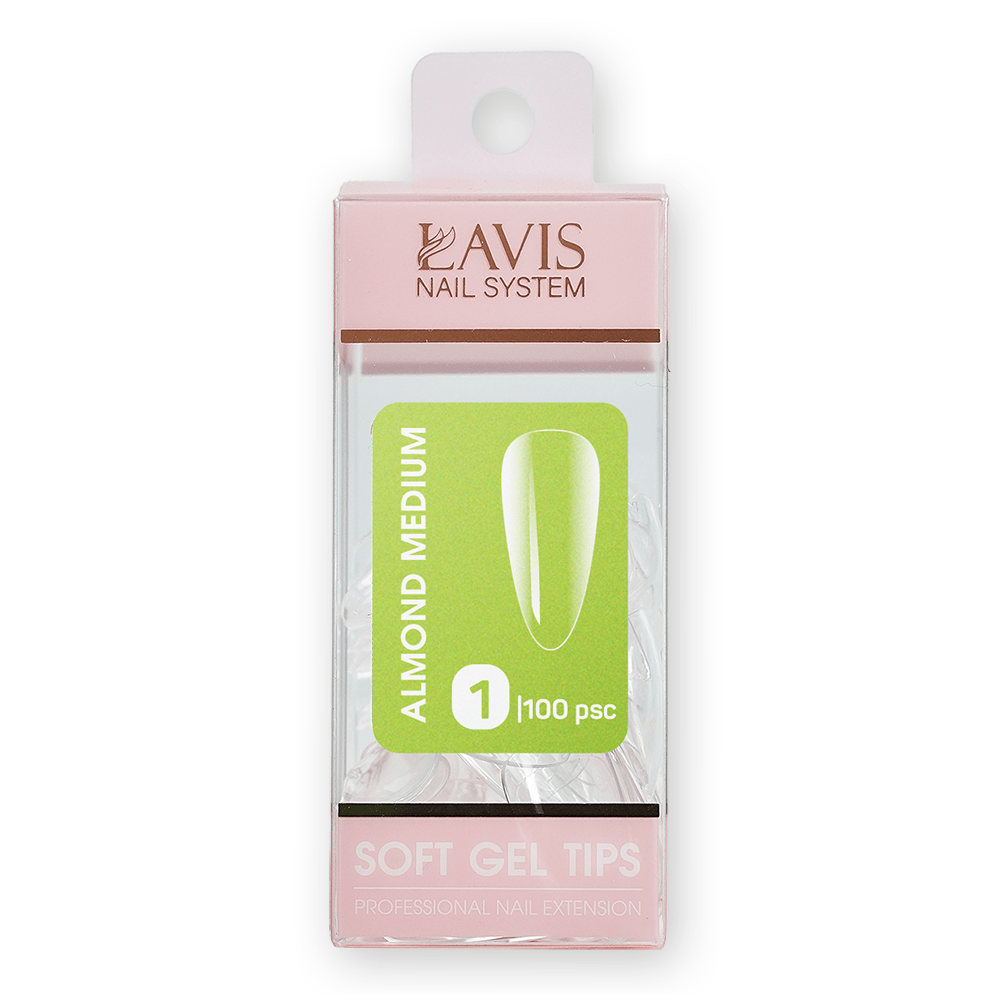
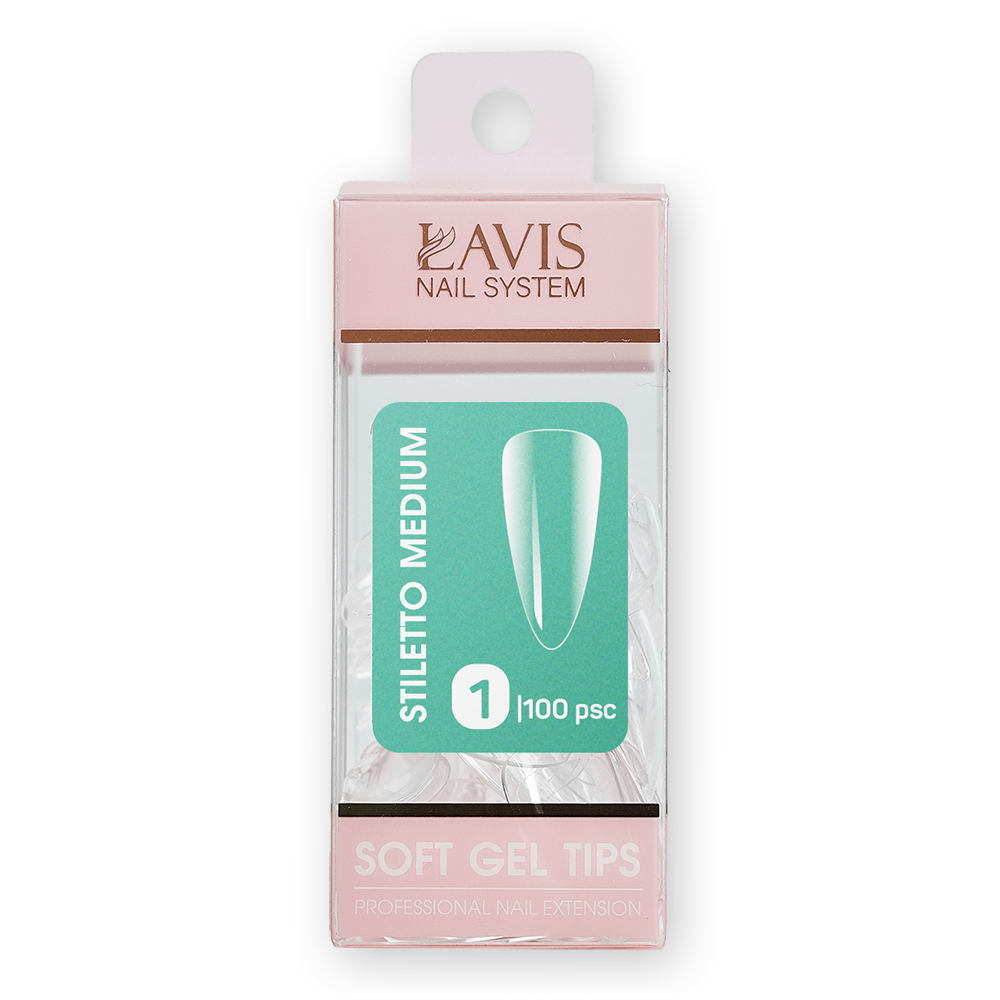
- LAVIS: tip boxes in clear, half buffed, full etched and high apex finishes, plus 100-piece refills of a single size.
- LDS: shape listings where each code is a variant: clear, half matte, matte (pre-etched) or tapered.
- DND: full clear gel tips numbered #01 to #25, five shapes in five lengths.
Shortcuts: Aprés Gel-X refill bags, LAVIS 100-piece refills, LDS soft gel tips and DND clear gel tips.
Step 4: curing the tip
Placement is a two-stage cure. Each tip is pressed on and flash-cured so it stays in place, then the whole hand goes under the lamp for the full cure before shaping. A small spot-cure lamp is handy for the flash step because it cures one finger without lighting up the others; a full-size lamp does the final cure. The collection includes plug-in and cordless lamps for both jobs, and the wider range is in UV and LED nail lamps. The Aprés Gel-X extension kits ship with their own small LED light.
Step 5: colour and top gel
Once the tips are cured and shaped, the set takes colour like any gel service. Aprés pairs Gel-X with its Gel Couleur gel polish, which can go directly onto the tip; the range is in Aprés Gel Couleur colours. To finish, the Aprés Non-Wipe Glossy Top Gelcoat gives a high-shine seal with no wipe step, and it sits with the Aprés base gel in Aprés base and top gel. Base and top gels from A'DOR, DND, LAVIS, LDS and KUPA are also in this collection for techs who already run those systems.
Starter kits: what is in the case
A kit is the quickest way to open a soft gel service without buying each bottle separately.
- Aprés Gel-X Nail Extension Kit: 15 mL each of pH Bonder, Non-Acidic Gel Primer, Soak Off Extend Gel and Non-Wipe Top Gelcoat, an X-Lite LED light, a 100/180 grit emery board and a patent vegan leather case. Tips are chosen separately.
- LAVIS soft gel tips and mini desktop lamp kits: one LAVIS tip box in a chosen shape, length and finish, paired with a mini desktop lamp. Browse them in LAVIS soft gel tip kits.
Bundles that mix tips, bonding gel and builder gel are gathered in extension gel bundles.
Station workflow, from prep to finish
- Size first: before any product goes on, fit a tip to each nail from side wall to side wall and line the sizes up in order.
- Prep: push back the cuticle, buff off the shine, cleanse and dehydrate, then apply the bonder and the primer.
- Tip interior: etch the inside of a clear tip if your system calls for it; skip this on pre-etched or half-matte tips.
- Bond: apply Extend Gel or tip adhesive inside the tip and on the nail, keeping it away from the cuticle.
- Place and flash: press the tip on at a low angle, hold it and flash-cure.
- Full cure: cure the whole hand under the lamp, then shape and blend.
- Finish: apply colour, seal with top gel and finish with cuticle oil.
Pro tip: when a set pops off early, look at the prep before changing products. Skipped dehydration or bonder, bonding gel flooding the cuticle, a tip that does not fit the nail, and short curing are the usual causes.
Wear, removal and new sets
With proper prep and application, Aprés lists Gel-X sets at 3 to 4 weeks or more. Because each tip arrives with its shape and apex already built in, a grown-out set is usually replaced with a new set rather than filled. Removal is a soak in acetone, after which the softened tip lifts away; LAVIS adhesive comes off the same way once the top layer is buffed to break the seal. Do not pry, scrape hard or drill the tip off, since forced removal is what damages the natural nail. Files, buffers and remover are in gel removal essentials. Between appointments, clients should use cuticle oil and limit long soaks in hot water.
Restock checklist for a soft gel station
- Refill bags or 100-piece refills in the sizes you use most, usually the middle sizes of your top two shapes.
- A spare bottle of bonding gel, since running out stops every booking.
- pH bonder and primer, which run out faster than most techs expect because they are used on every nail.
- A no-wipe top gel and a backup lamp for the flash step.
- Files and buffers for shaping, plus acetone and remover for take-offs.
Keep the refill sizes grouped by shape and length on the station, and note which numbers each regular client wears. Reordering from those notes is faster than counting what is left in every box, and it shows which sizes deserve a full Set 14 Bag rather than single bags.
Related collections
Related reads